Our work in the foyer is progressing. Silly me thought I would be able to strip the paint and get in the first round of sanding on the door in one day. I failed to take into account rain, (I was working on the back patio and had to move into the garage), the cold outside air reducing the efficiency of the heat strippers and my lack of endurance to work hard for 10 hours. I made it through five hours and had to call it a day! Crying for my Tylenol, such a whiner! It took a total of five days to finish the door. That’s about 25 hours of work stripping and scraping paint, sanding, sanding and more sanding, staining and three coats of poly. But if you do the work right, you’ll only have to do it once. That’s our new work mantra. And oh yeah, embrace the mess.

Copper weatherstripping, a bit worse for wear.
In order to work on the door, (meaning the interior side of the front door), we took the door off its hinges each day, set it on sawhorses in the backyard, then reset it on its hinges each night. Man, that is a HEAVY, SOLID, AGED OAK door! When I saw the slow progress using the heat strippers – again, due to the 40 degree weather – I had the dubious idea to use the dreaded chemical paint stripper. My brain must have been on vacation in the Bahamas because I thought the stripping would be faster that way. Don’t really know why I thought that, guess I needed a reminder why we don’t like using that nasty stuff. What a mess. The stripper removed the top coat of paint, but I still had to use the infrared and heat gun on the entire door to take off the remaining three layers of paint and varnish. The three windows were time consuming as I had to protect the glass from the heat strippers and use several passes to get the old paint and varnish out of the window trim crevices. Choosing to use the chemical stripper doubled my work. What was that I wrote about doing the work right?
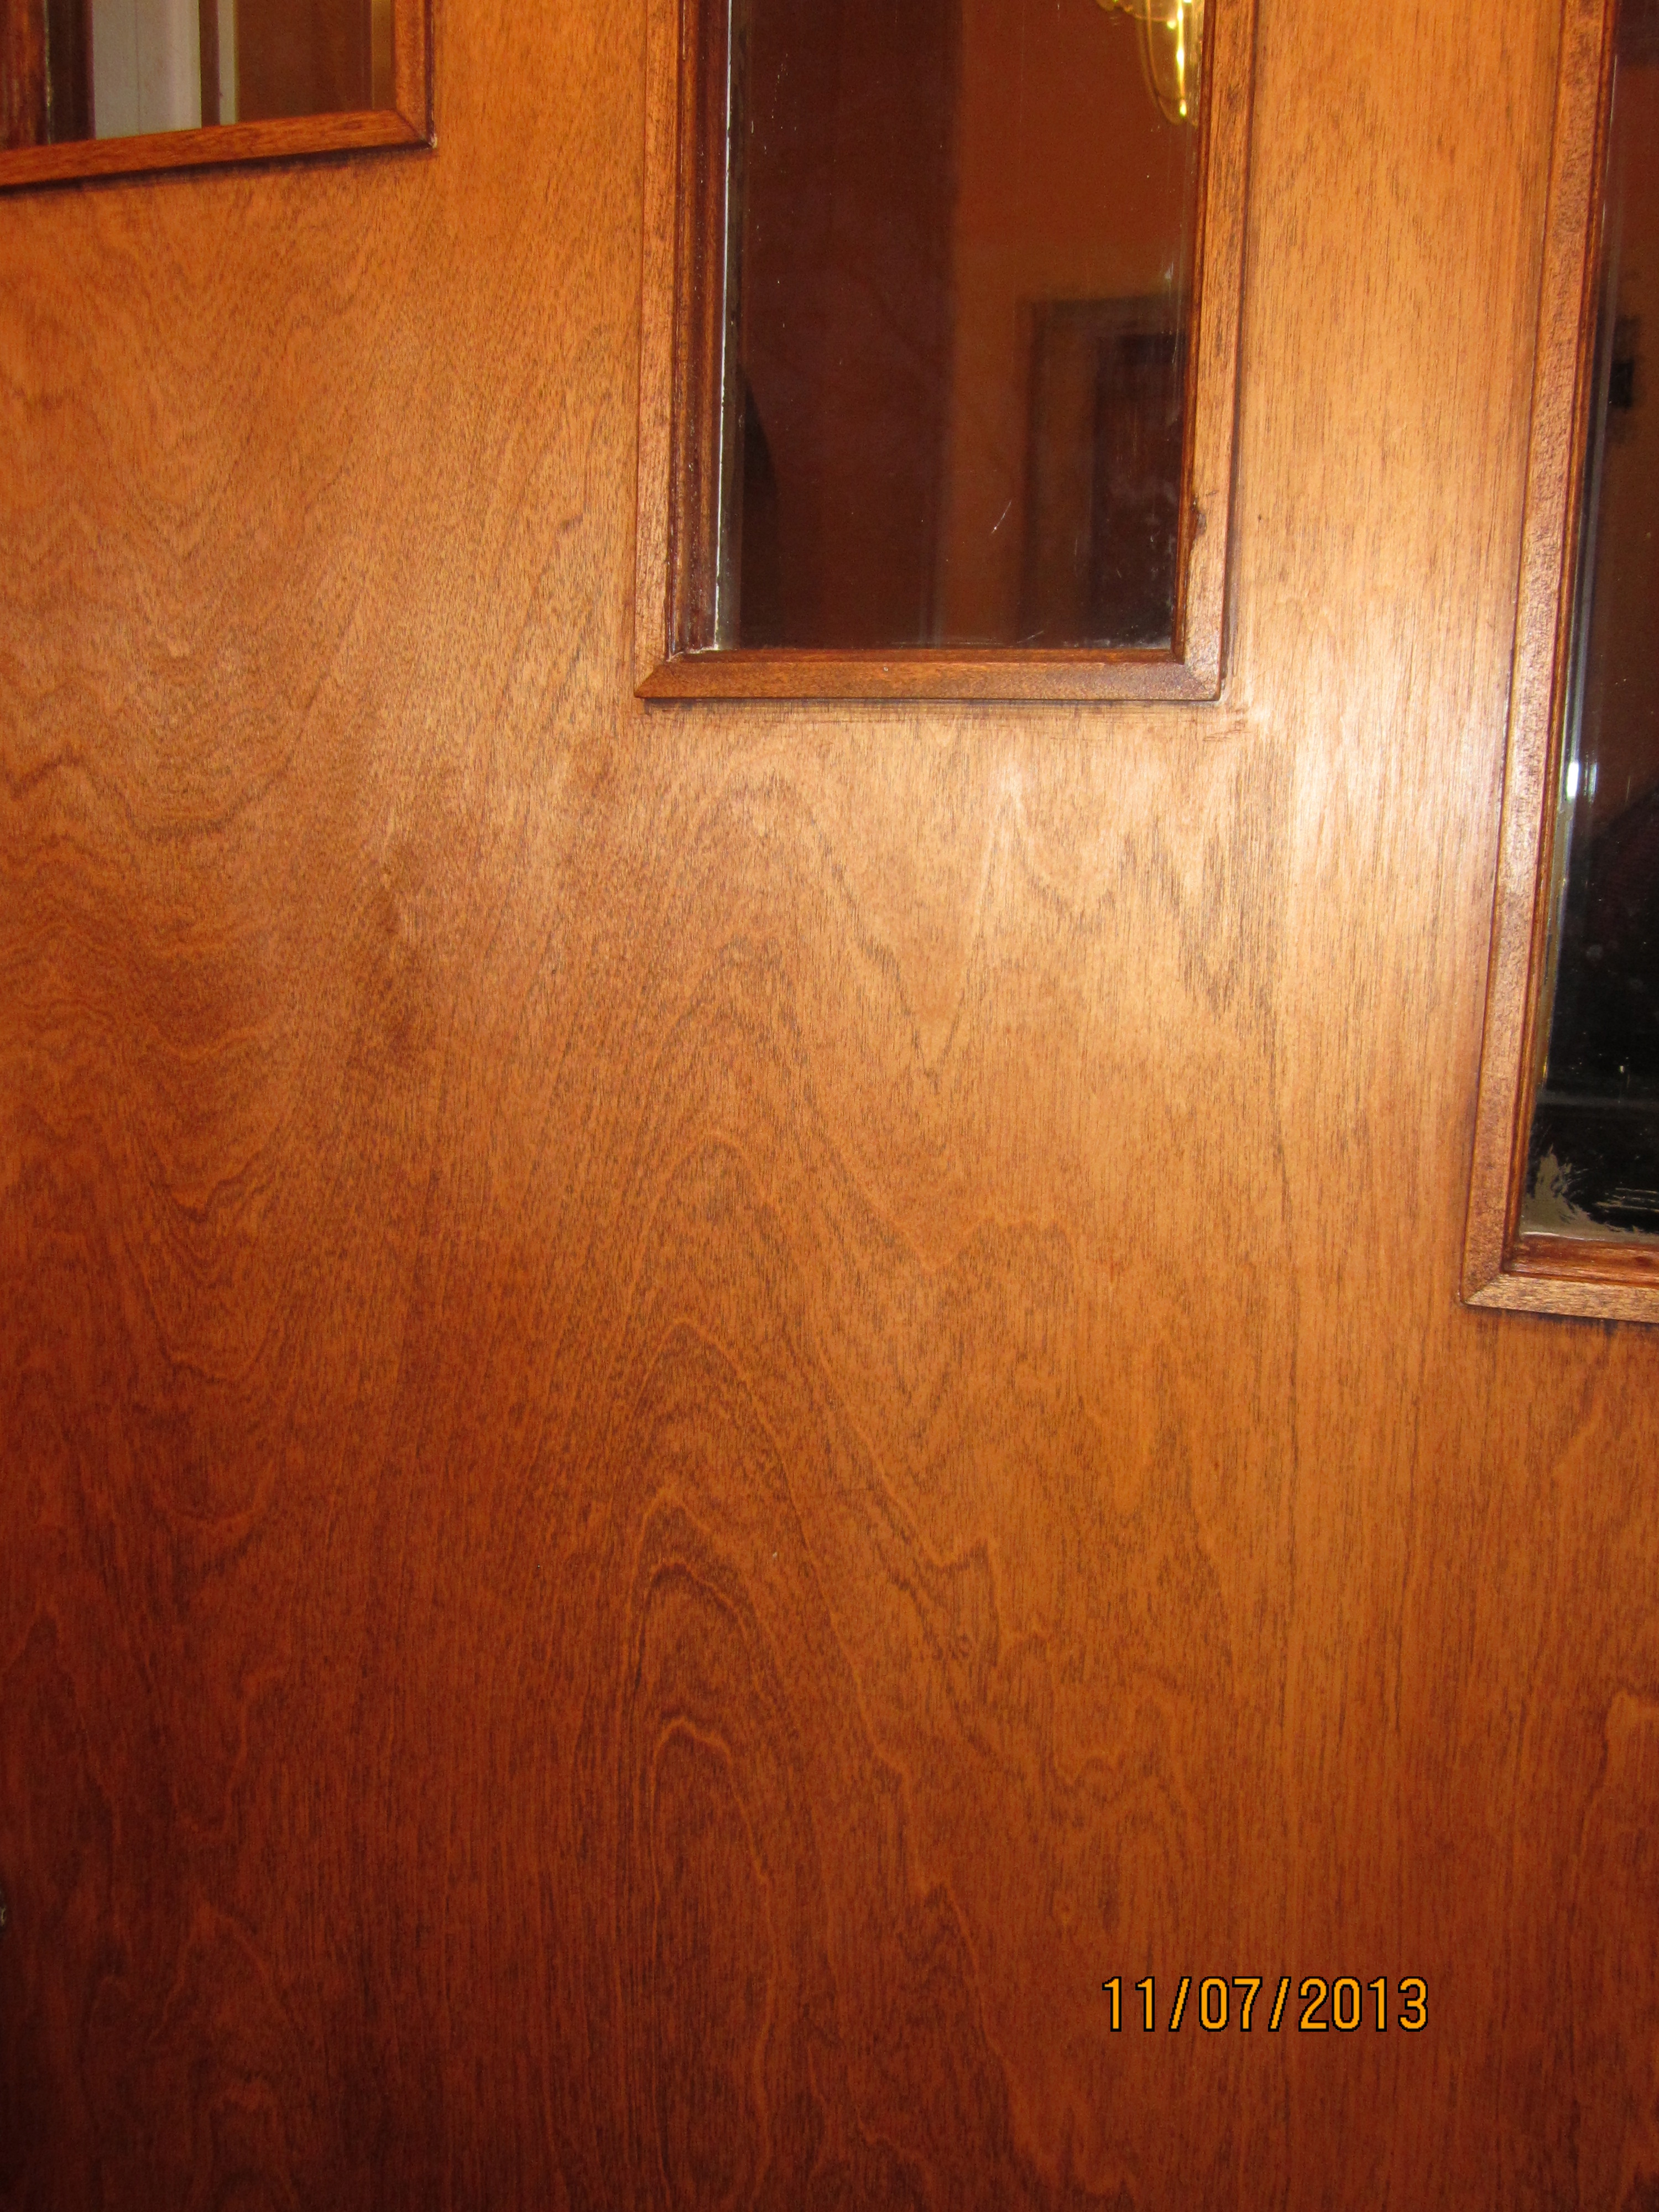
A sneak peak at the front door, minus the paint.
A few words about varnish. It prevents paint from soaking into the wood, so you’ll need to sand less, relatively speaking. Count yourself lucky if you have to remove paint from on top of a coat of varnish.
You’ll need to resharpen your scraping blades after a day of paint stripping. The stripped paint and varnish tend to harden on the blade if you don’t wipe it frequently. Plus, there’s always some gunk which will gather on the back side of the blade. There is a sharpening jig for the infrared “Silent Paint Remover” scraper. I think we’ll go ahead and buy it. Our grinding wheel has come in handy, but we’re putting a bit of a curve on the blade. The jig would correct that mistake by keeping the blade straight against the grinding wheel.
We began working on the closet door in July. Two months later, we rehung the finished door. Sure, we could have worked faster and finished in about one week, if every free minute was spent on the work, but there is life to live outside of our projects. Life and stuff happens. We’re not in a horse race here. This is our hobby and we plan to enjoy each project rather than race to complete them. But now I can say, the closet door is finished and all of the foyer trim work is refinished.

Do you see the layers of paint?
We are so pleased with the way it has turned out. Instead of a poorly painted entrance area to the house, we’re creating a warm and richly textured foyer. The wood grain is really beautiful and worth every minute of work.
The first bit of work in the foyer involved chipping away tile to get to the floor trim. A previous owner had lain an outdoor tile on top of the hardwood floor without removing the floor trim. We chipped away and pulled off the trim pieces.

Chipped out tile grout. We plan to restore the hardwood floor here.
We pulled out original 1928 nails, they are really long! You’ll want to pull nails through the back side of the wood. This will prevent any nasty wood splitting on the front side.
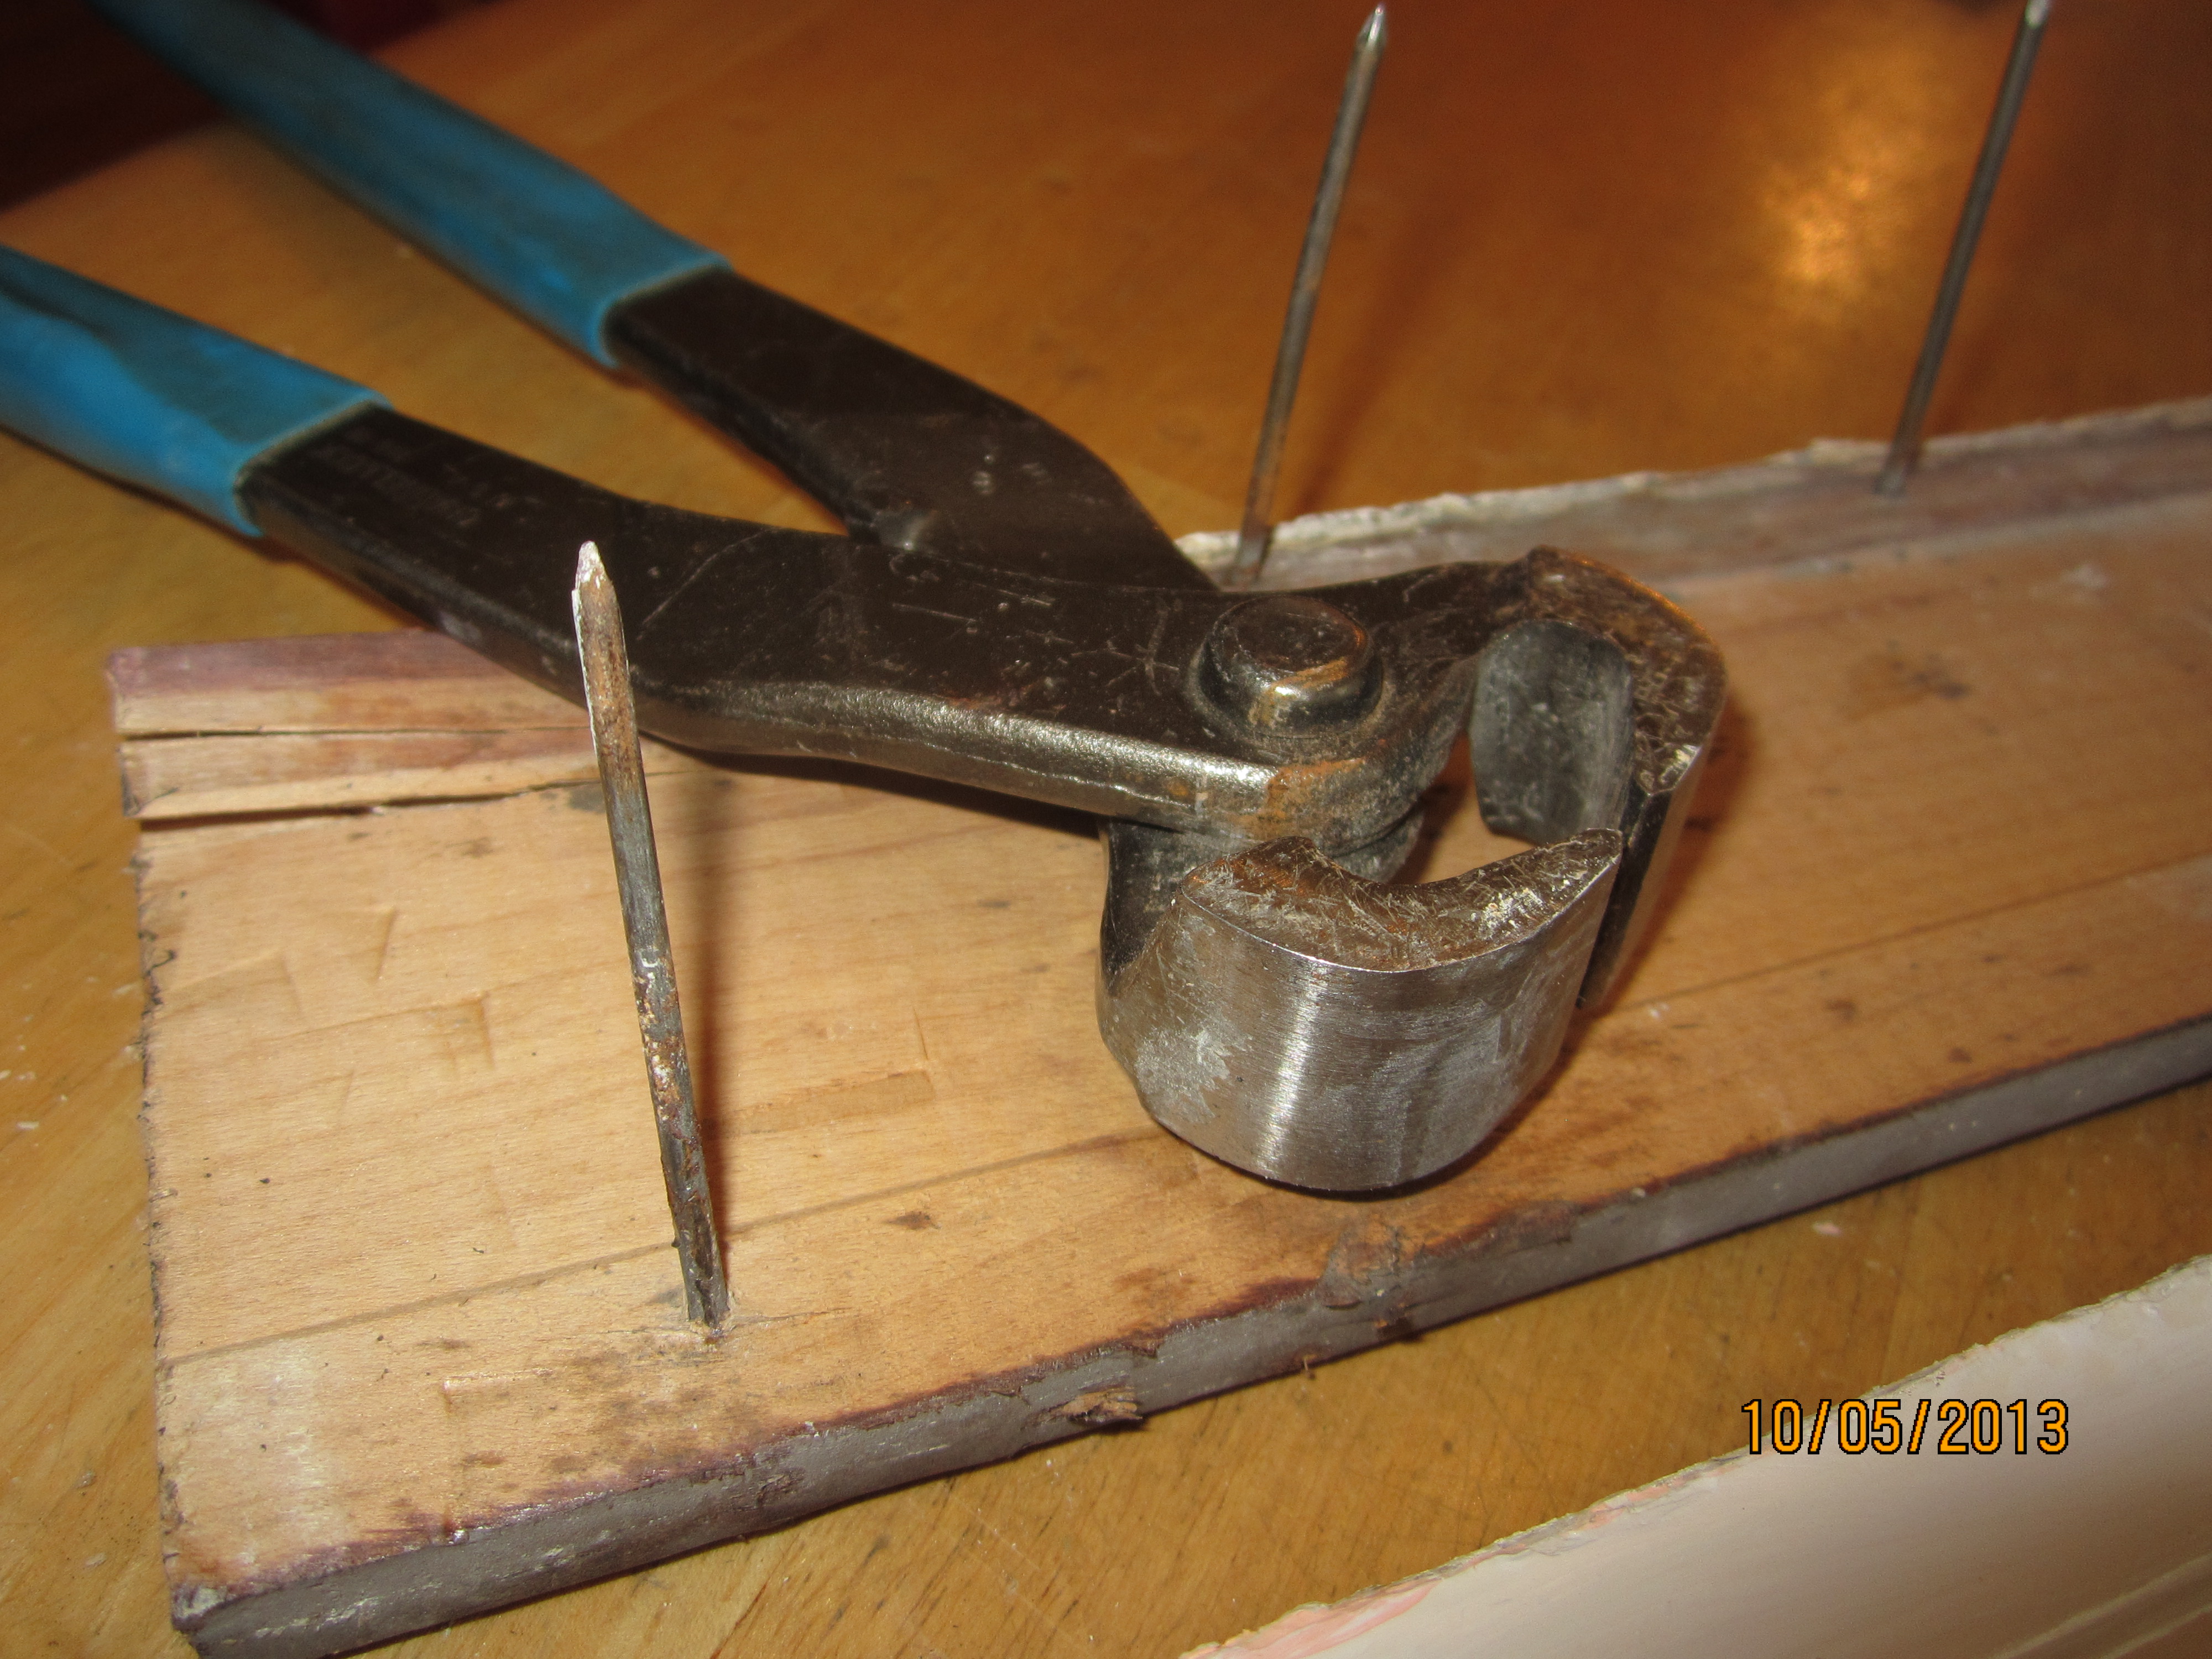
You’ll need a good nail puller. Look at the length of those nails!
As each trim piece was removed, we labeled it AND its location on the wall as well as the room from which it came. Essential step here, you simply will not recall where each piece goes when it’s time to put the room back together. I know, I know, but it’s true, you won’t remember which room that 6-inch length of floor trim belongs in when you have 3 rooms worth of wood trim being refinished and laying about the dining room. Save yourself the aggravation and put the name of the room on the back of each piece.

Label anything you take off and will need to put back, include “top, “right” and “left” notes.
We did a great job of labeling the trim, but I DID NOT label the front door hinges . Big oops. The screw holes for each hinge were slightly different, set in by hand 85 years ago. They’d never been removed before us. We spent a good 45 minutes getting the hinge pairs together. One set had been originally put on upside down, which was a fun puzzle to solve. Again, label everything. Really.

Label everything.
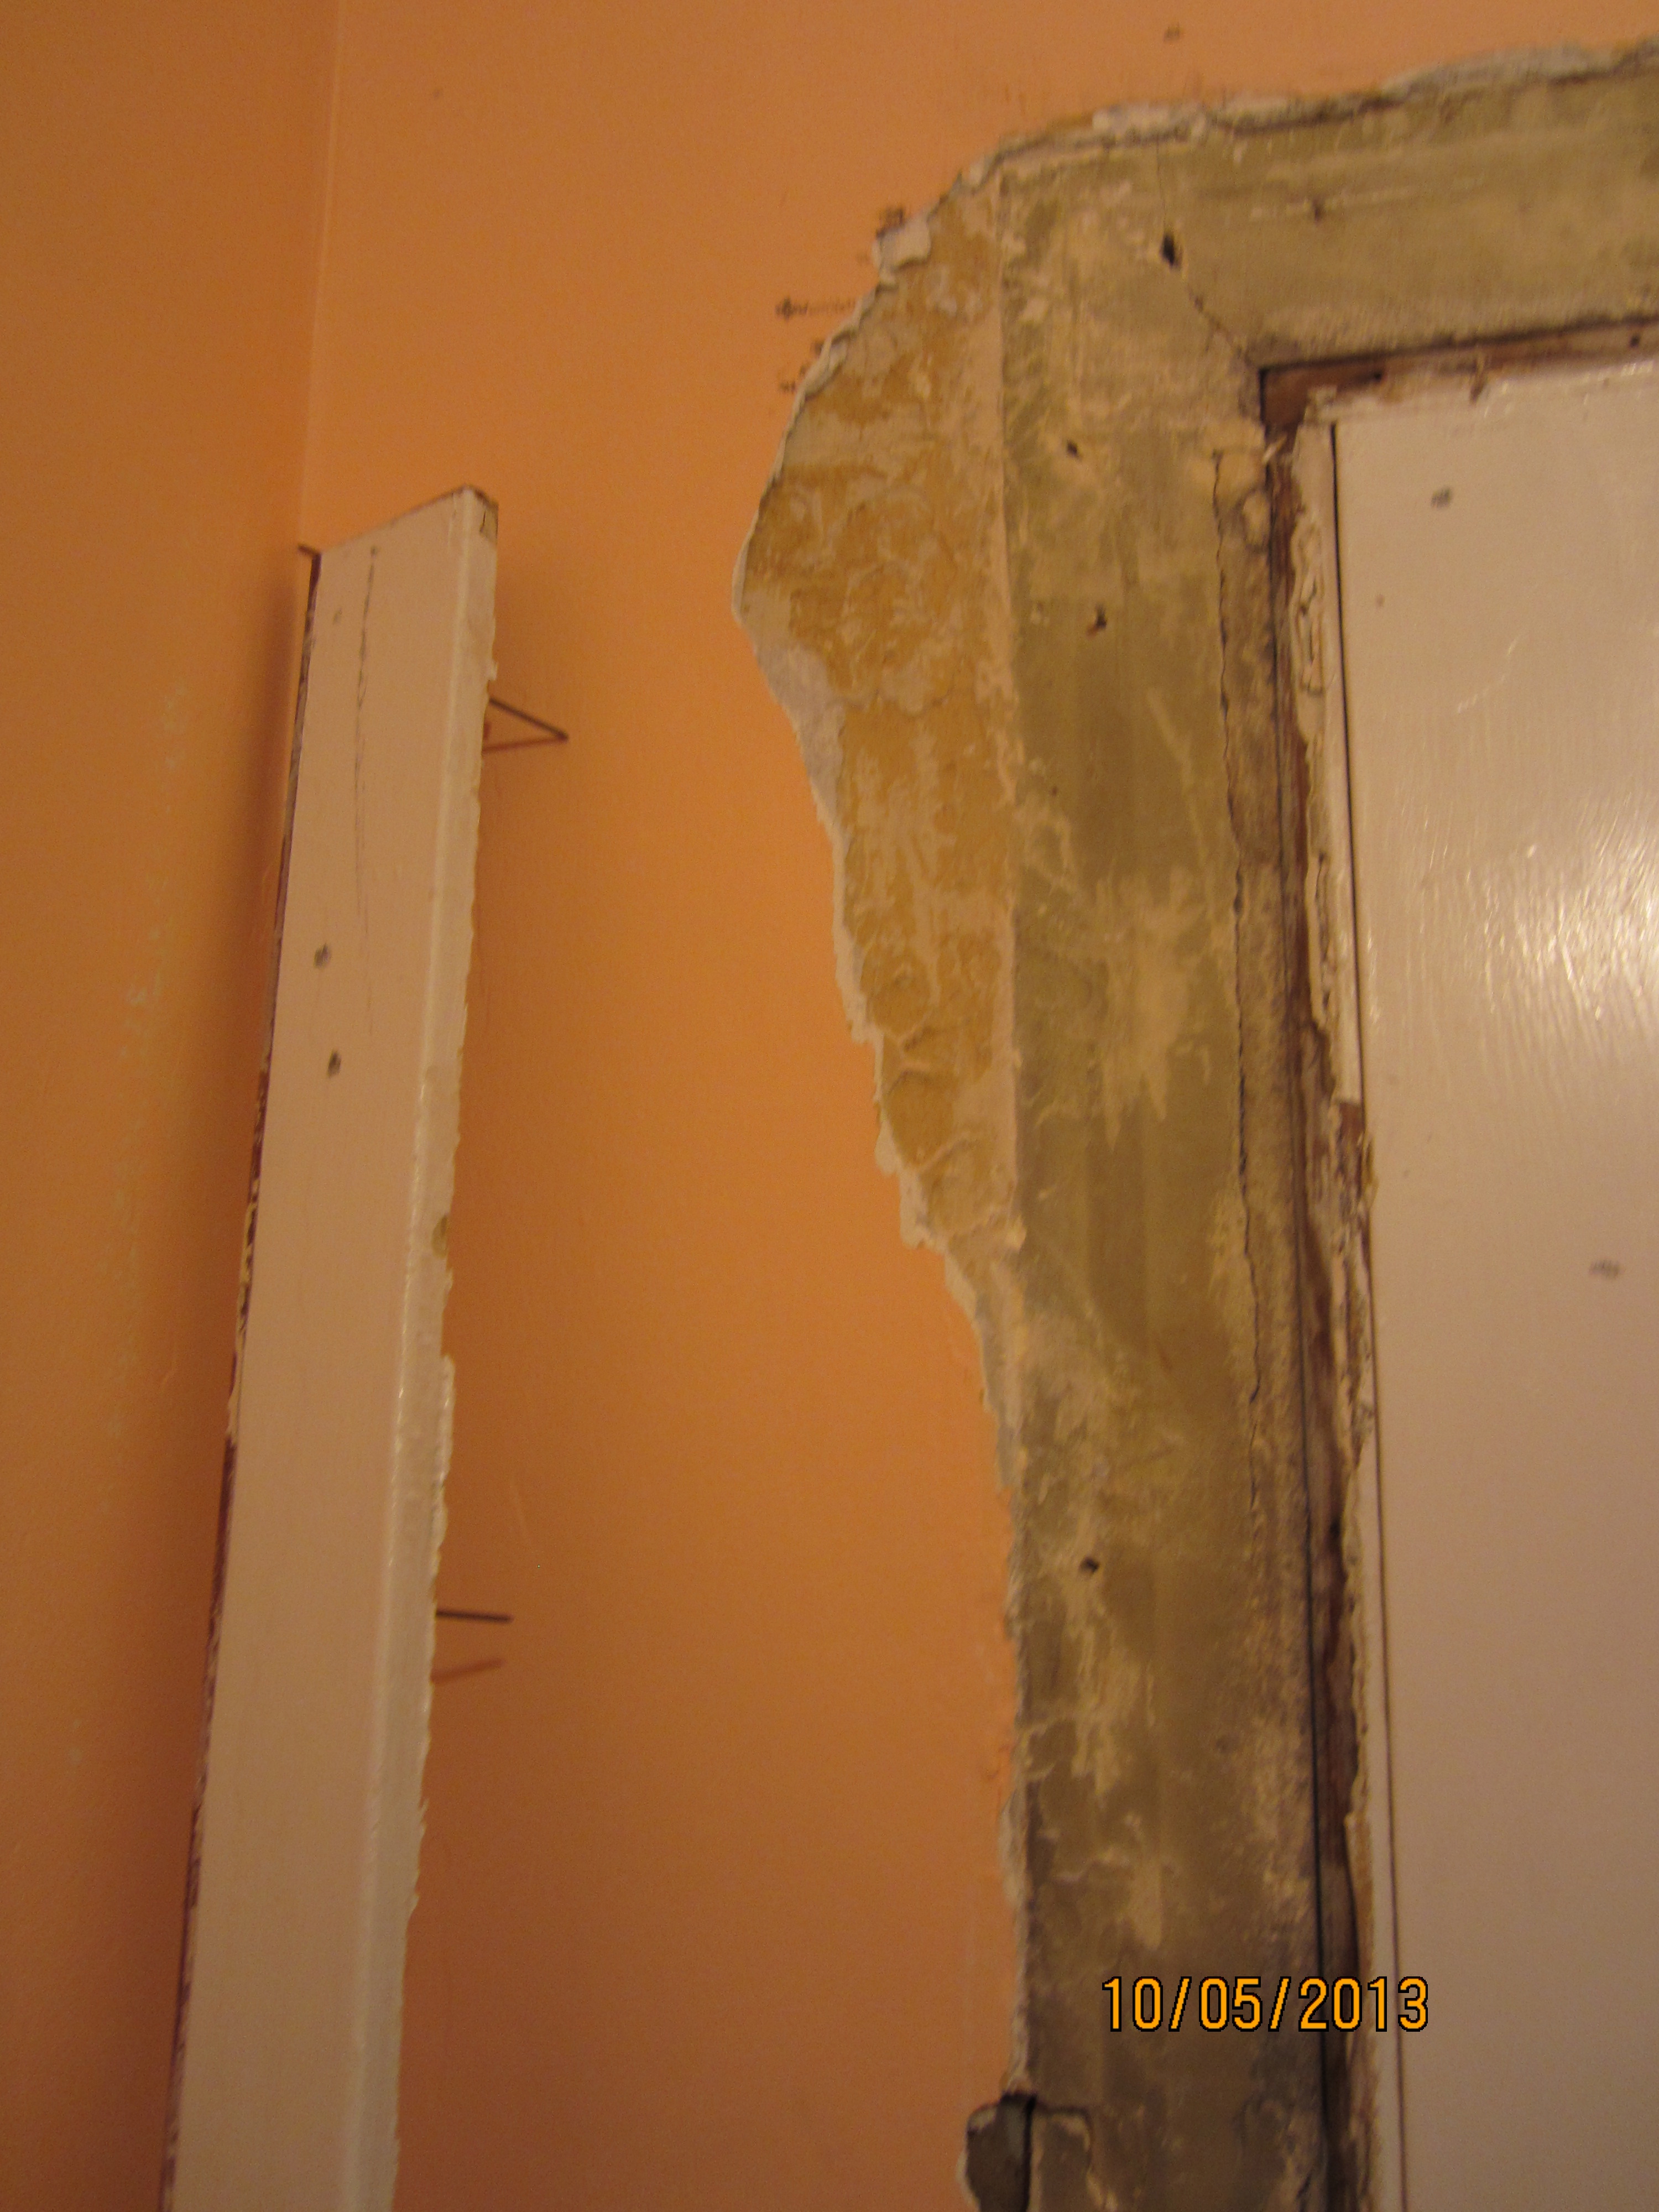
Couldn’t help but crack some of the plaster. Fixing it is the next step.
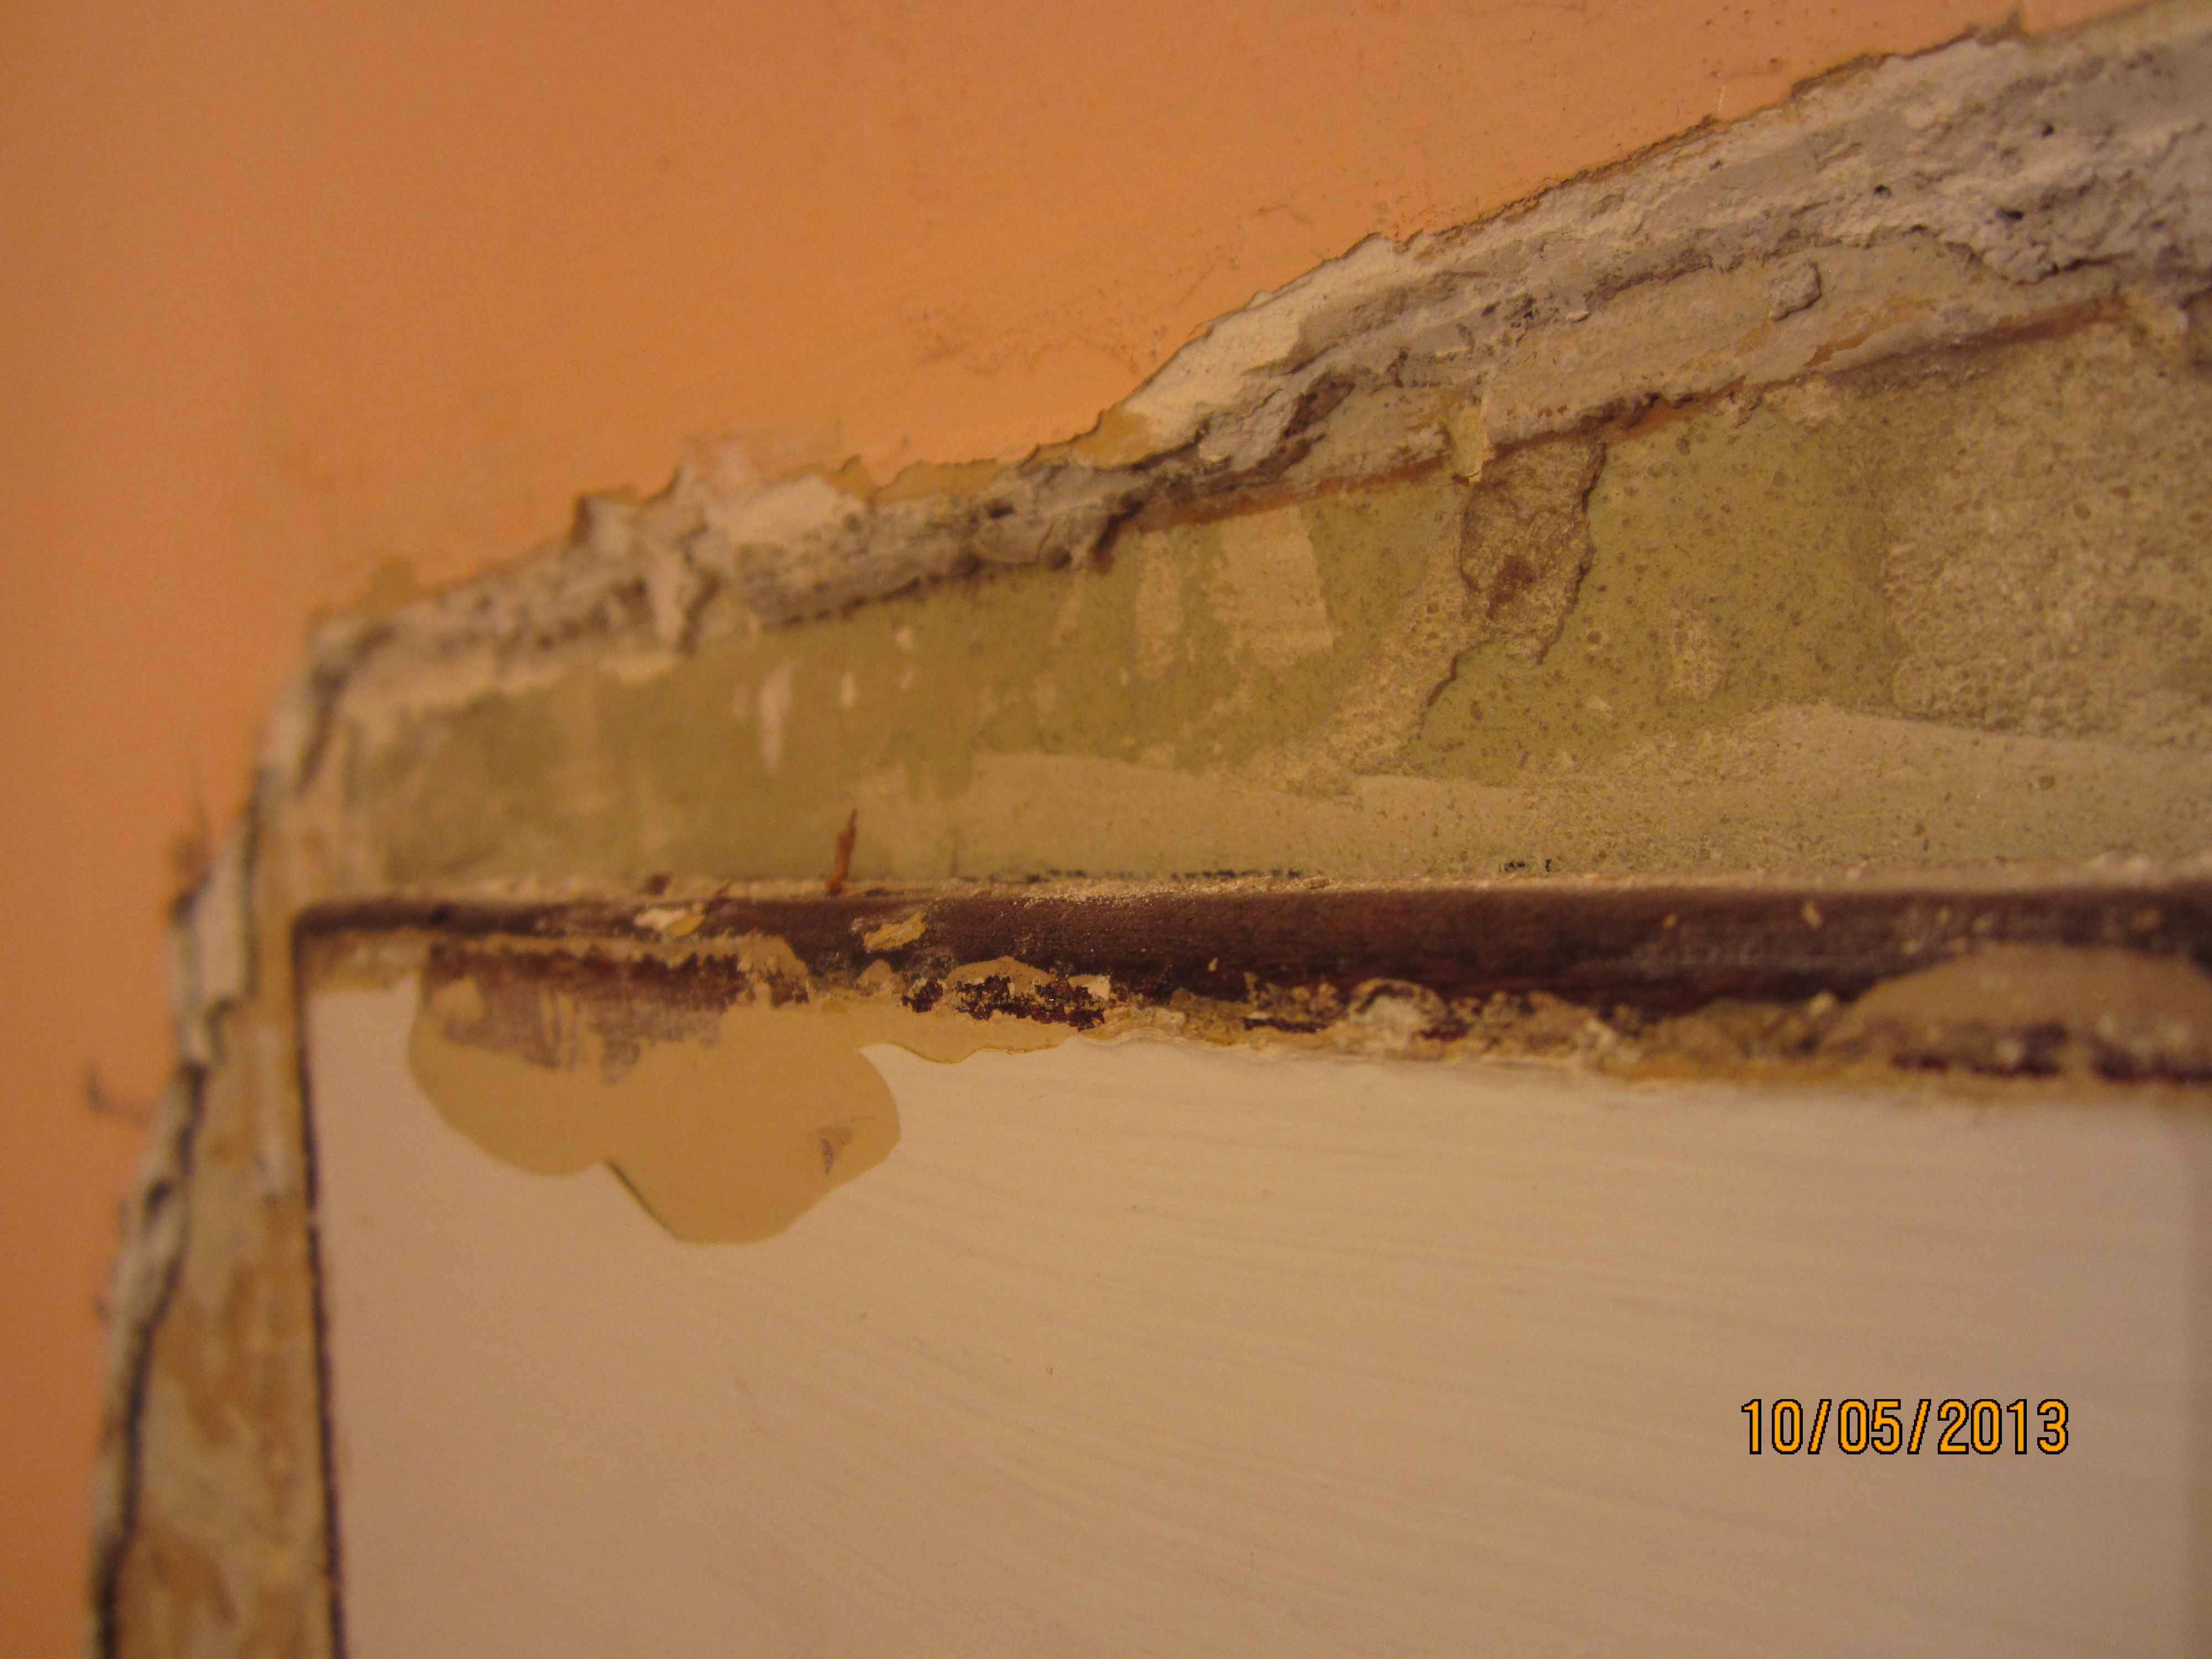
Not so pretty, YET.

Embrace the mess.
Look at this cool union stamp we uncovered on the back of each piece of door trim.

Carpenter’s union stamp.
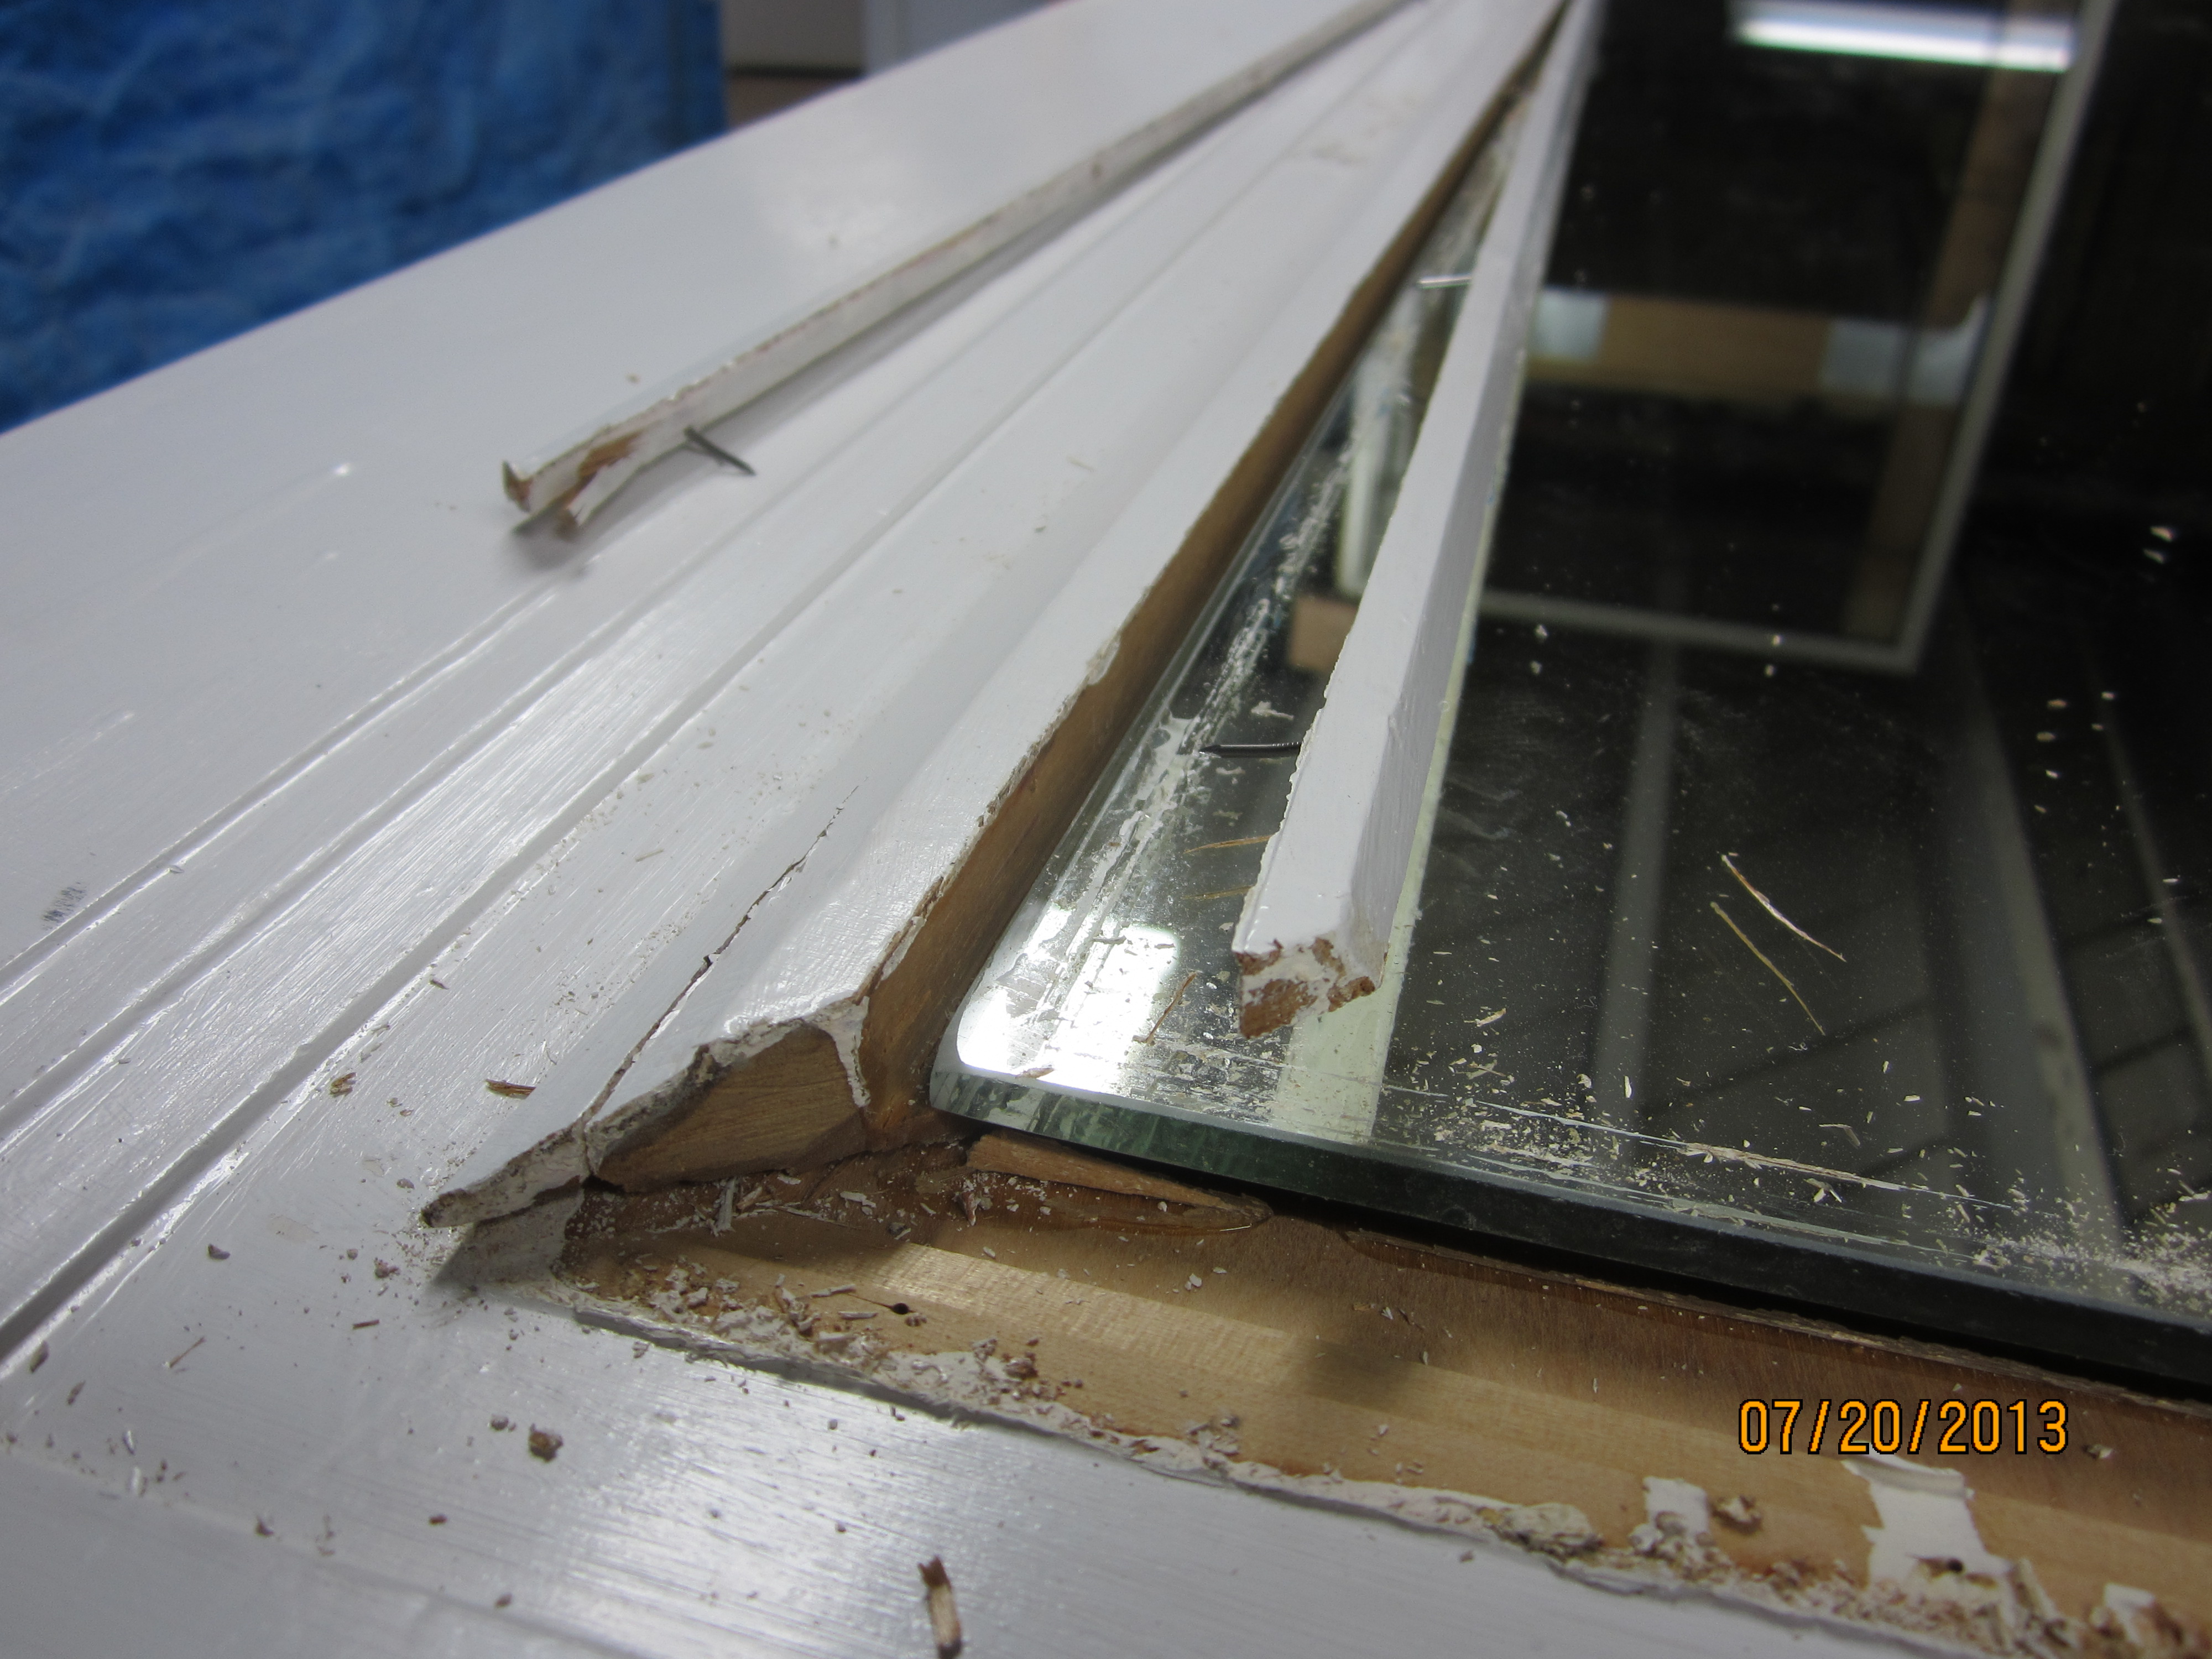
There was a full length mirror on the front of the closet door which I removed. I plan to reuse it in the house.

The closet door from the foyer.
Underneath the half-inch thick mirror were handwritten measurements for the size of mirror.

Hand written measurements for the mirror trim.
I was even more excited to see the original, unstained and unpainted wood beneath the mirror! That was great encouragement to complete the job. There were at least four layers of paint and one layer of varnish to take off. Sanding with coarse to fine grit sandpaper and sanding until it feels like silk is what will give you the finished piece of your dreams. Take the time, get it right and you’ll have bragging rights forever.
Taking off the mirror trim. We saved the mirror and the trim for later use.

Mirror removed, ready to take off the paint.

Almost done.

Getting into those crevices was time consuming.

The solid brass hinges were refinished too. Stripped of their paint and cleaned with Brasso.
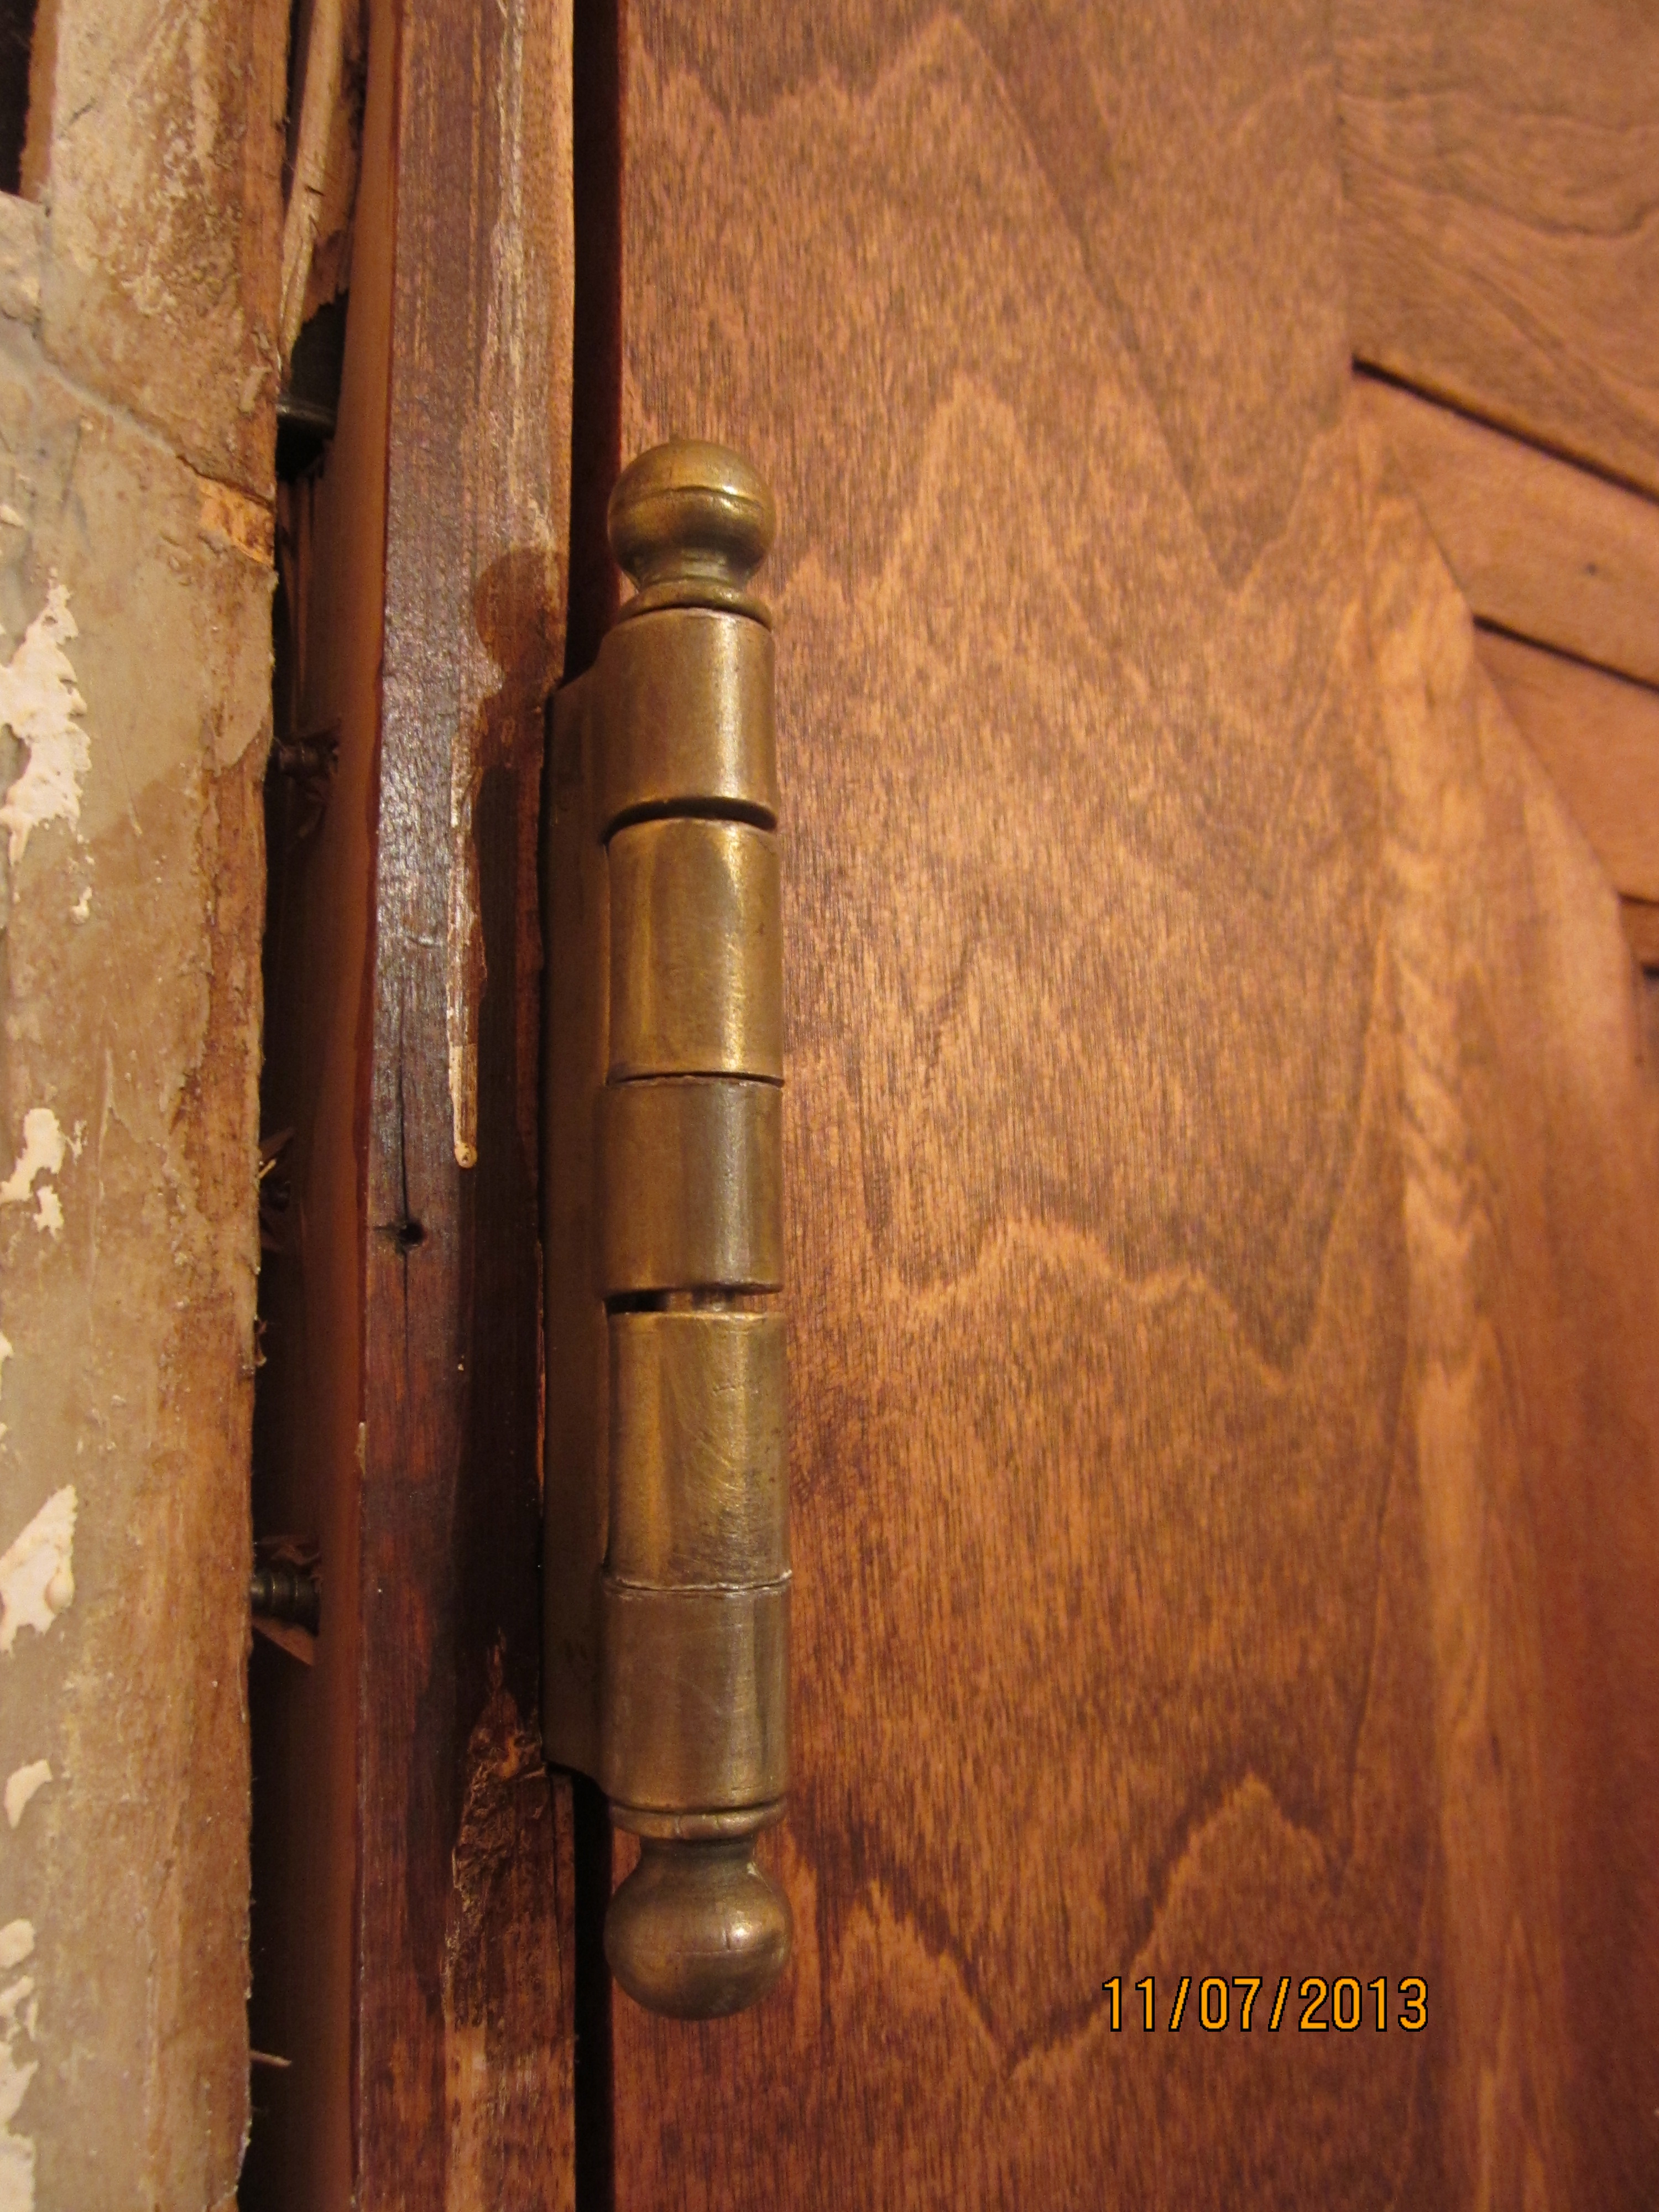
Refinished hinges. The real McCoy, not to be found in a box store.
We know, the door will look better when the trim is up, the walls painted and the floor refinished. But just look at that wood! The door knob was cleaned up with Brasso and looks spiffy new!

“Spiffy new” refinished doorknob.
While everything was out of the closet, we took the time to paint it a clean, soft white. It amazes me how painting a room or in this case, a closet, brings about a sense of true ownership. Paint says, this is mine.
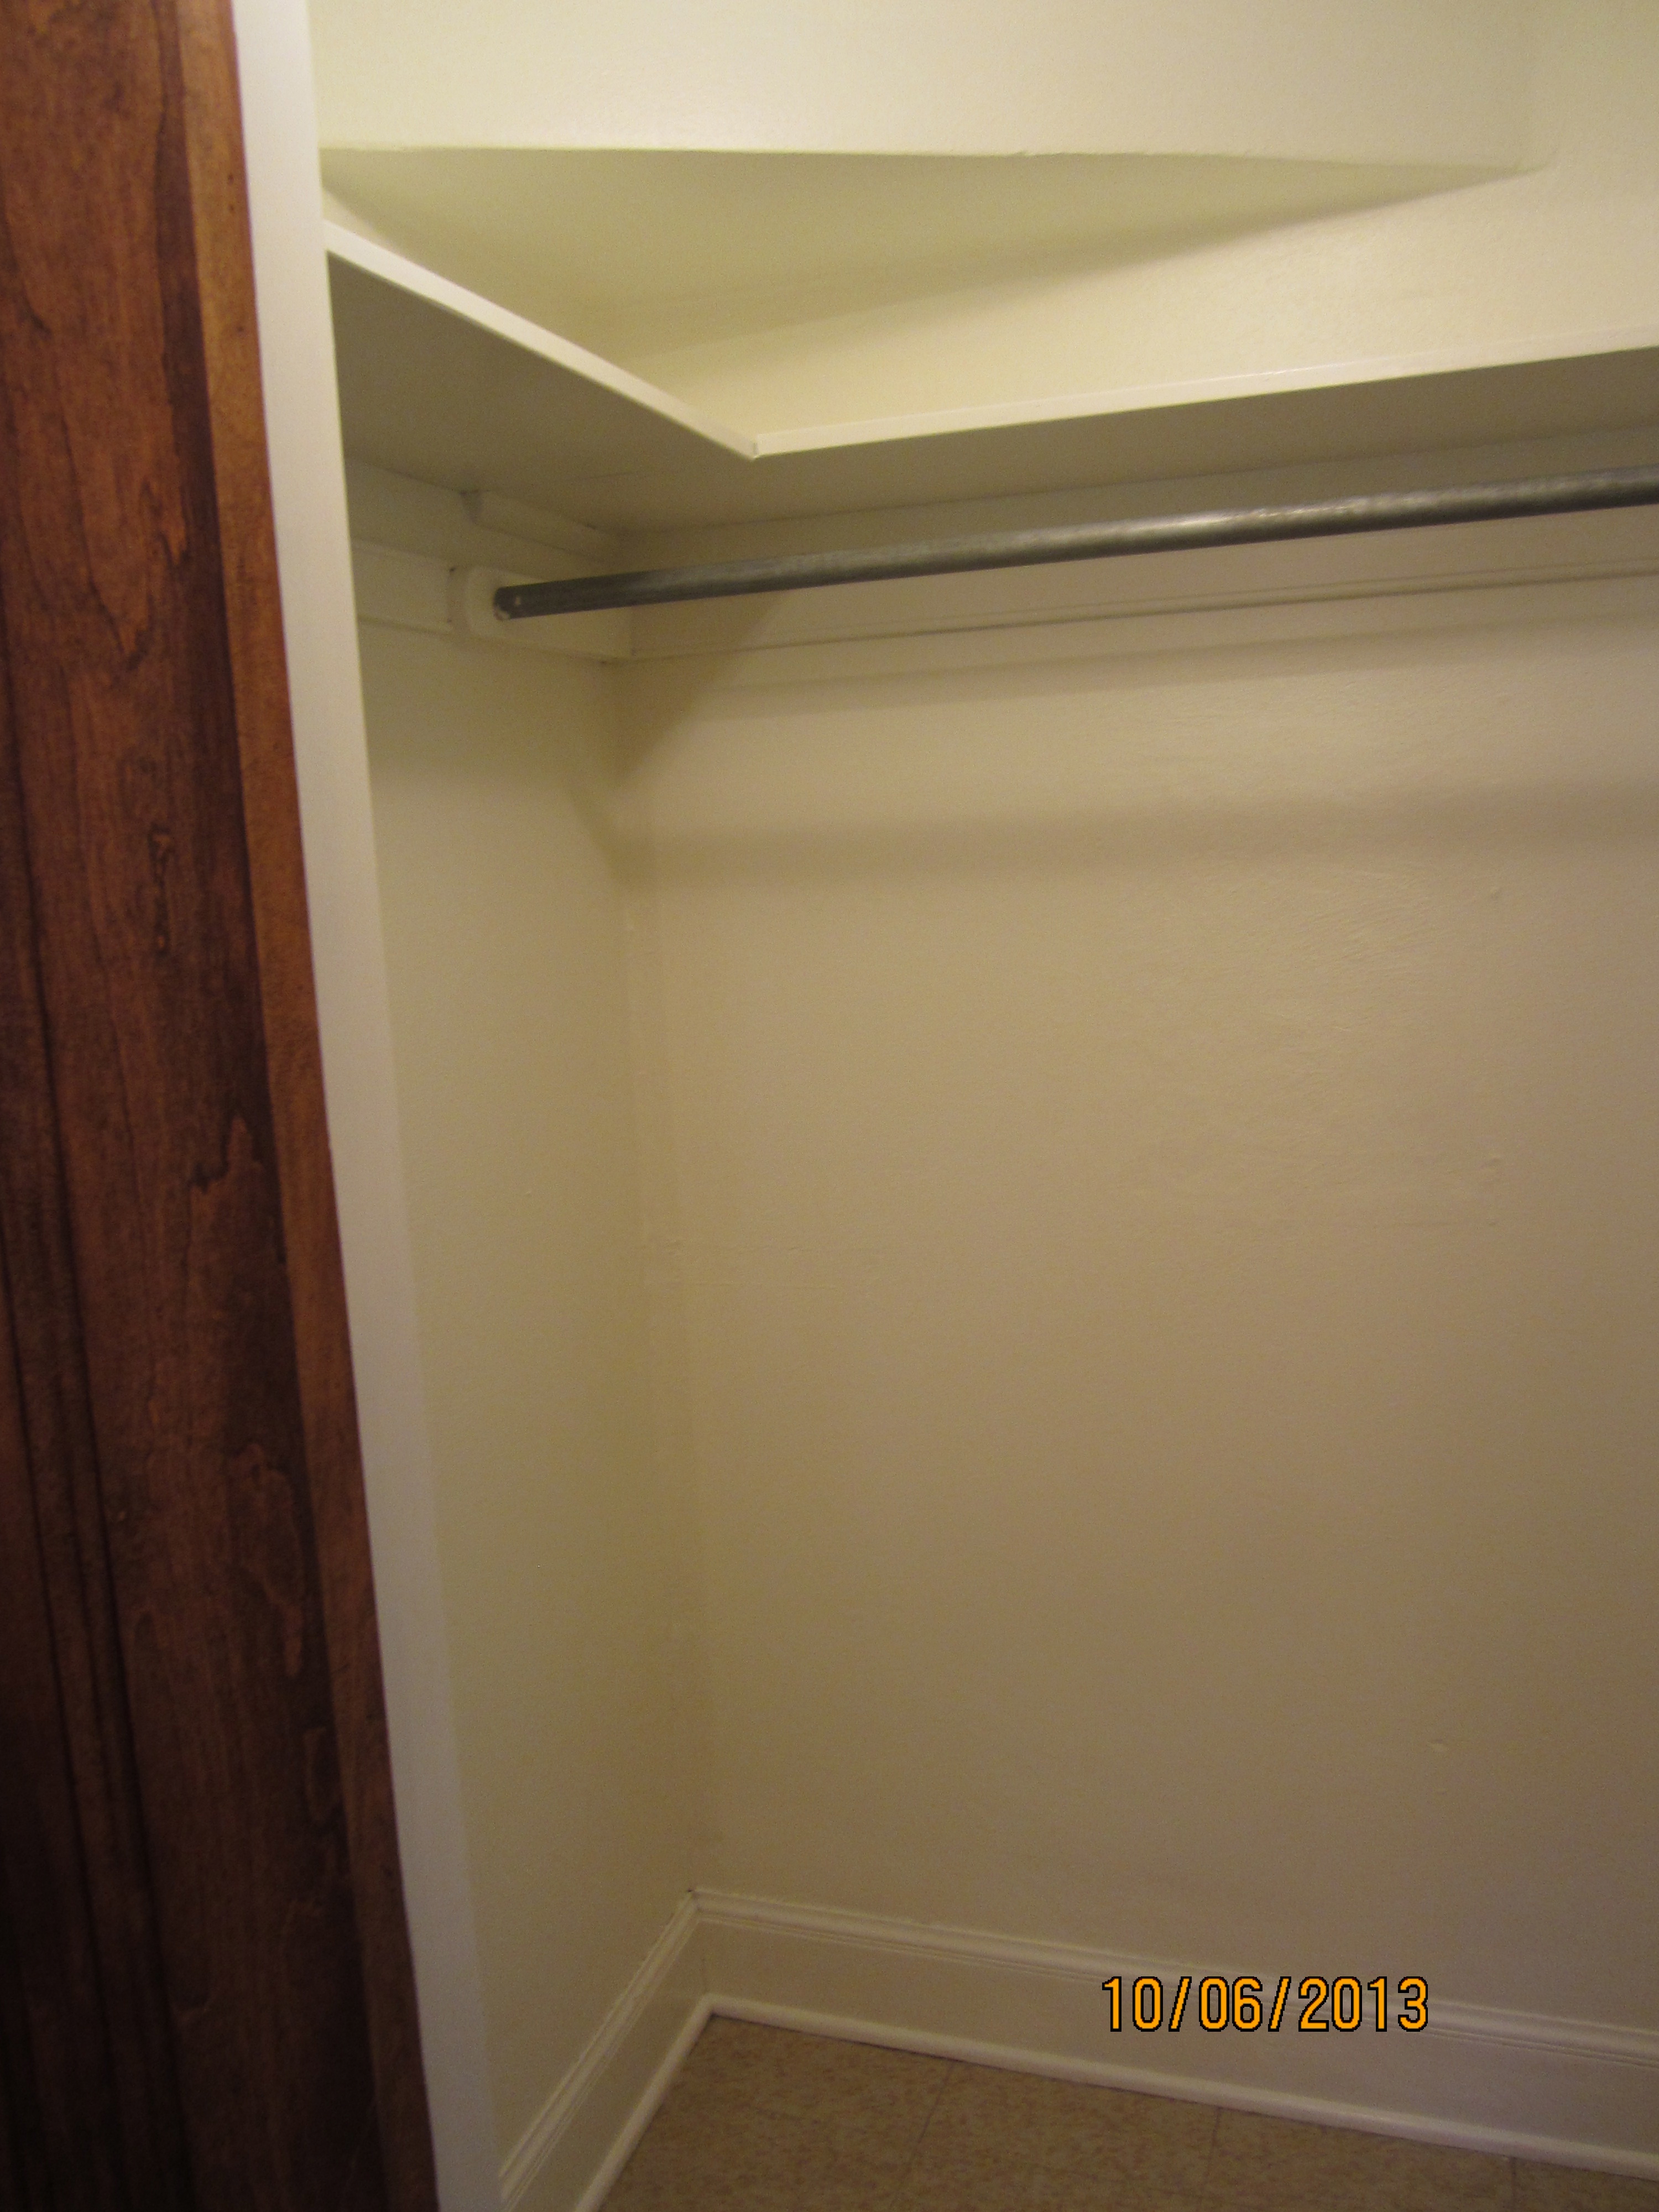
Nice and clean closet.
As I read this post, I notice an abundance of exclamation marks. I’m hoping you will use them as a way of hearing the excitement in our voices and see the smiles on our faces. We are making progress!
