Home remodeling is done in small steps. It’s a big elephant and the only way to eat it is one bite at a time.
Of course, I want the entire elephant eaten right away, because I can see the results in my mind’s eye. To slow myself down, and remain in elephant eating mode, I make lists. Great satisfaction in checking items off a list. Especially that last item and throwing away the paper. See, I jumped to the end again!
Ok, so one item on the list was “upstairs linen closet”. The perfect candidate was an unused upstairs hall closet.

Ready for transformation.
It’s centrally located to all the bedrooms and not in use because it’s too narrow to accommodate our clothes hangers. I needed a quick project after finishing my spring semester so, game on!
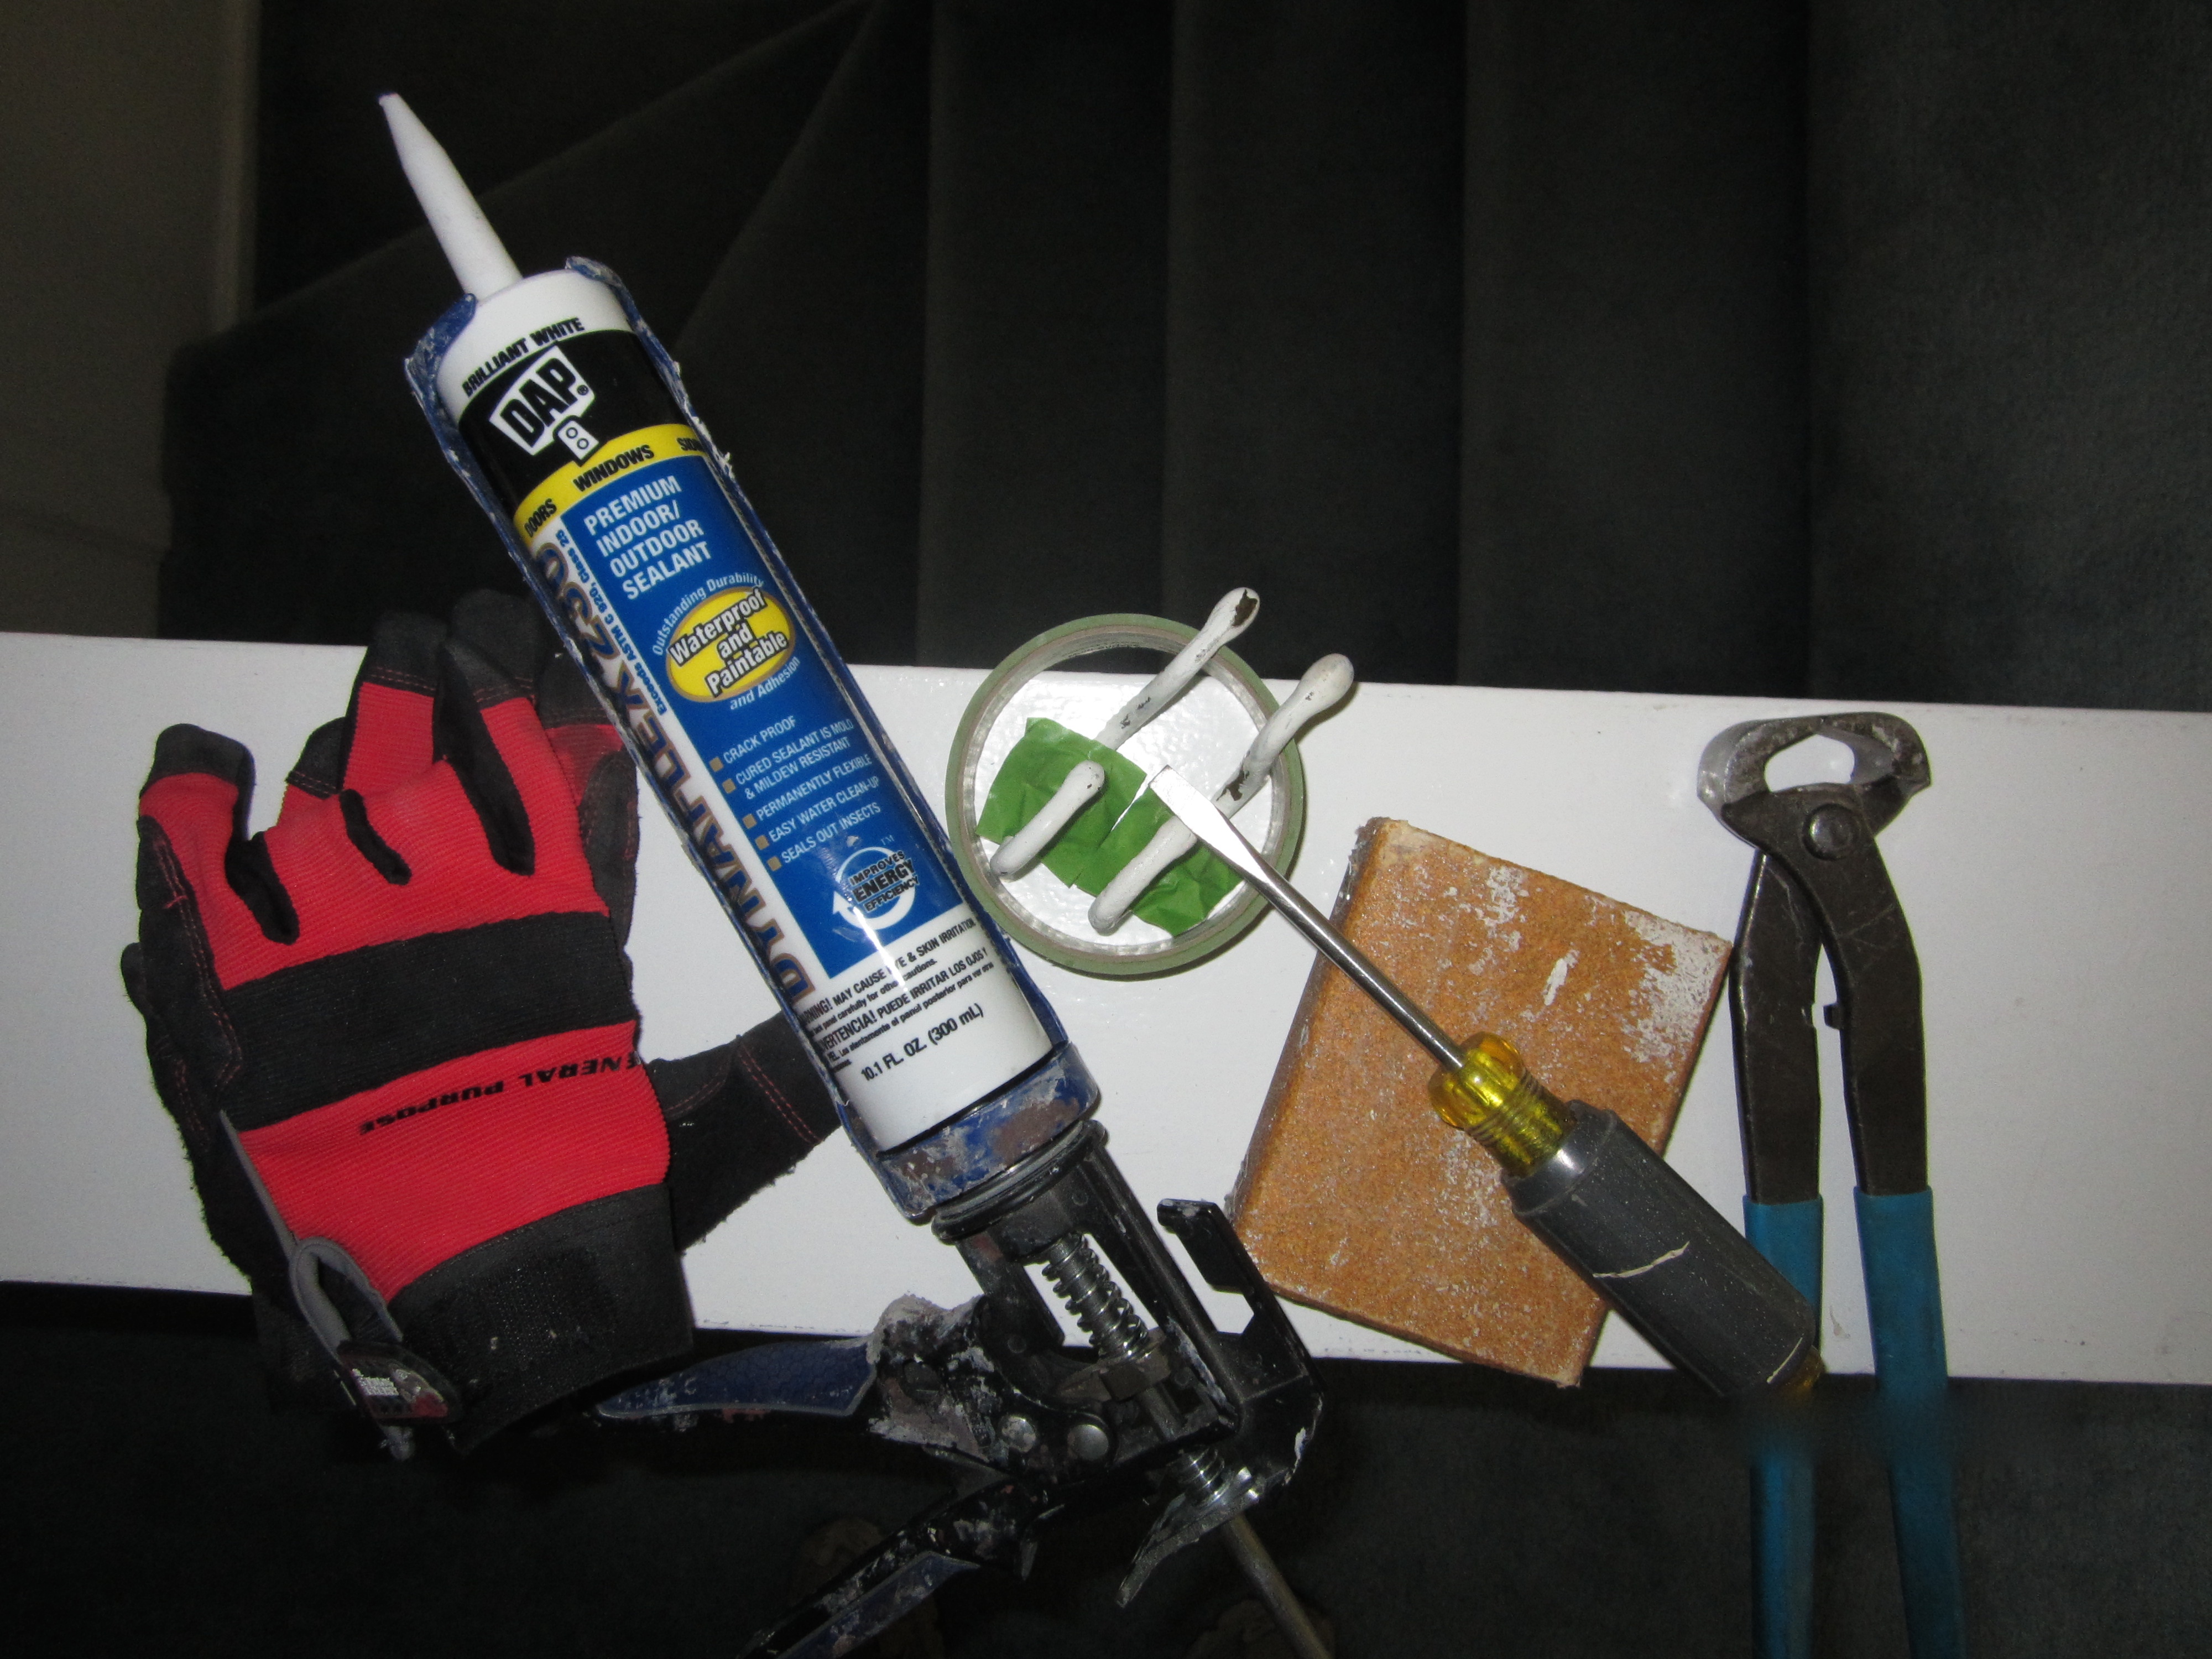
New work gloves and tools at the ready.
Step one – clean and prep for painting.
I removed two robe hooks and the clothes rod. Vacuumed and wiped down the surfaces. Sanded a few rough areas and old paint drips. Caulked cracks and nail holes.
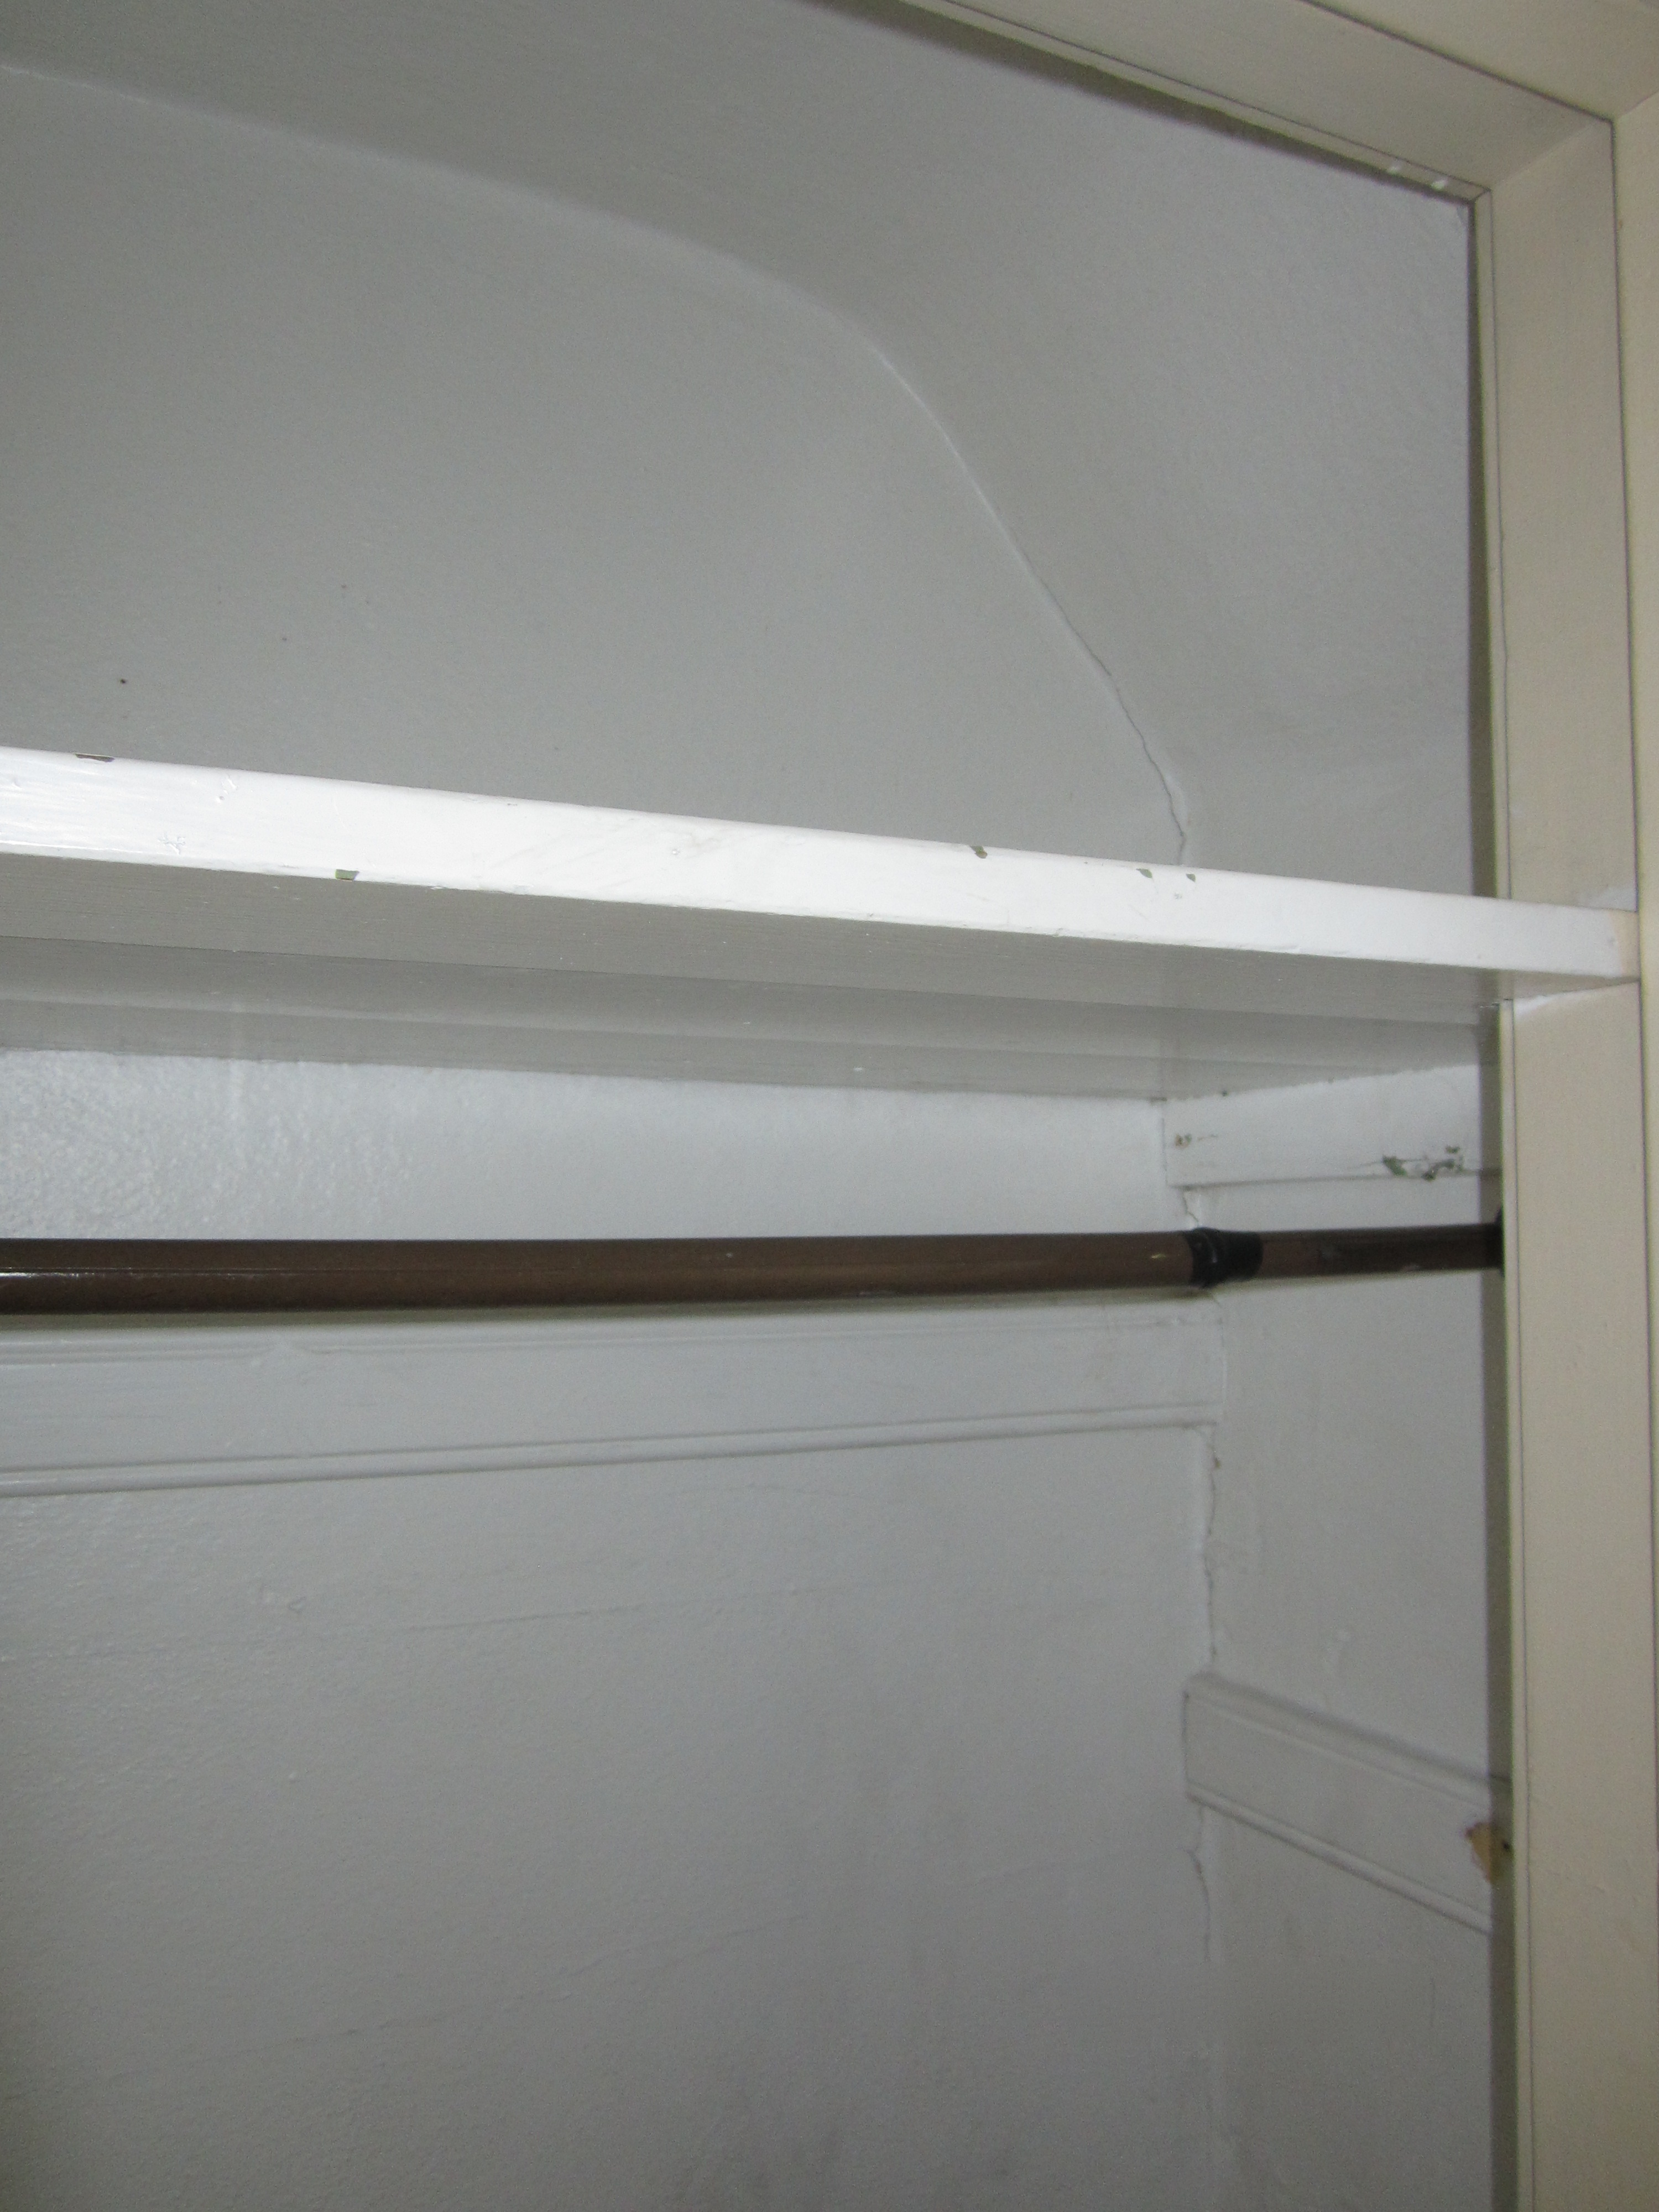
‘Bye old rod.

Cleaned and caulked. Say that 5 times fast!
Step two – paint.
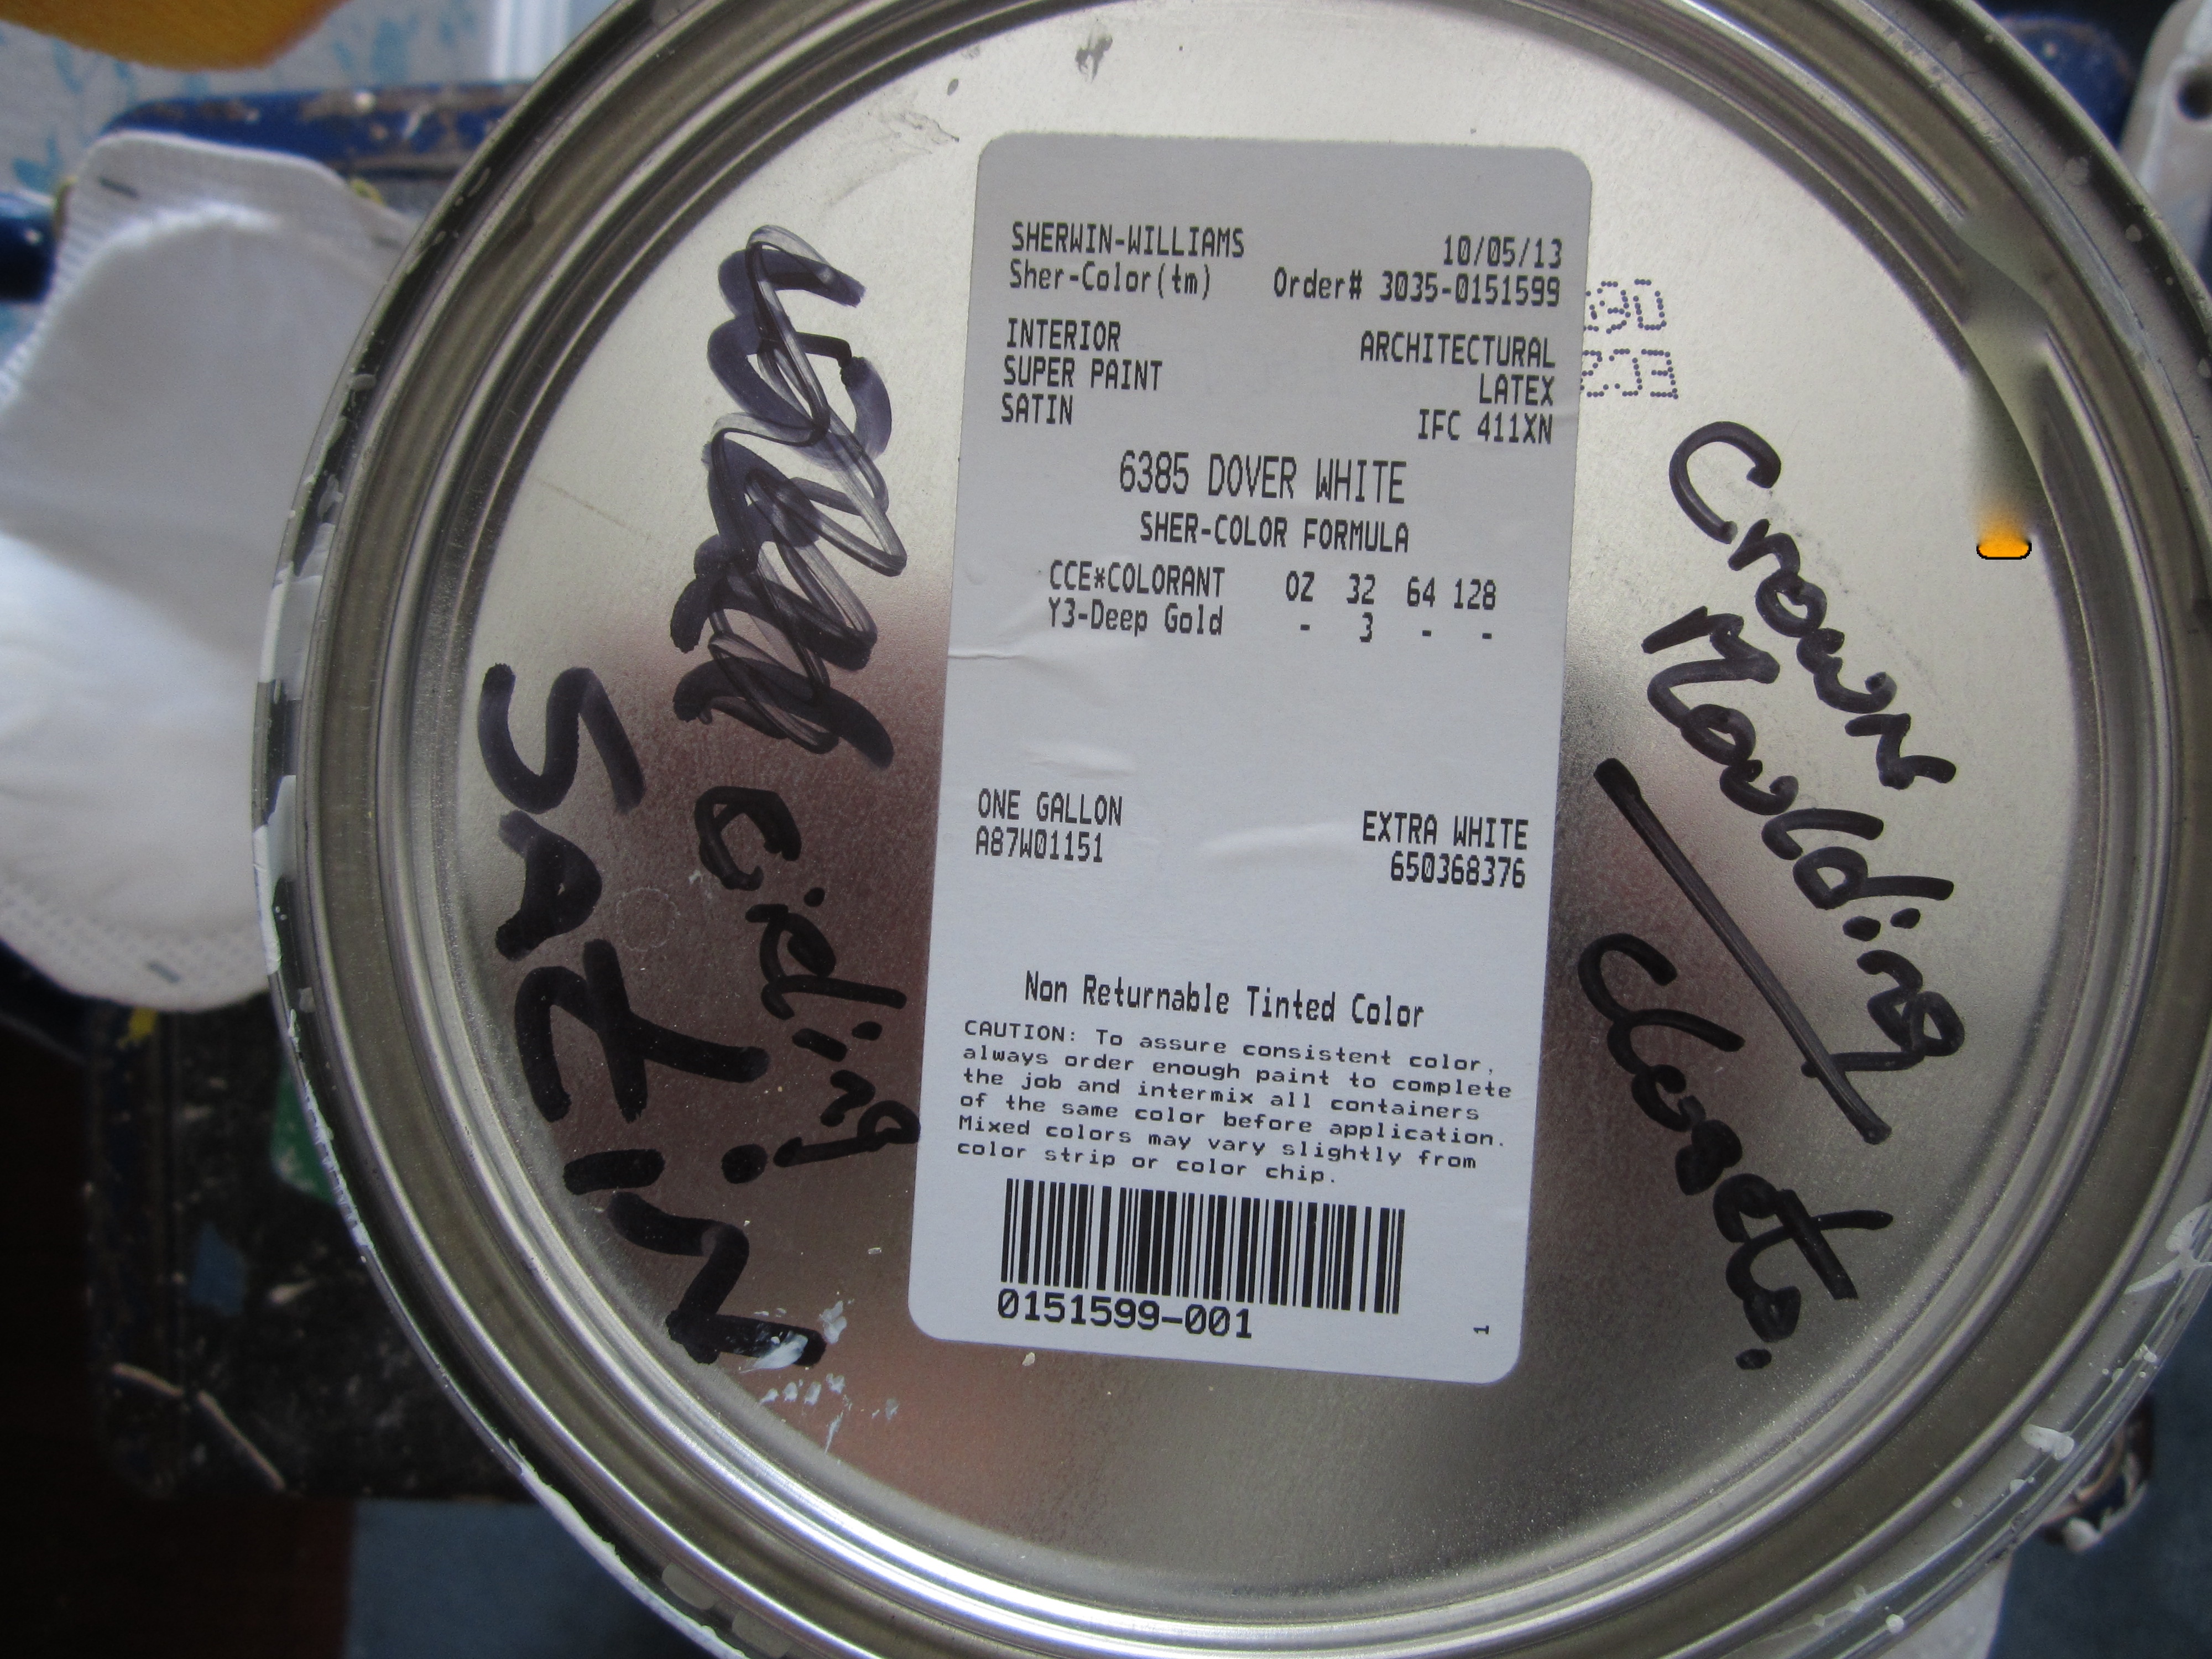
Sherwin-Williams “Dover White” in satin finish.
I chose not to prime because I wasn’t painting raw wood and my new paint color was so similar to the existing color. Also, mark the paint cans with the room they were used in, saves on future aggravation.
I painted all surfaces, ceiling to floor trim.
There’s that blue step stool again.
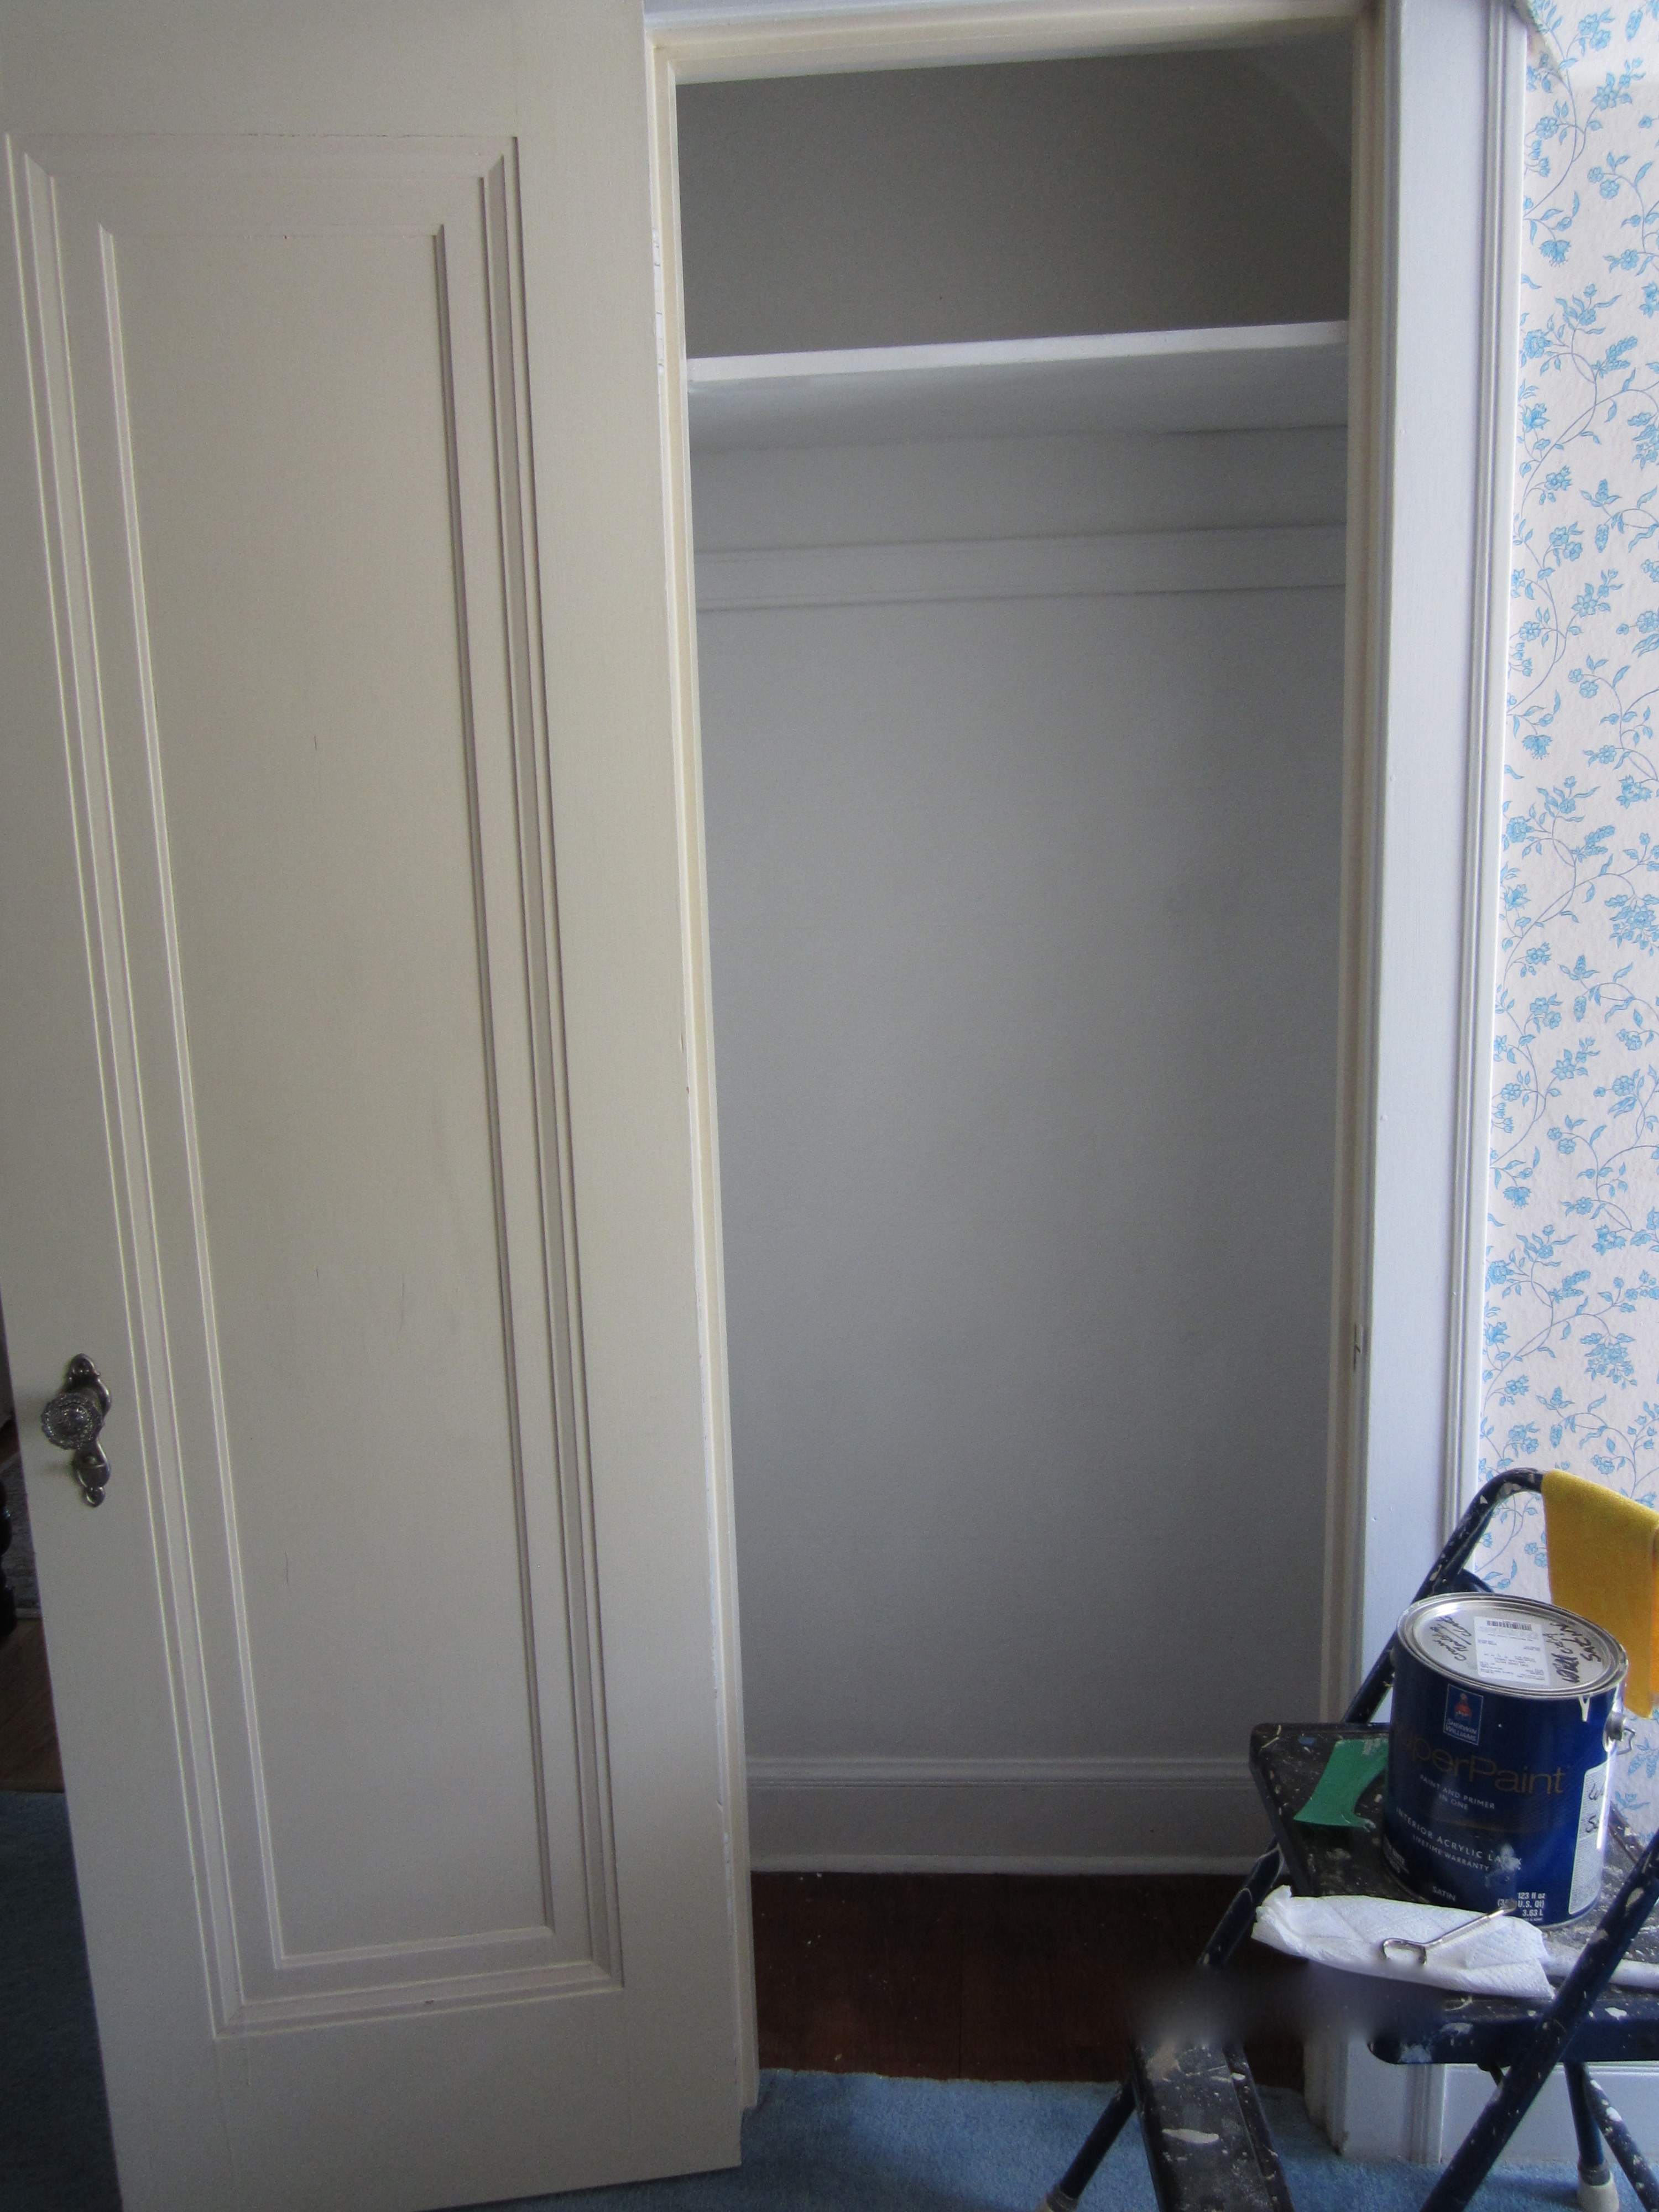
An executive decision was made not to refinish the closet door right now. That will happen when we restore the upstairs wood surfaces. Now the space is fresh and ready for …
Step three – install shelving.
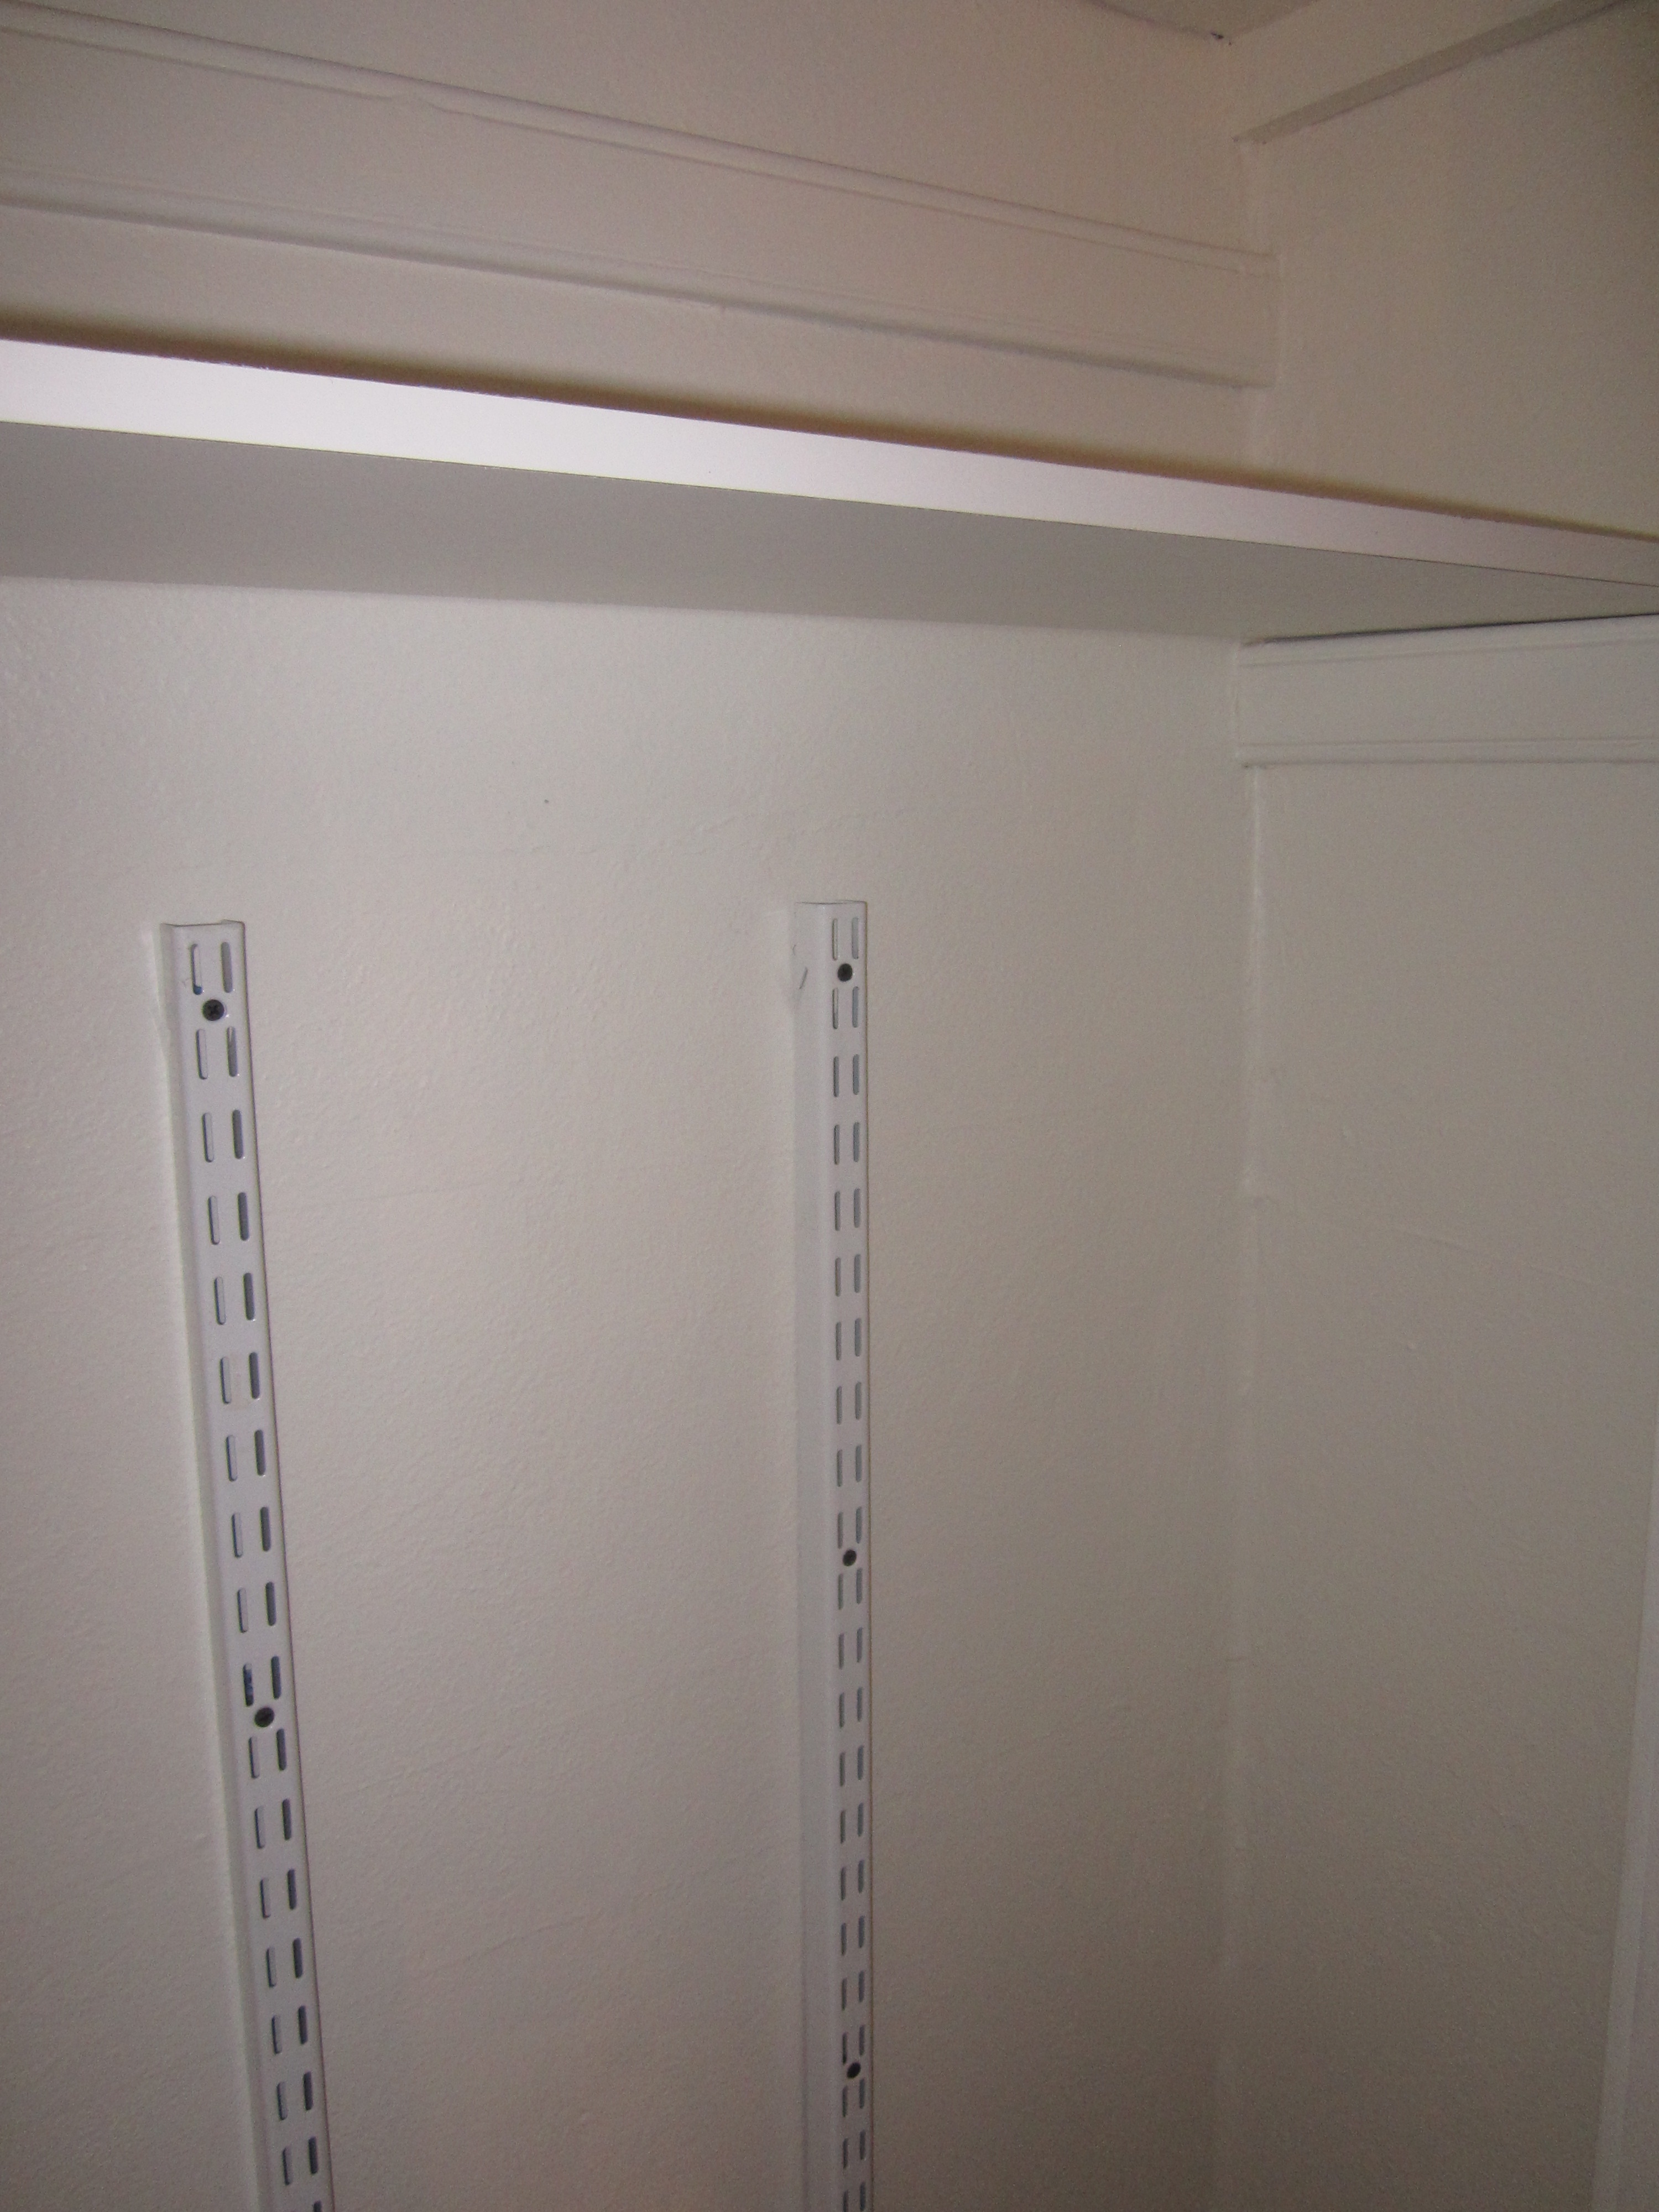
Straight forward shelving brackets. Utilitarian in look and purpose.
The 10″ wide shelving system was purchased at our local Ace Hardware. For DIY geeks like us, it’s a candy store! Two wall brackets, five shelves and 10 shelf supports cost around $200. We could have spent a lot more time and money on this project, but opted to keep it very simple.
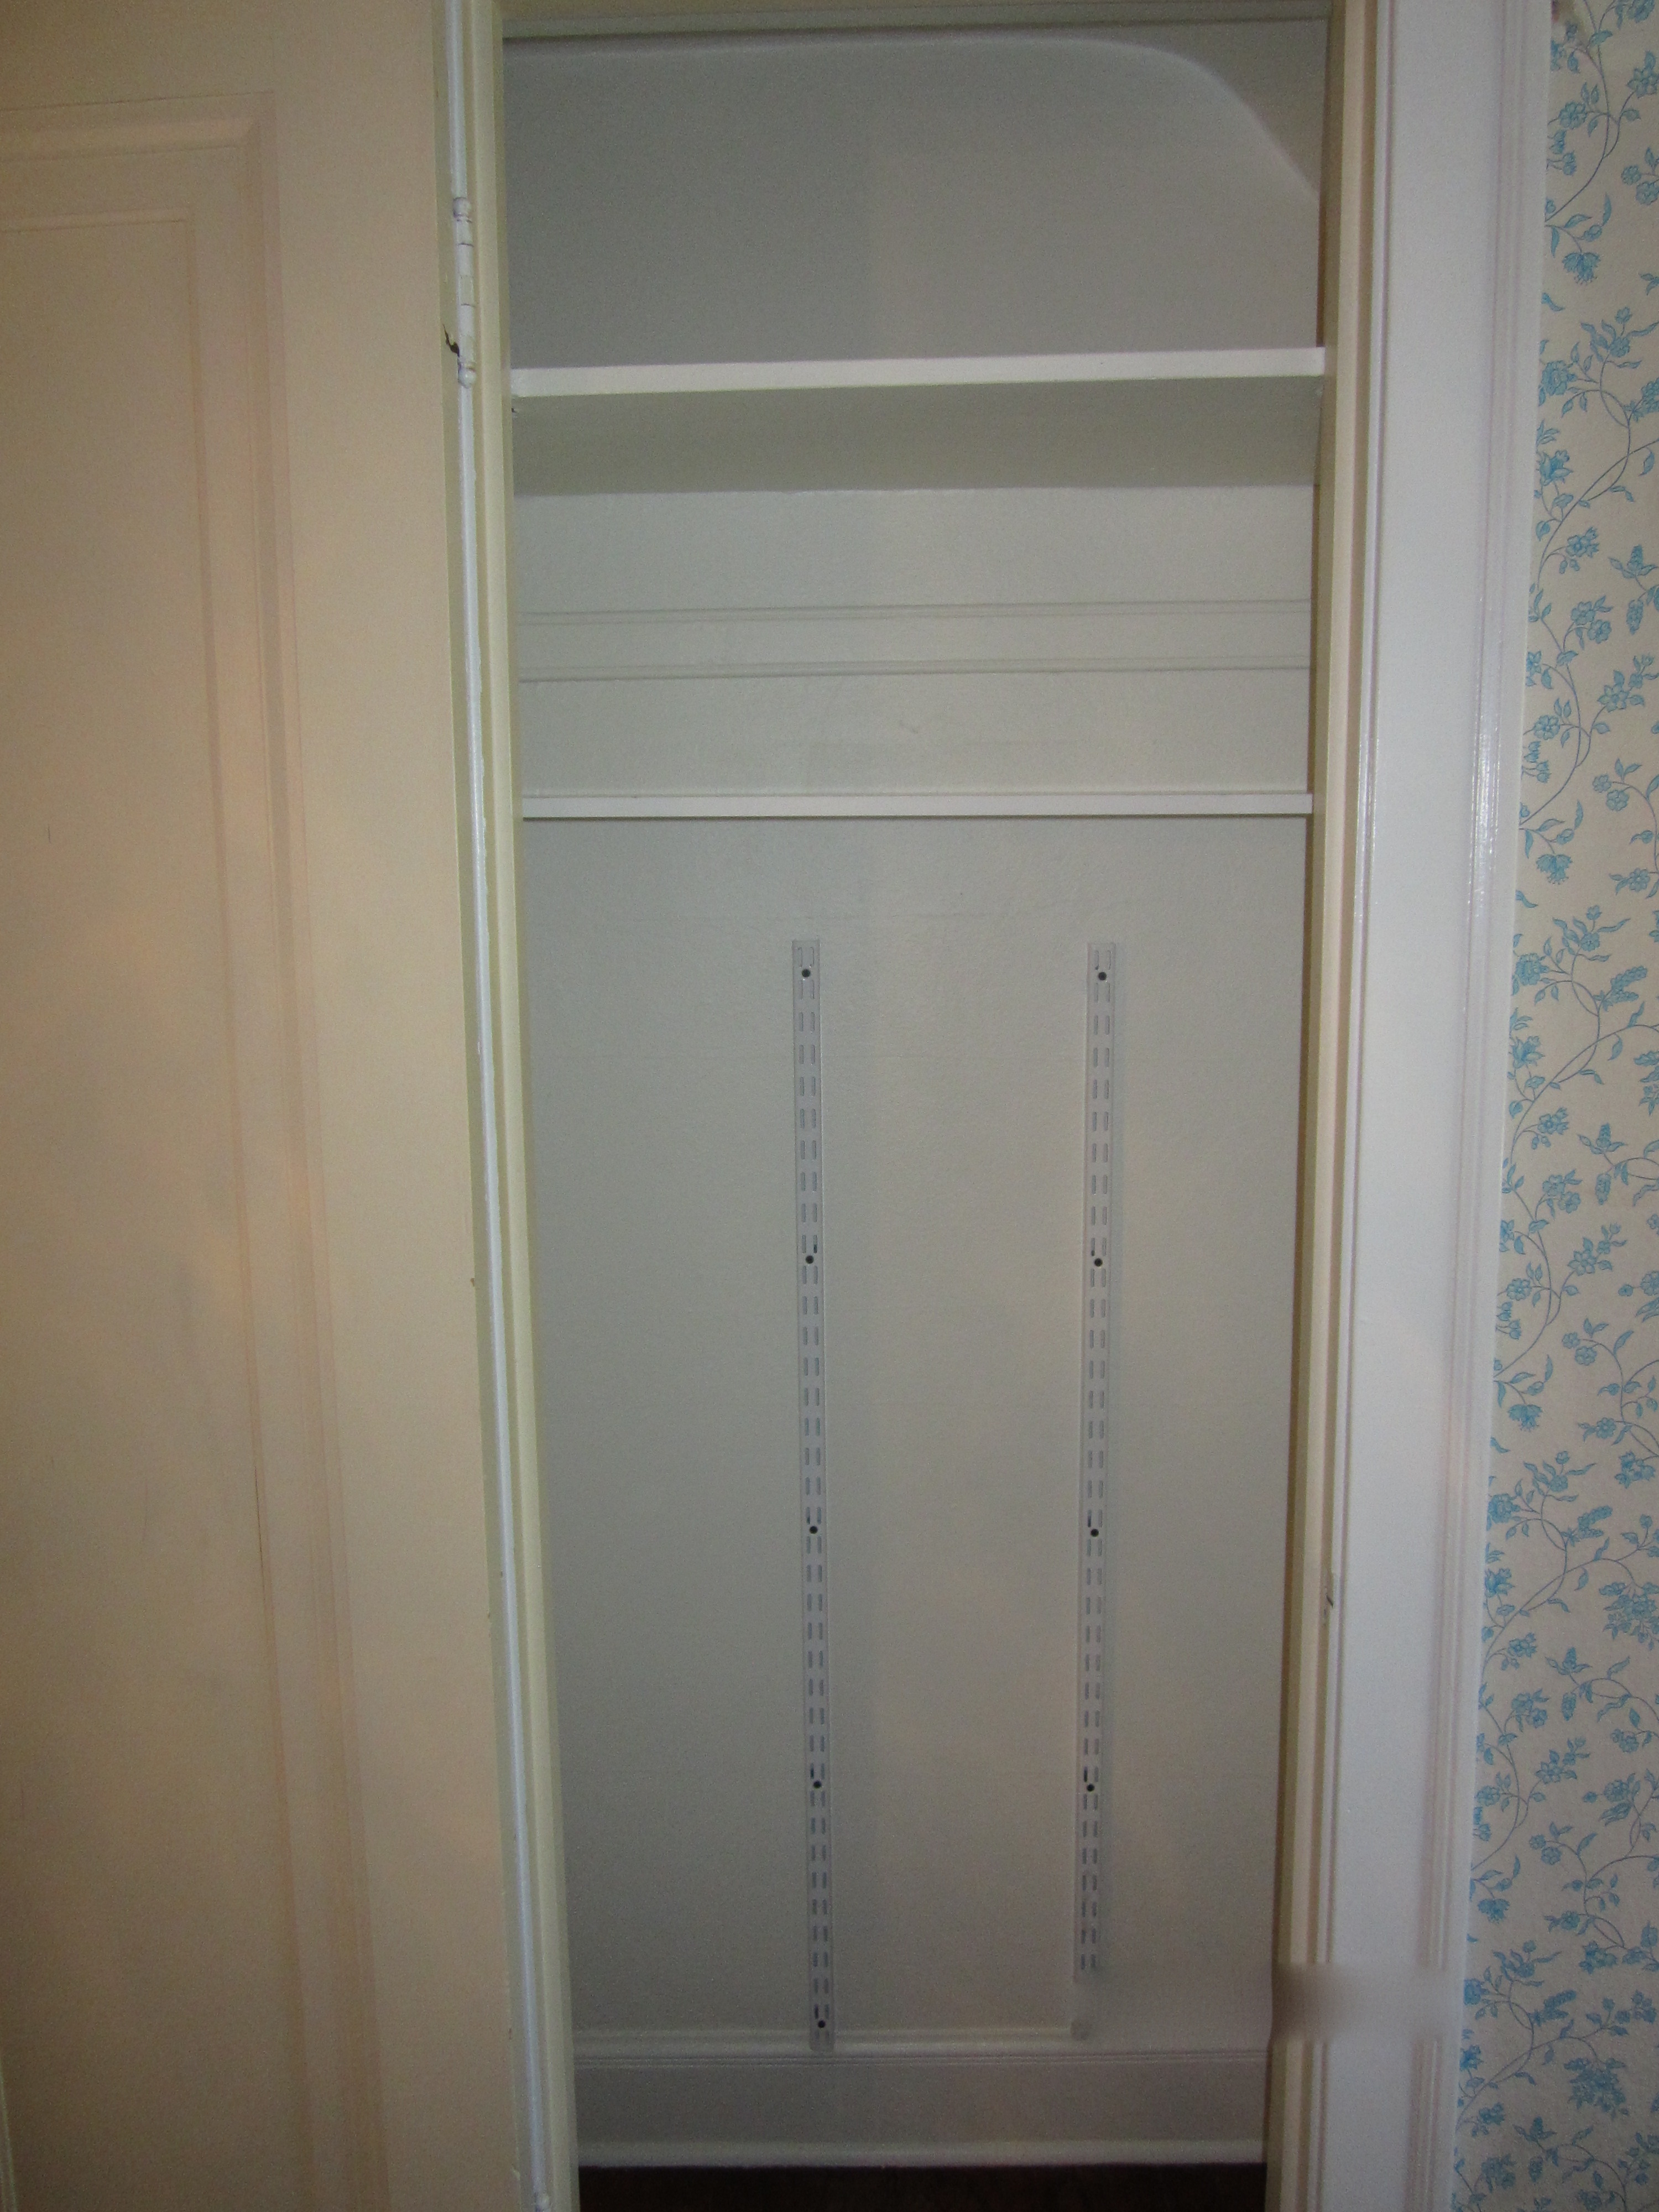
Brackets in, I trimmed the shelves to fit.
Step four – organize.
I have three bed sizes in the house and the all the sheets had become mixed up. So I took the time to refold every sheet and organize by bed size.Yes, I labeled the shelves.
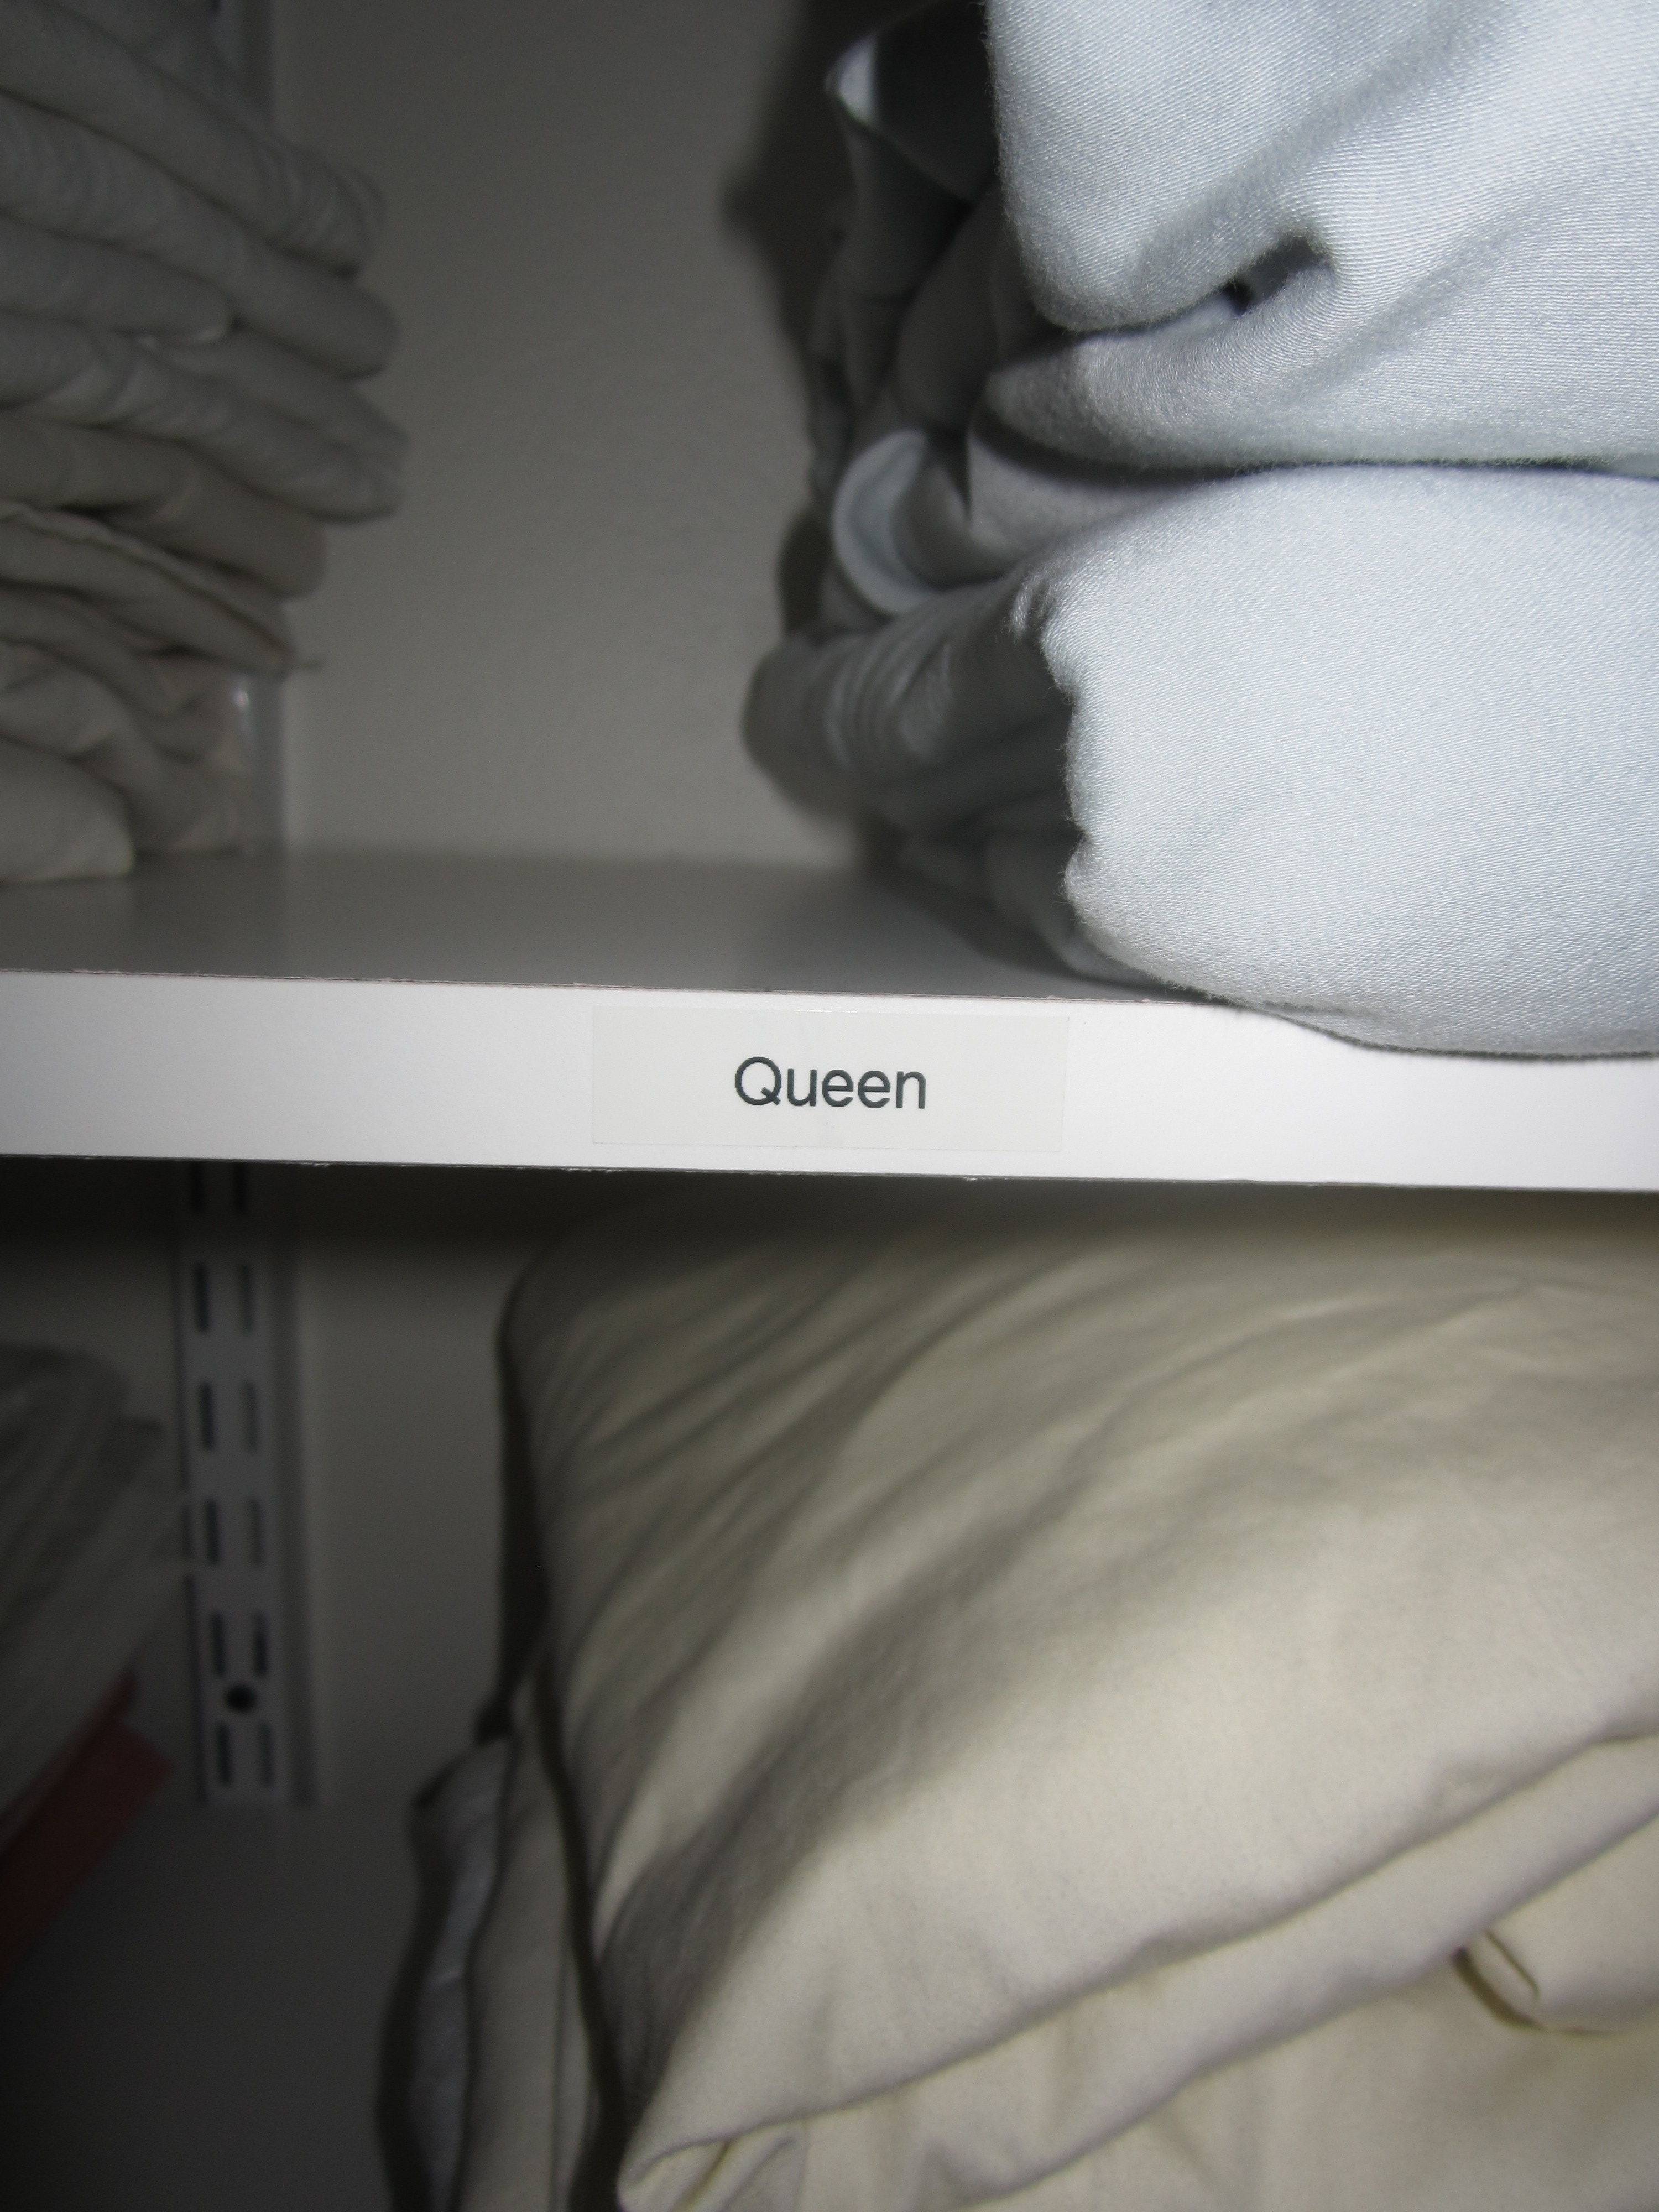
Really, labels are a good thing.
The OCD portion of my brain is happy.
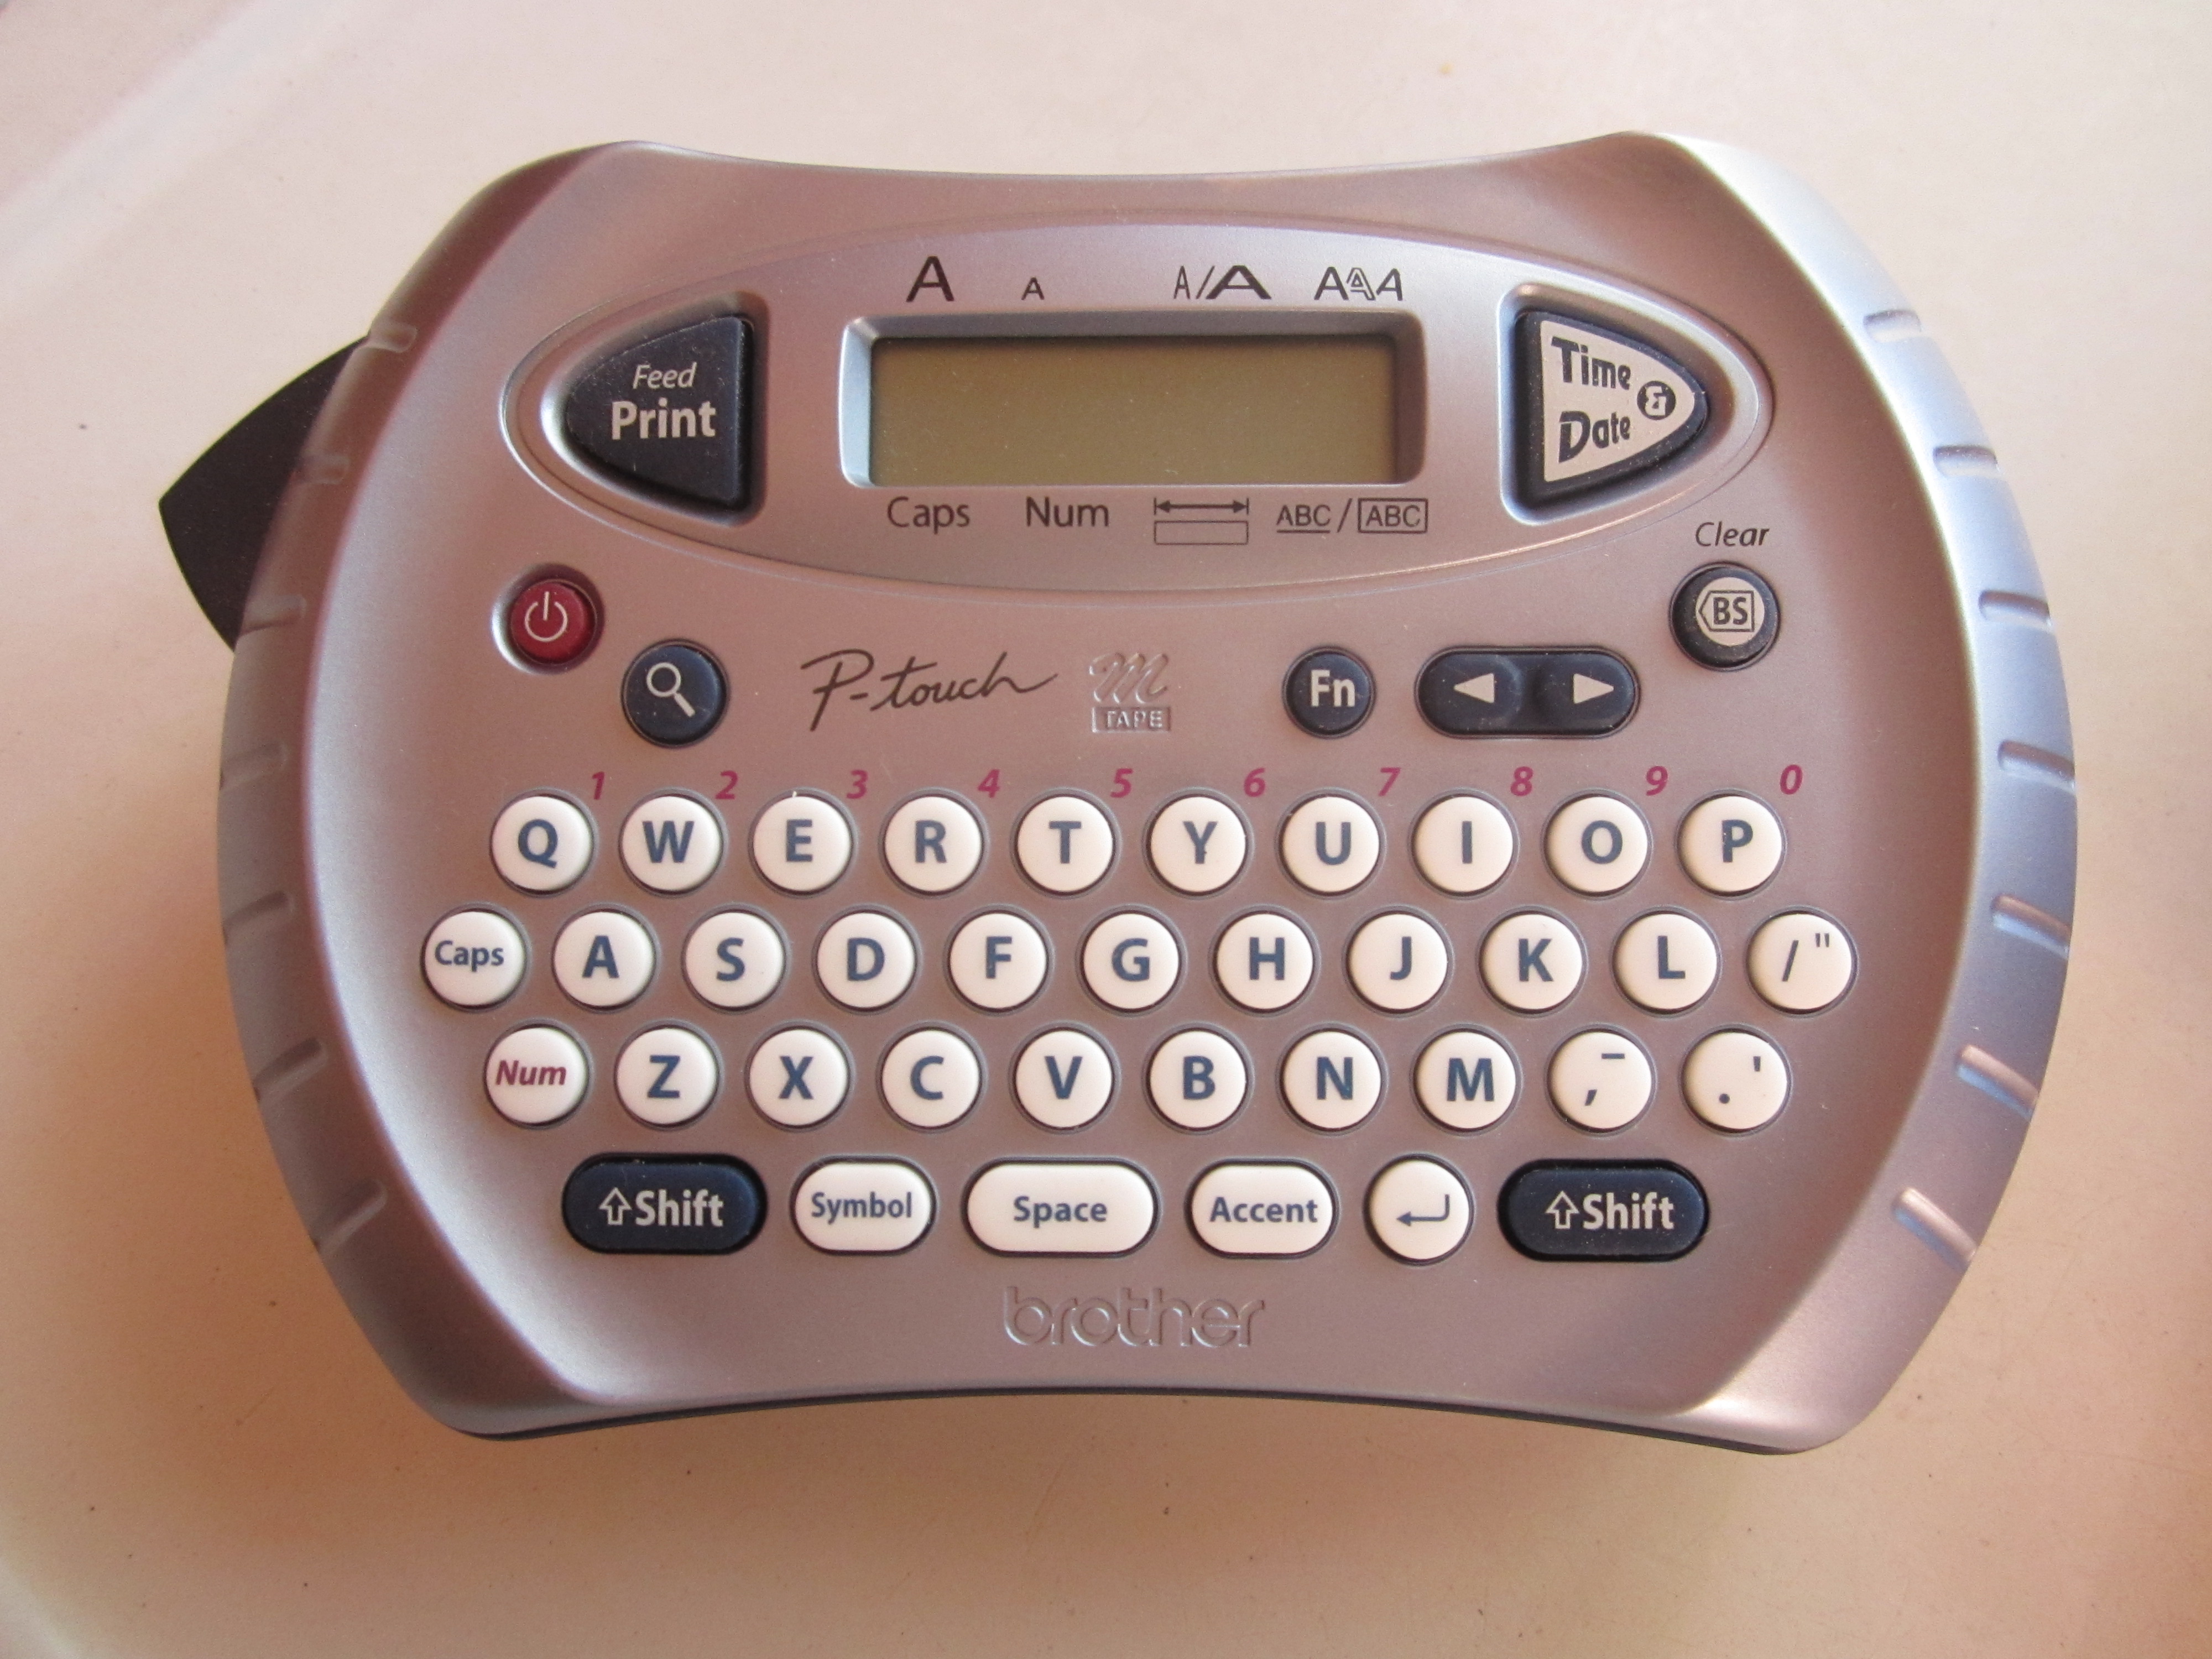
My friend, the Brother label maker.
By the way, see the closet floor? That is the original floor. Such a beautiful rich tone.

Gorgeous.
Step five – celebrate the small victories!
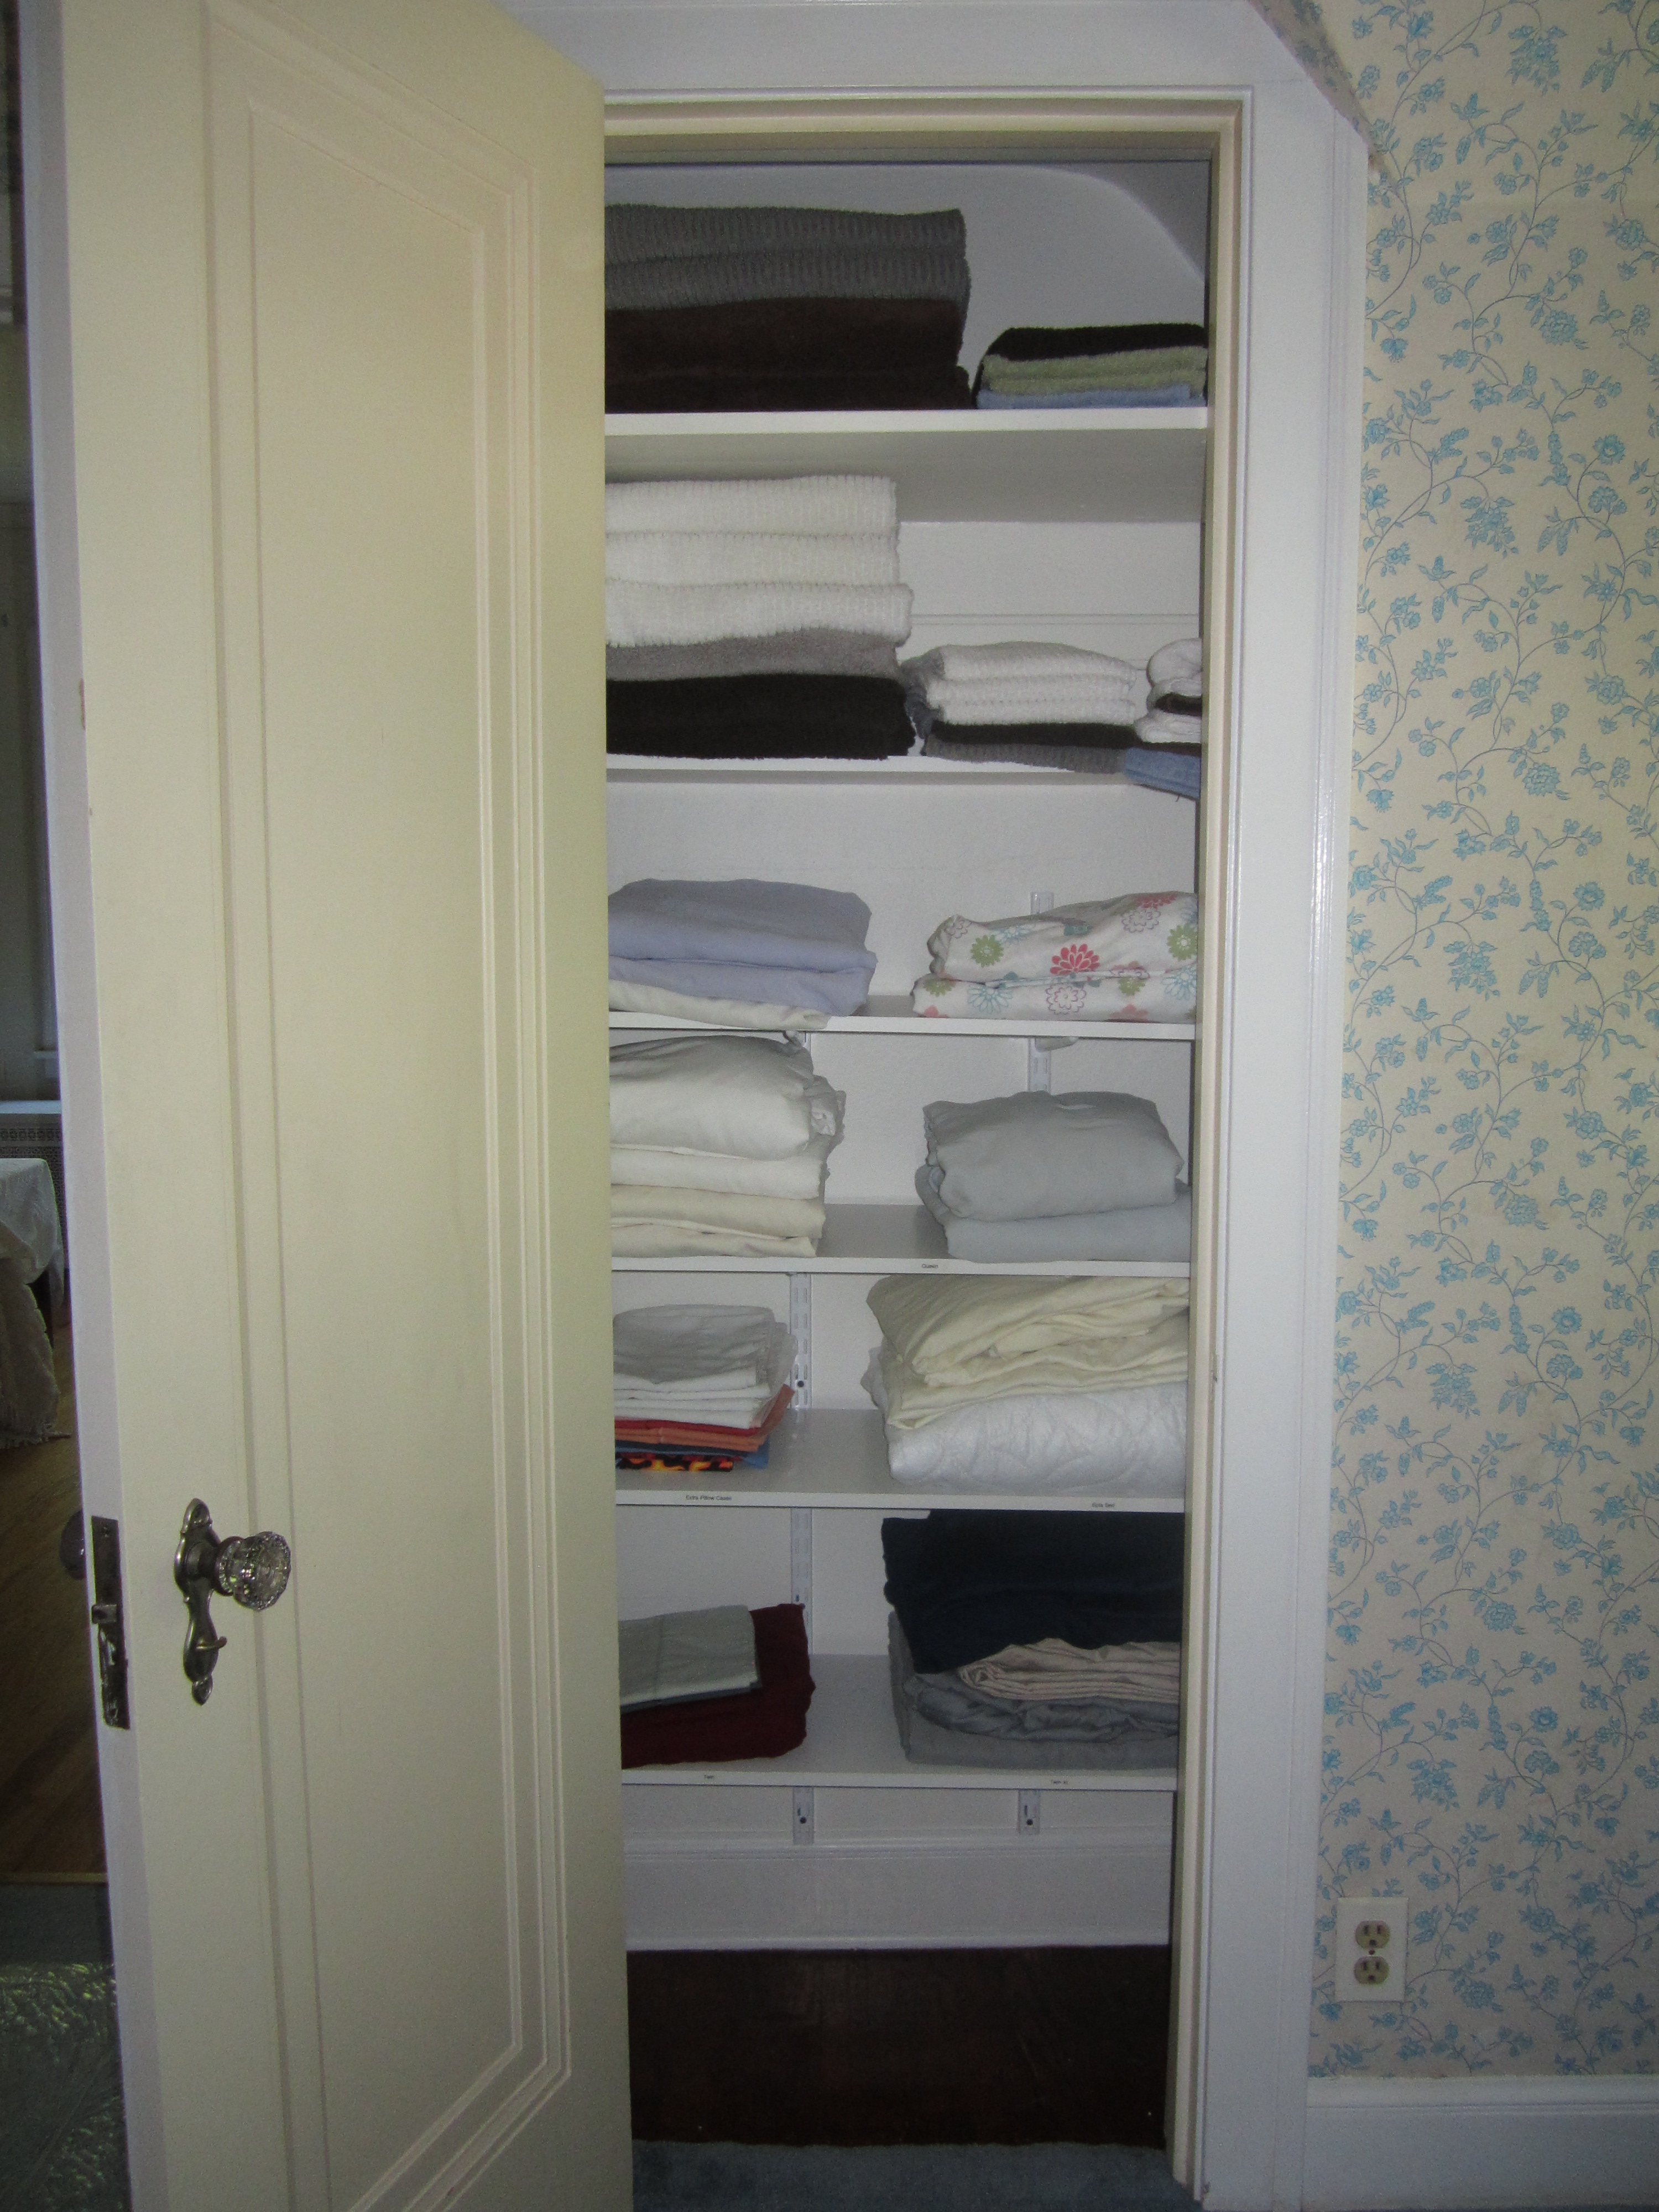
Yea, a linen closet!
One more item checked off the list. Organized household items. True bliss.
