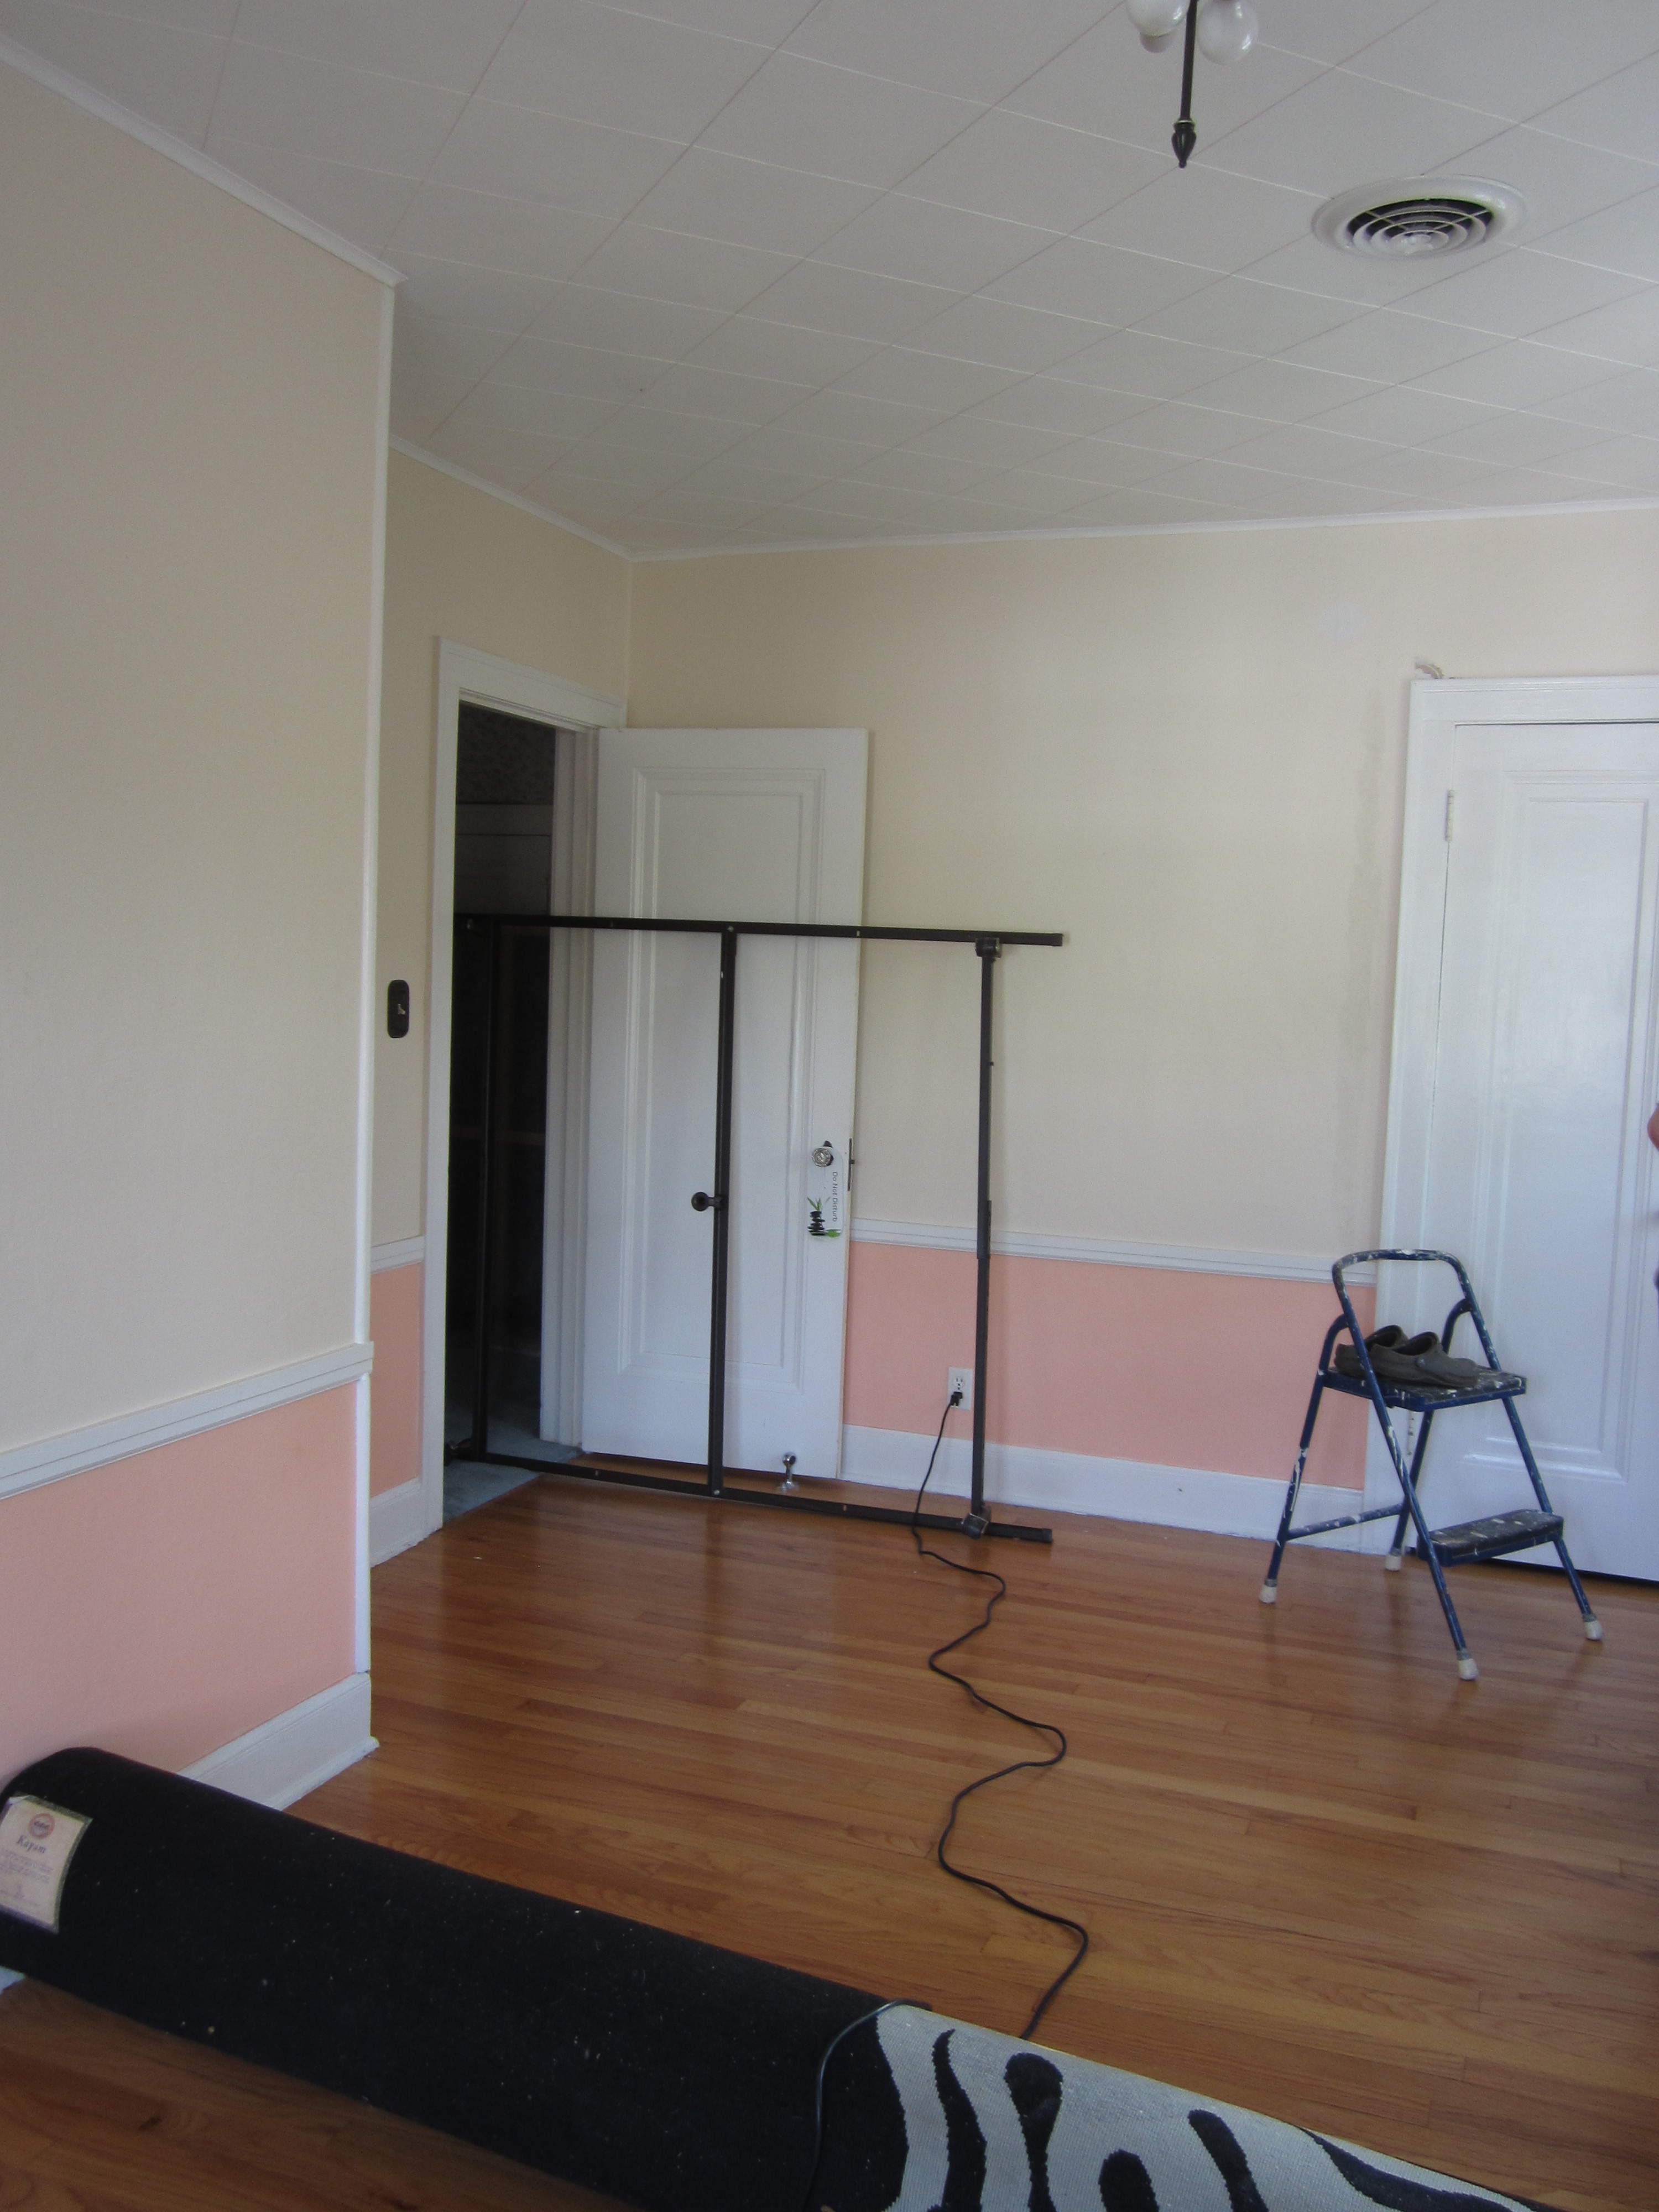
Our son has been living in a girly peach-colored bedroom for the past two years. No amount of Batman posters, Xbox games or piles of dirty clothes can change this sad fact. To his credit, he hasn’t complained as we ignored his room and worked on other projects. But now, the time has come. Let’s go to Sherwin-Williams!
He chose two colors: Rare Gray (SW6199) for above the chair rail and Secret Garden (SW6181) for below the chair rail. The trims, doors and closet would be in Dover White (SW6385), the same as the rest of the house trim.

Sherwin- Williams colors.
The prep for this project took a full day, including the moving out process and cleaning the room, (vacuuming, cleaning windows, removing dead bodies, burning sage, etc.).

Starting the prep.
Ready for repairs, taping and priming.
The window you see taped in green, (pictured below), is actually a mini door to the roof. The remaining bedroom windows still need serious refurbishing, so to stay in our timeframe, we only repaired and painted the window casings and sills. Live to fight another day! There’s always another project waiting in the wings.
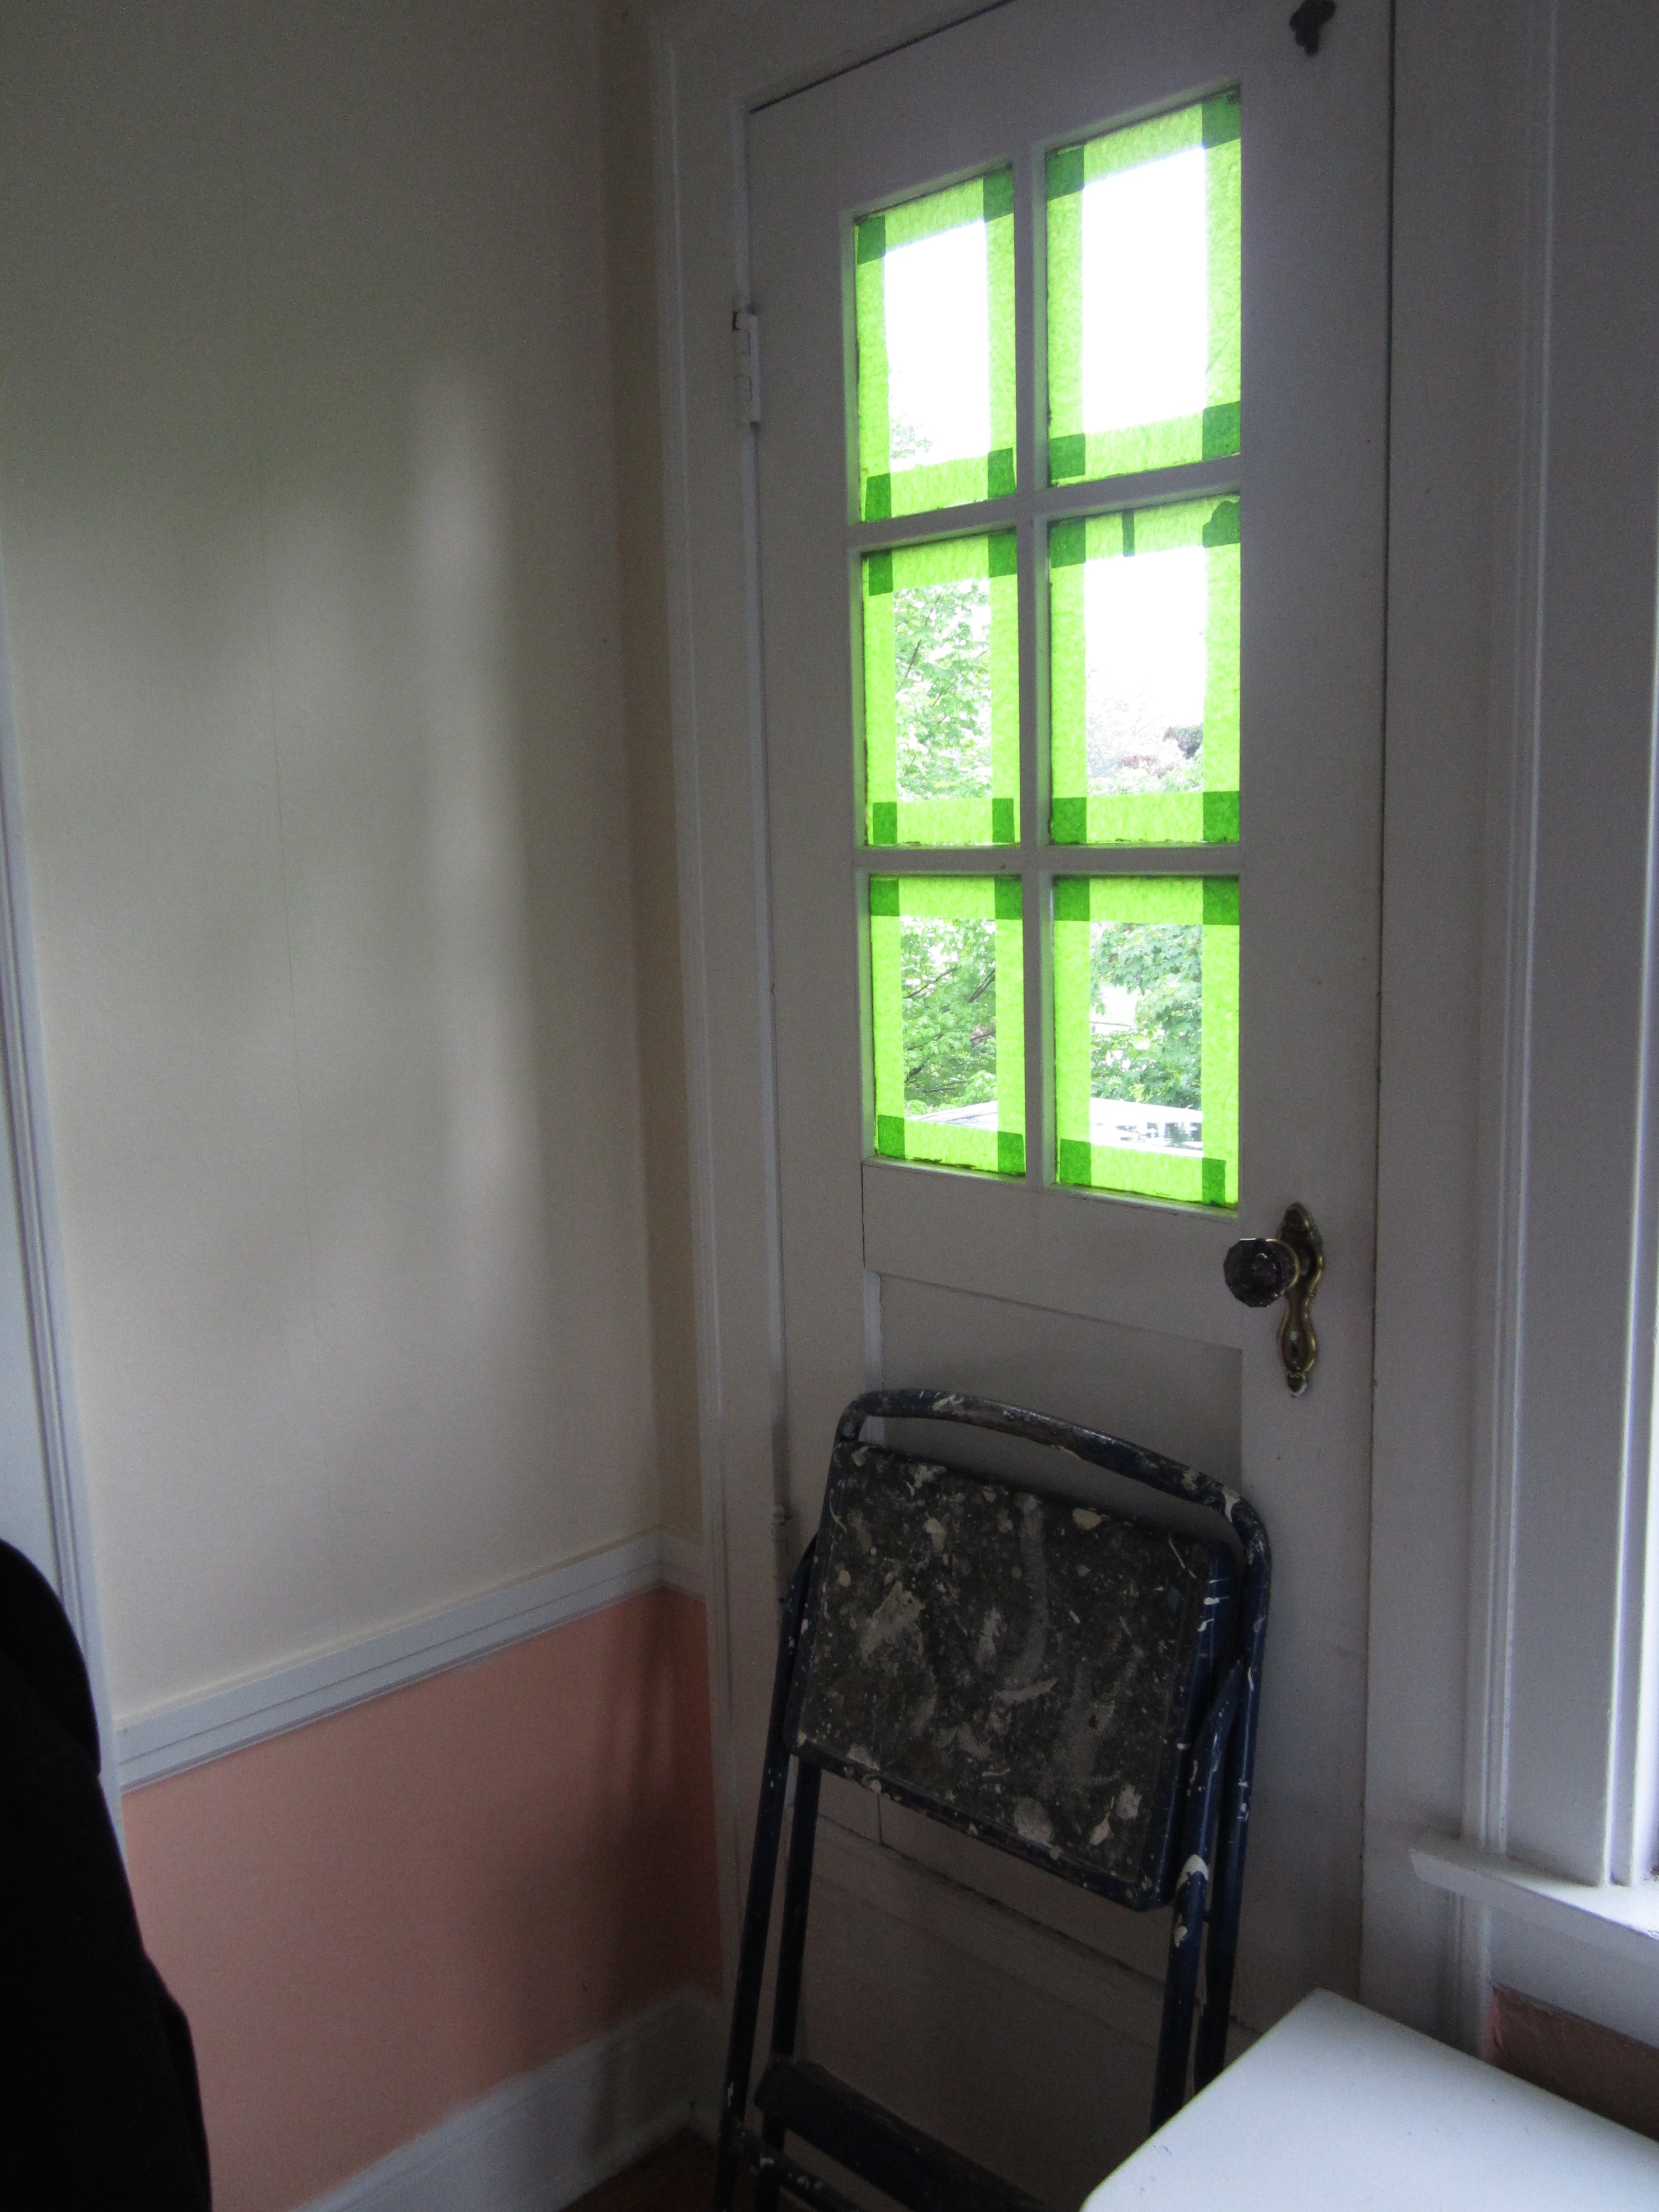
Miniature door to roof.

A rainy day, perfect for prepping the room.
There were a small number of cracks in the walls and closet. Years ago, a sheetrock contractor showed us how to repair wall cracks that flex. It works and keeps the cracks from coming back.
First, open up the crack to remove debris and create a clean surface to repair.

1 – Opening and clearing cracks in the plaster.
Second, fill the crack with caulk, smoothing it with a damp cloth. This adds some elasticity to the crack, possibly keeping a future crack from making it to the wall surface.

2 – Cracks in the closet ceiling, caulked.
Third, take drywall compound and smooth this onto the crack. It’s a great idea to get to this point before lunch. That hour-long lunch break will give the compound time to completely dry, (plus, you deserve the rest). Once it’s dry, sand lightly by hand and you are ready for primer.
3 – Cracks in the plaster, repaired and ready for primer.
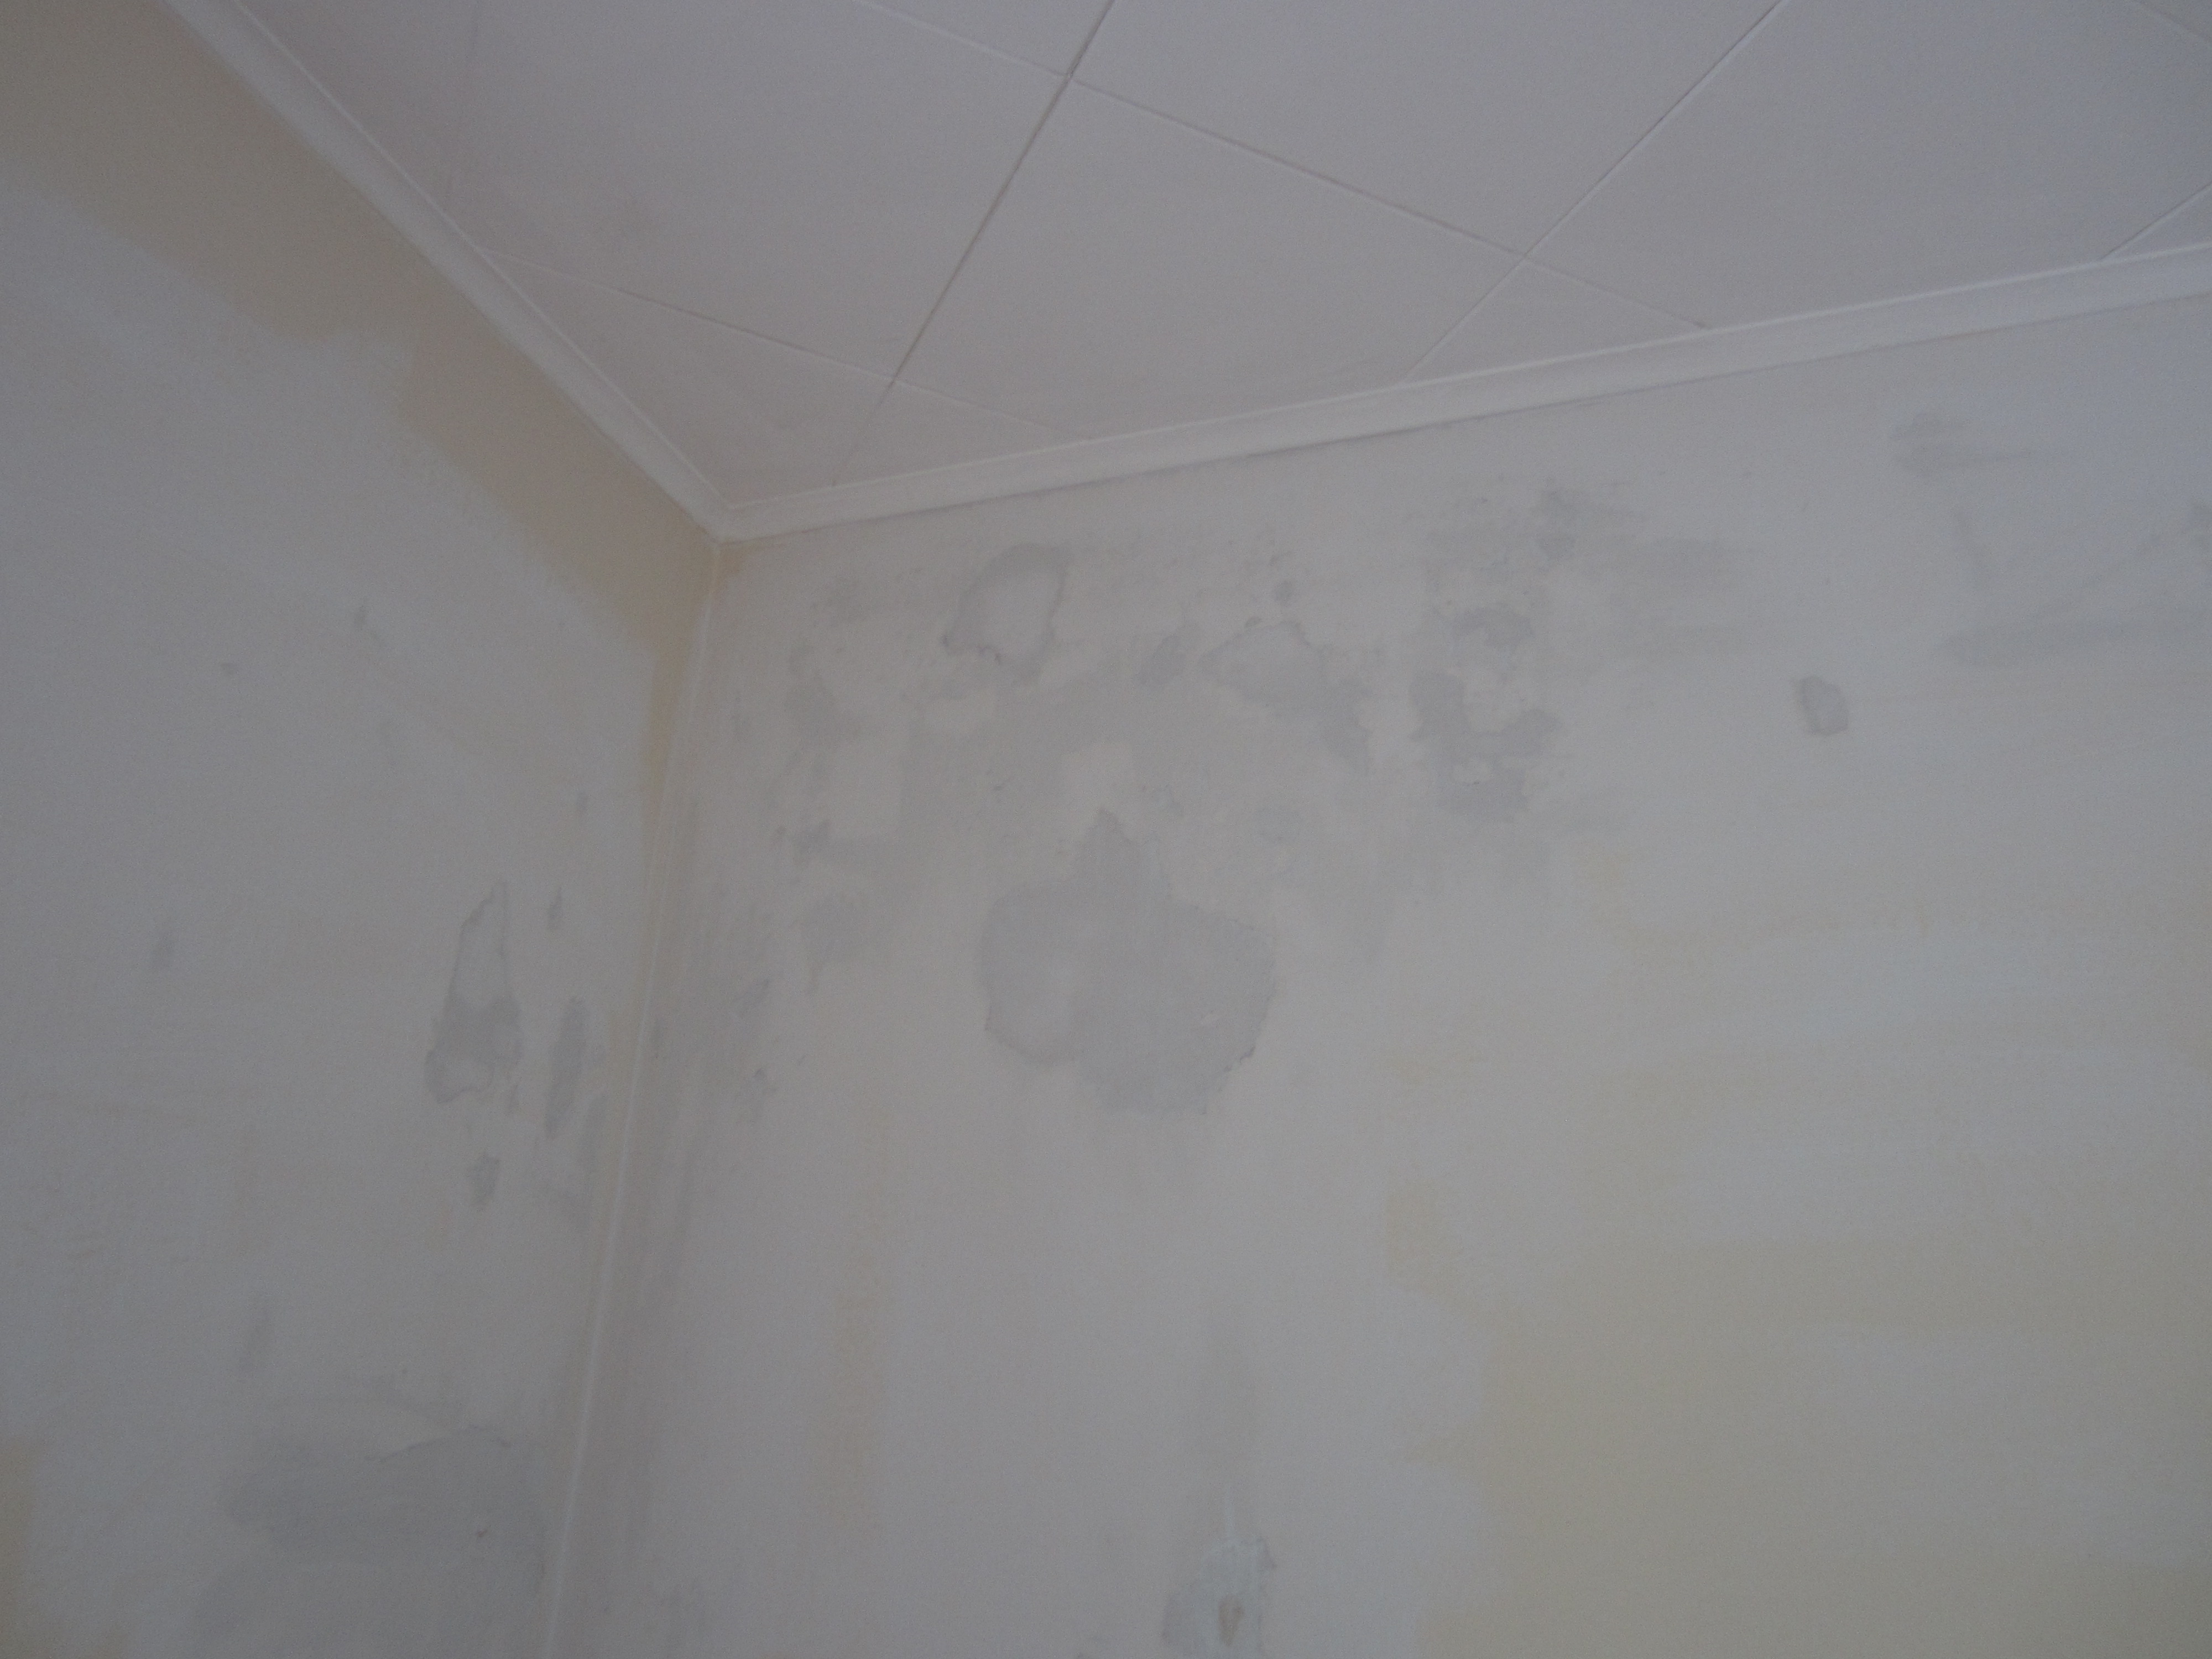
One note about the walls. They had a lot of imperfections which we wanted to minimize, but were not so bad that we wanted to re-plaster…..
From the school of ‘Man we really Screwed that Up’ or MSU, we have learned to skim the imperfections with dry wall mud, prime the wall and then roll on thinned drywall compound (consistency of pancake batter). Works like a charm.
Primer on!

Primer going on, say goodbye to girly peach!

Call for pizza, we’re done for the day.
When dealing with multiple colors, plan first, paint later. To get a clean line, paint the trim first, then cut the line with the wall paint. After having done this in five previous houses we forgot and had to paint and cut trim twice. Think ahead??
All of the upstairs wood trim is painted – original to the house and period specific.There is a LOT of trim in the room – it took three full days to finish painting.
My son took the radiator cover off, sanded and painted it in the trim color. Looks like new.

Color up top.
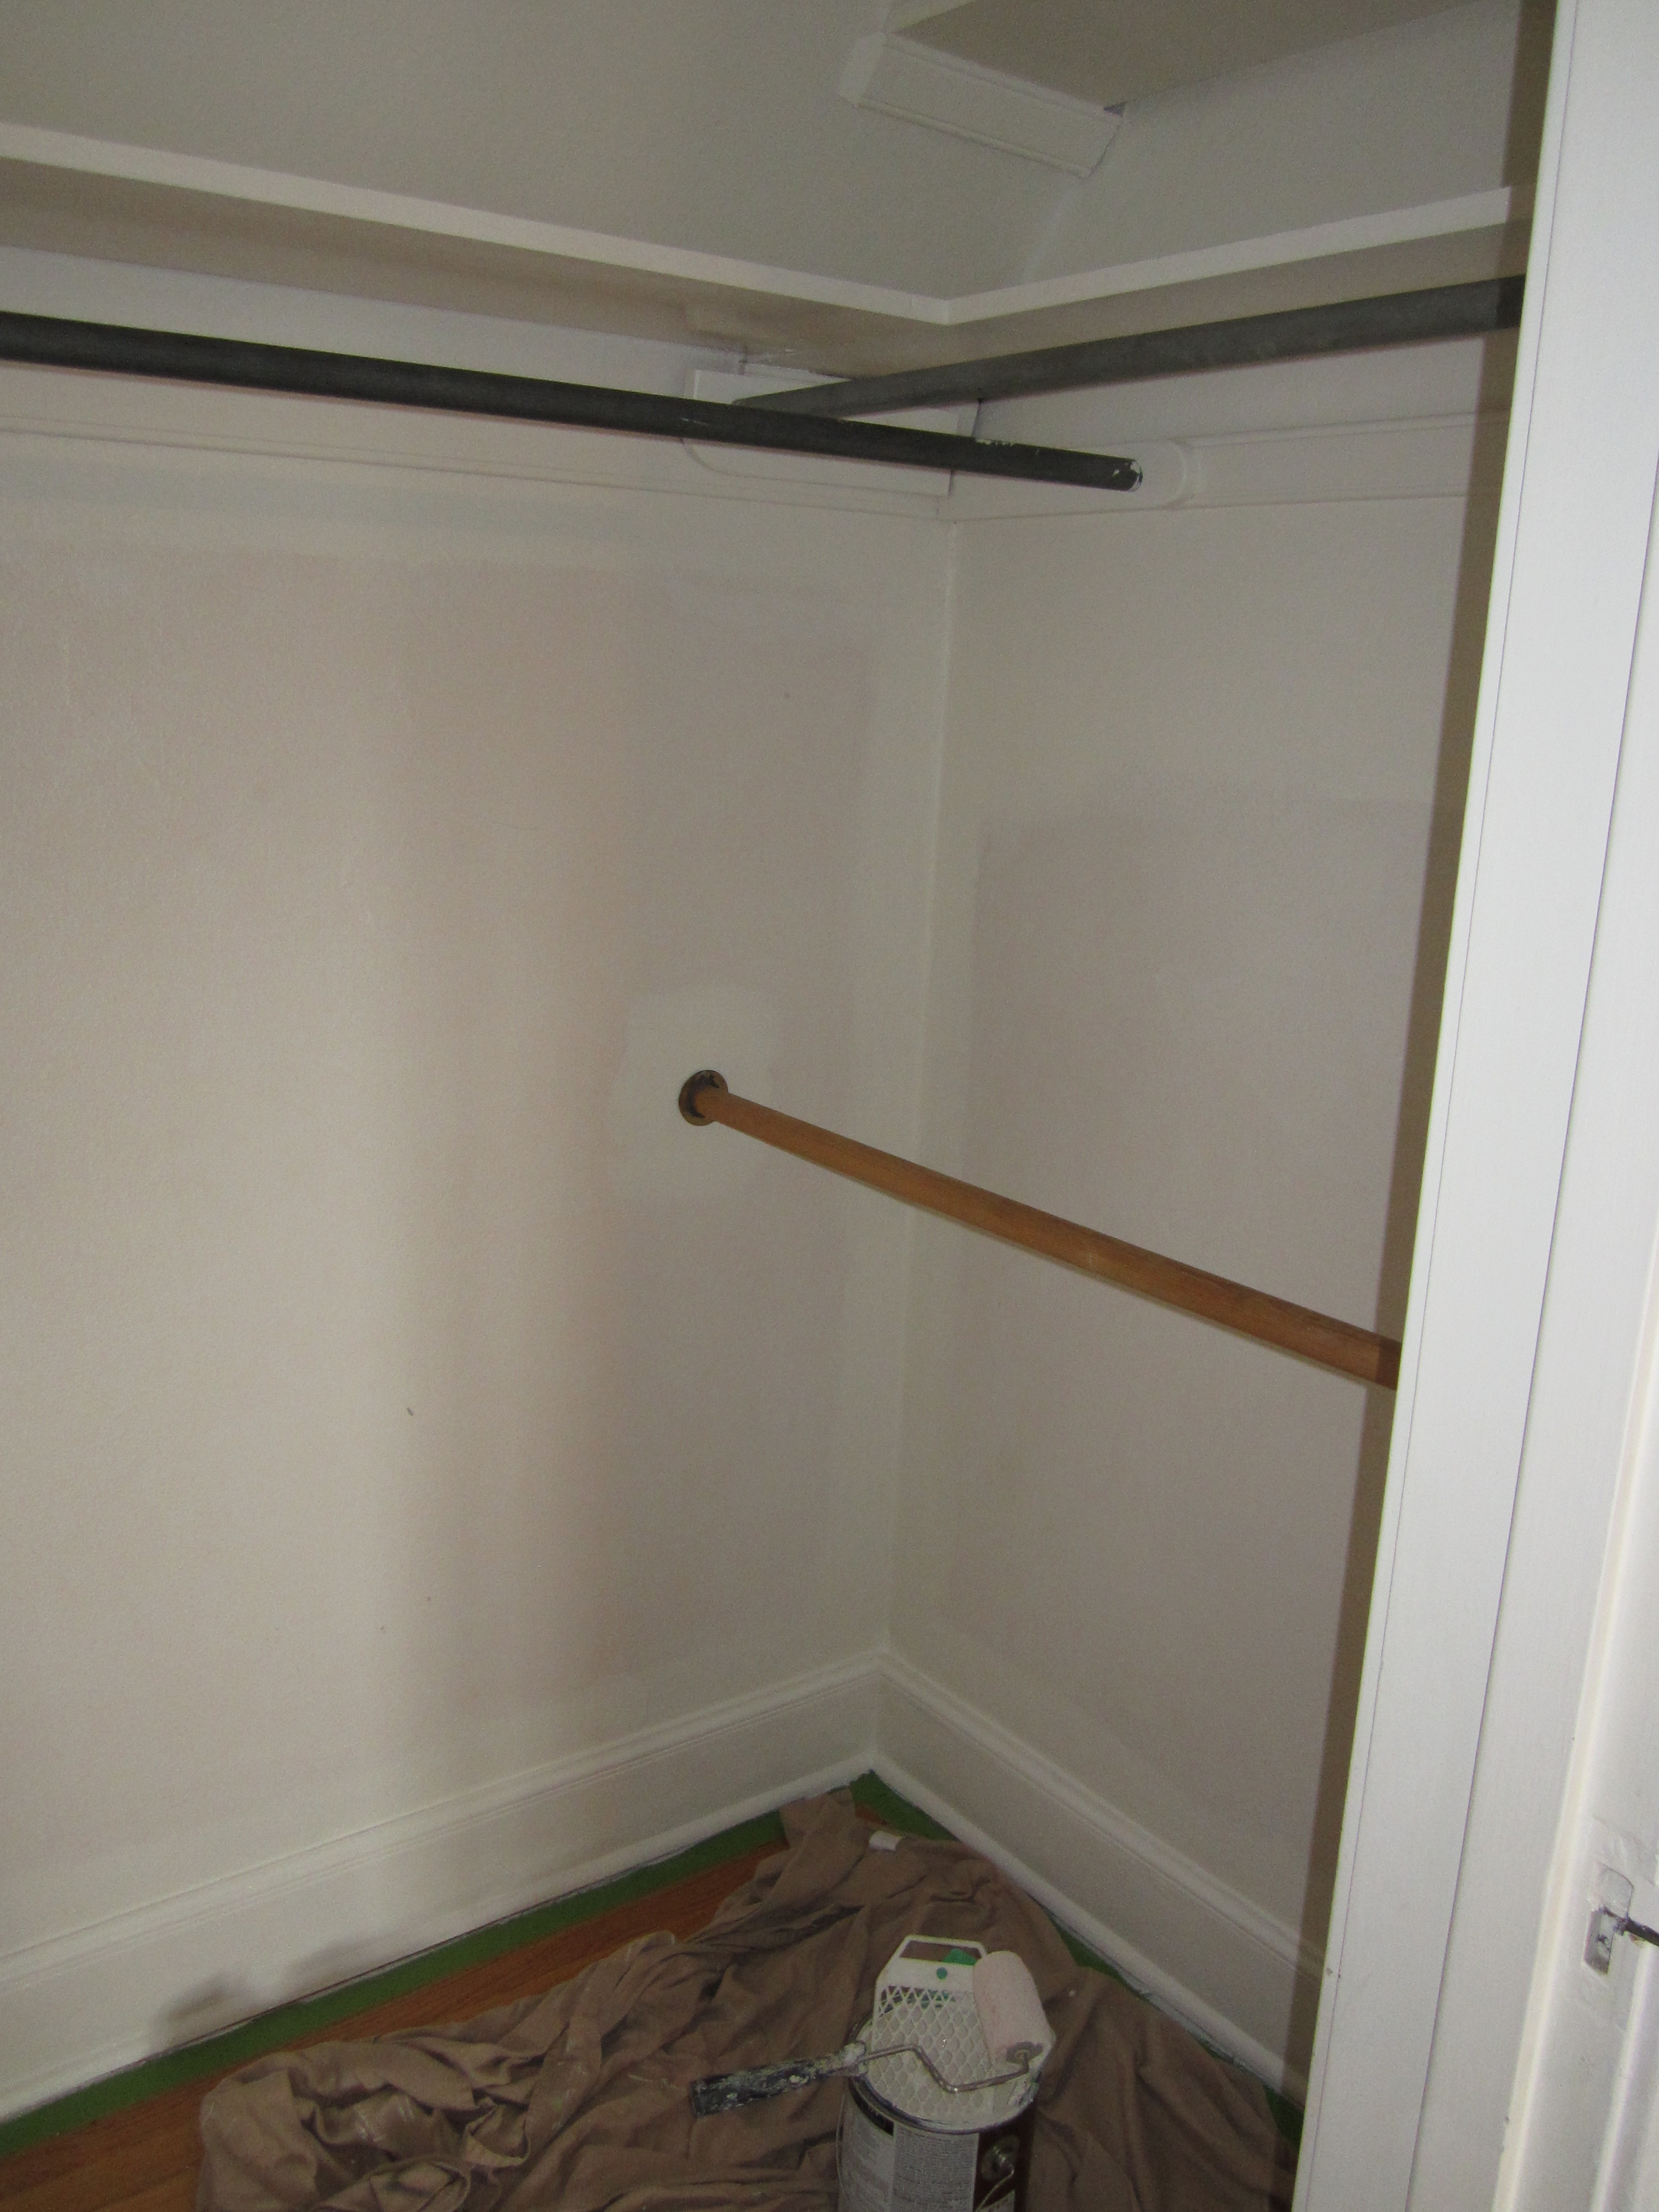
Lesson learned. Paint closets with rest of the room. You will never go back!!
We installed new Levelor cellular shades on all four windows. Though not period specific pull down shades, they make sense in our son’s room. They look good and keep the room dark so he can sleep to noon. He’s ours and we love him.
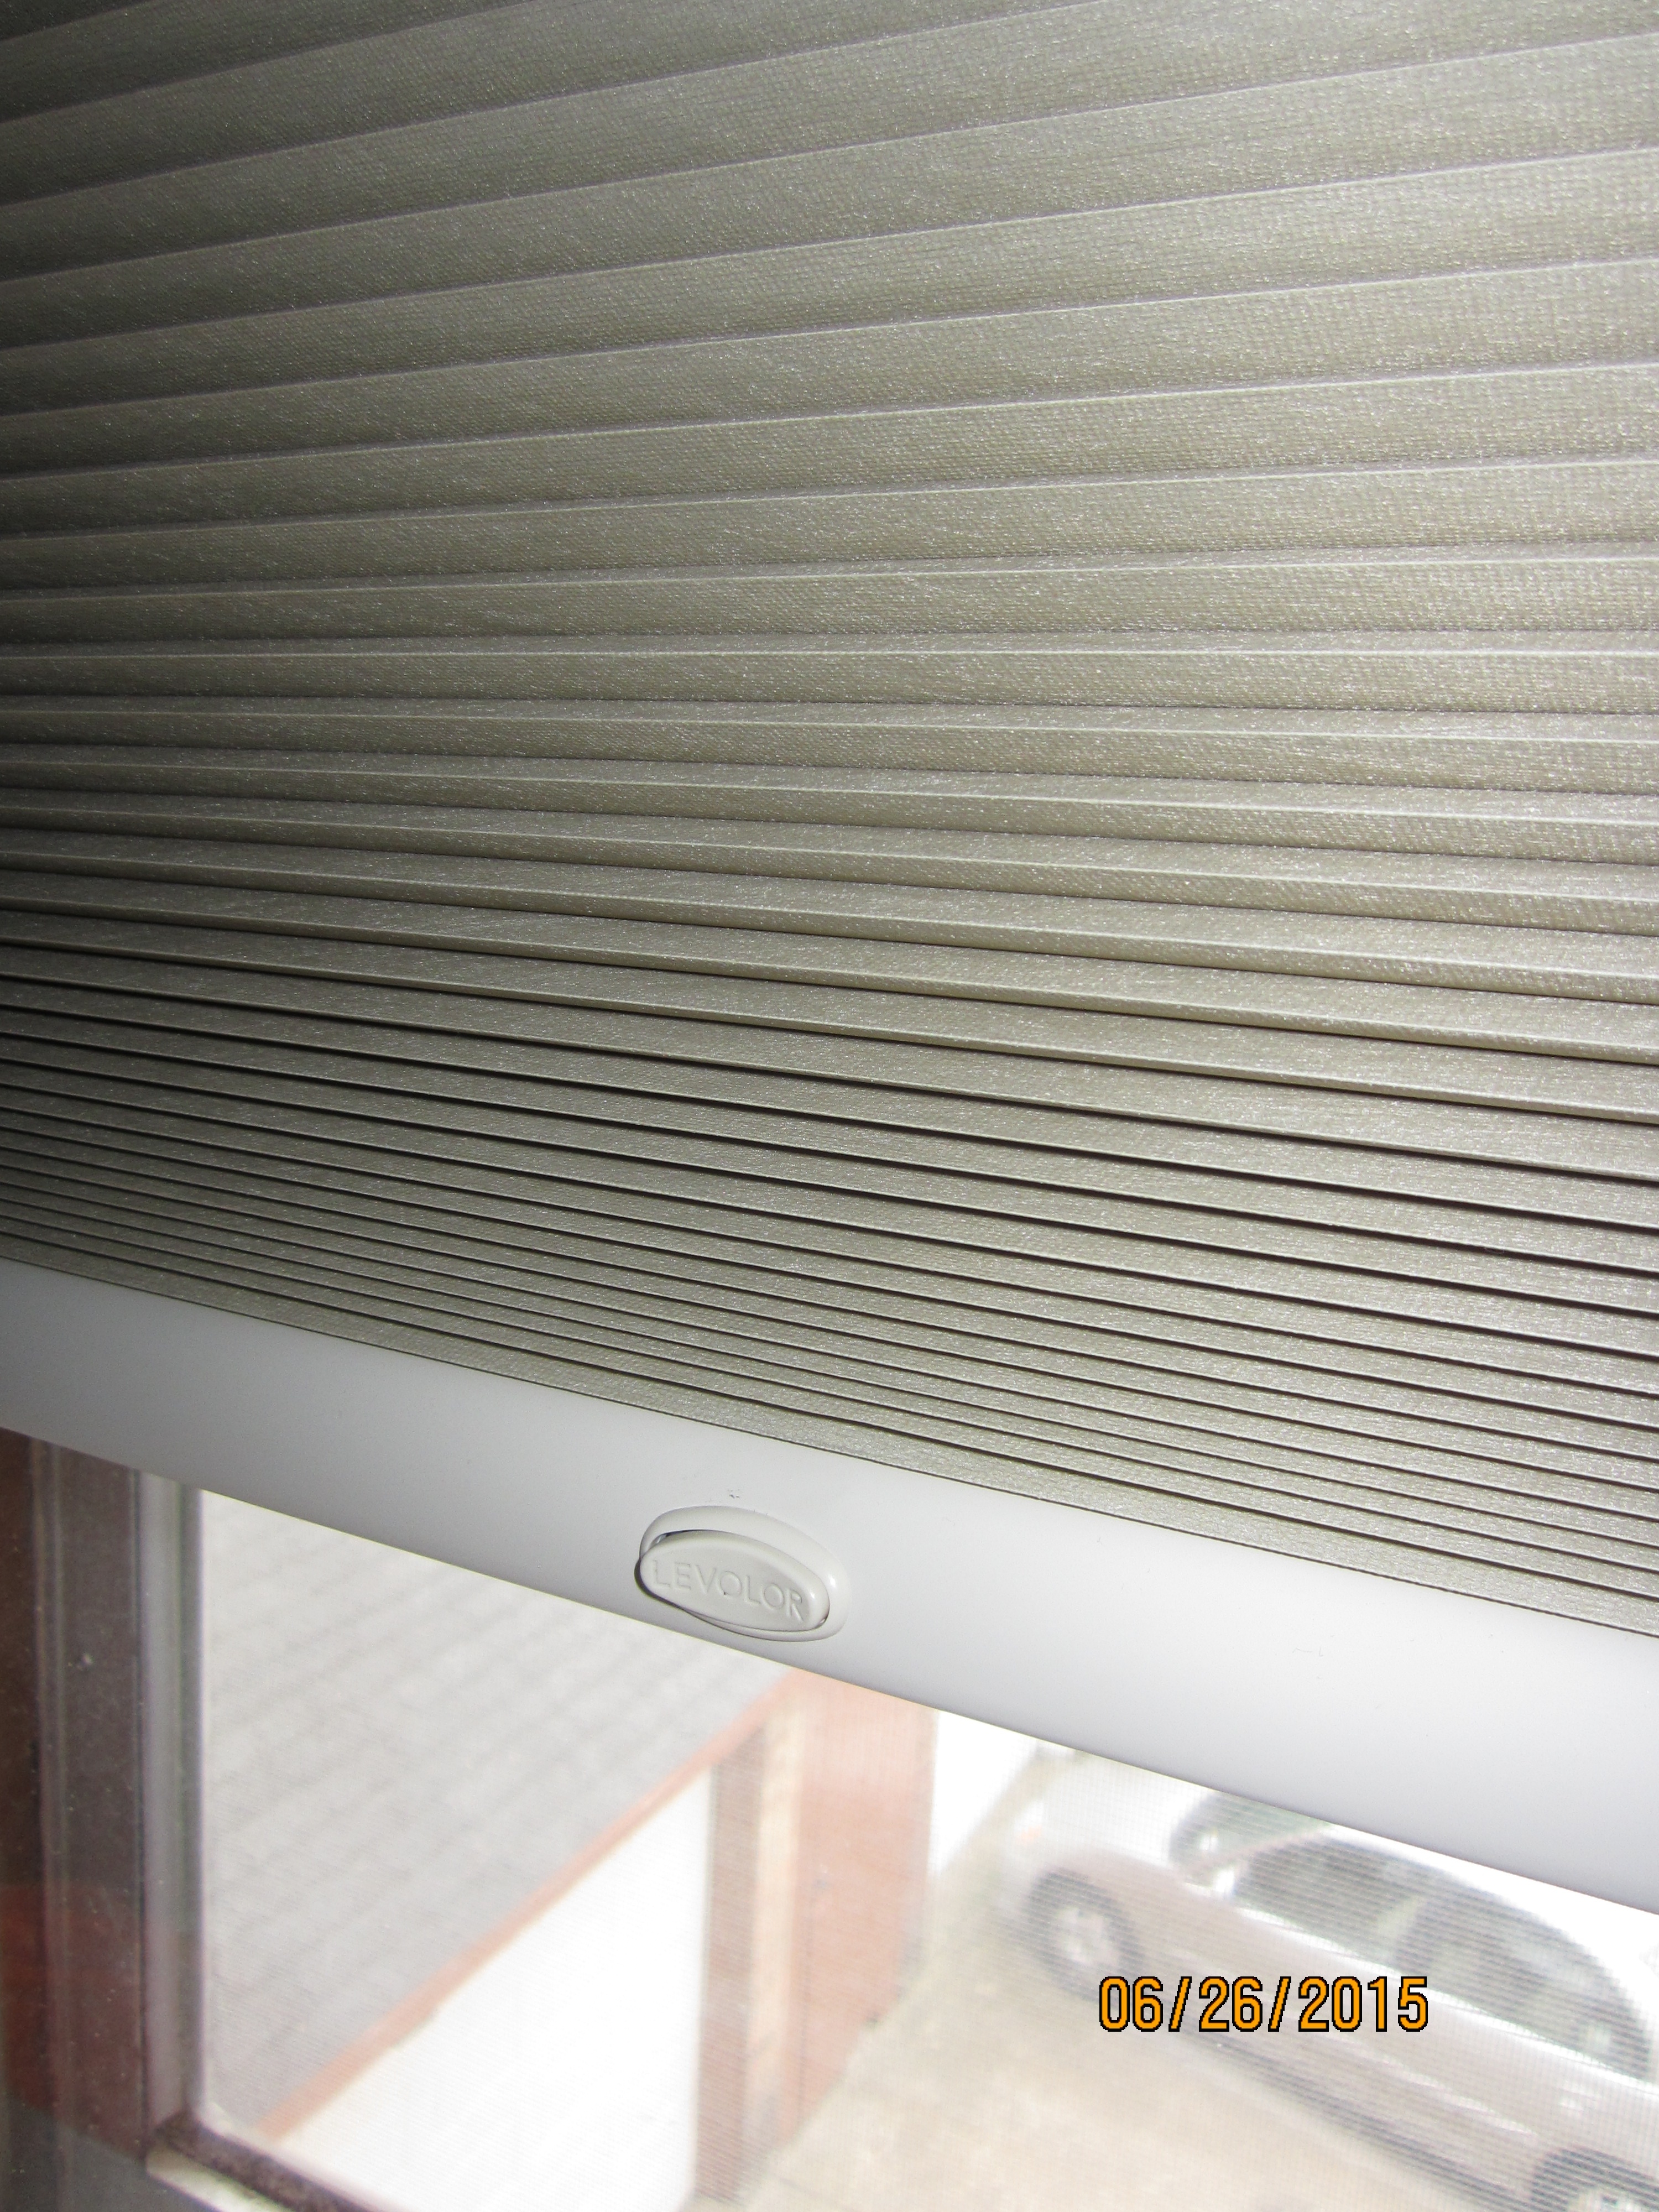
Levelor cellular shades.

The shade color is “Sand”.

Almost done, at least with this item on the list…
Finishing touches: push button light switch and new outlets and covers. All purchased from The House of Antique Hardware, http://www.houseofantiquehardware.com. The same ones we installed in the foyer and sunroom.
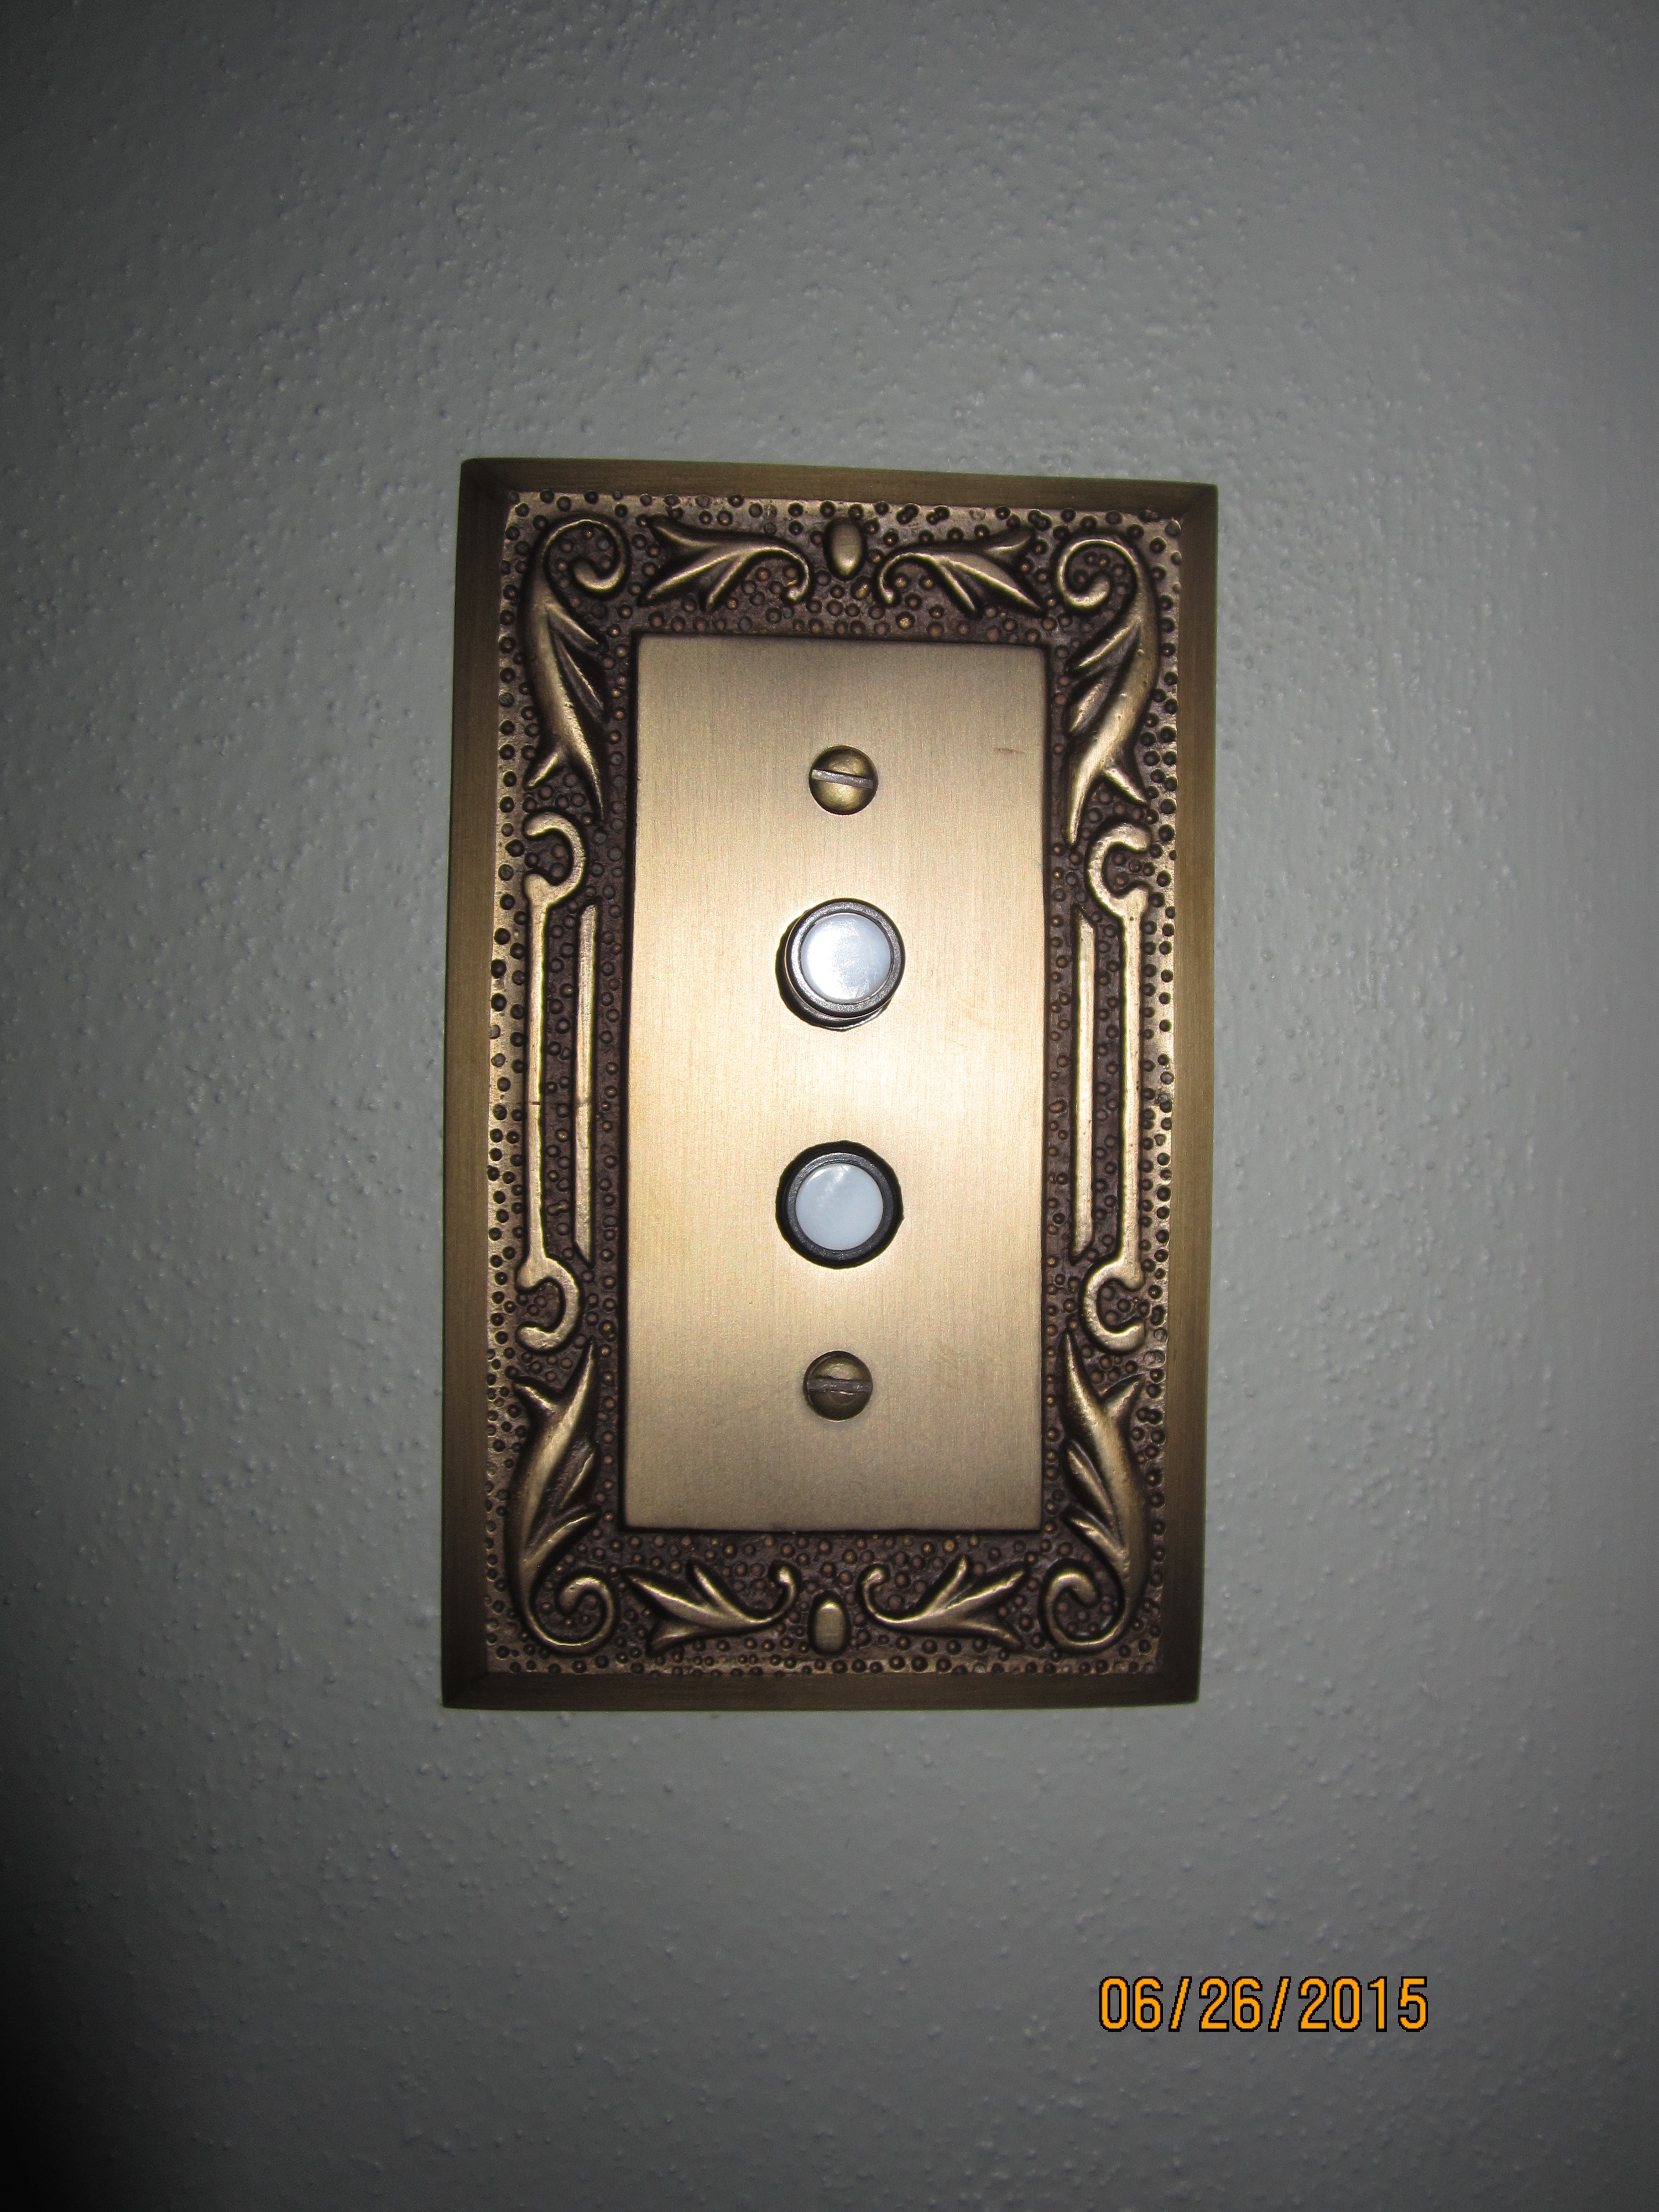
Push button light switches…

new outlets and covers…

…and done!
New paint, new room, same son. One more item checked off the list.
Next?
