We are celebrating our one year anniversary in our dream house. Yeah! We’ve accomplished SO much. We’ve learned new skills and acquired some cool toys, I mean tools! There is SO, SO, SO much more to do, but it’s doable and we want to do it. This is our hobby. Instead of spending money on golf or boating or hunting, we spend it on restoring our house. And some day in the future, out there on the horizon, we will have the vast majority of it done!
We took a field trip to “Woodcraft” last month. If you’ve never been to one I’ll just describe it as a candy store for wood working enthusiasts. I was literally petting the wood which was on display. Listen to these names: Brazilian Cherry, African Blackwood, Canarywood, Cocobolo, Macassar Ebony, Red Palm, Marblewood, Padauk, Zebrawood, Burmese Rosewood. All of them, so gorgeous! “Woodcraft” offers a wide range of classes for the novice and the advanced woodworker. We are going to take their 3-session “Introduction to Woodworking 101” next month. Our real reason for the trip was to purchase blending sticks. We needed them to fill a great number of holes in the wood trim and paneling throughout the house. We chose two shades, a medium and medium-dark to match our wood.
My first job was to remove ten picture hooks in the library’s oak paneling and fill those holes with the blending sticks. This worked very well and the holes are gone. Next job, fill nail holes in the wood trim from the foyer. One of the door stops from the closet had over 20 nail holes. We would use three, no more than four nails to reinstall it, so all of those holes were filled.
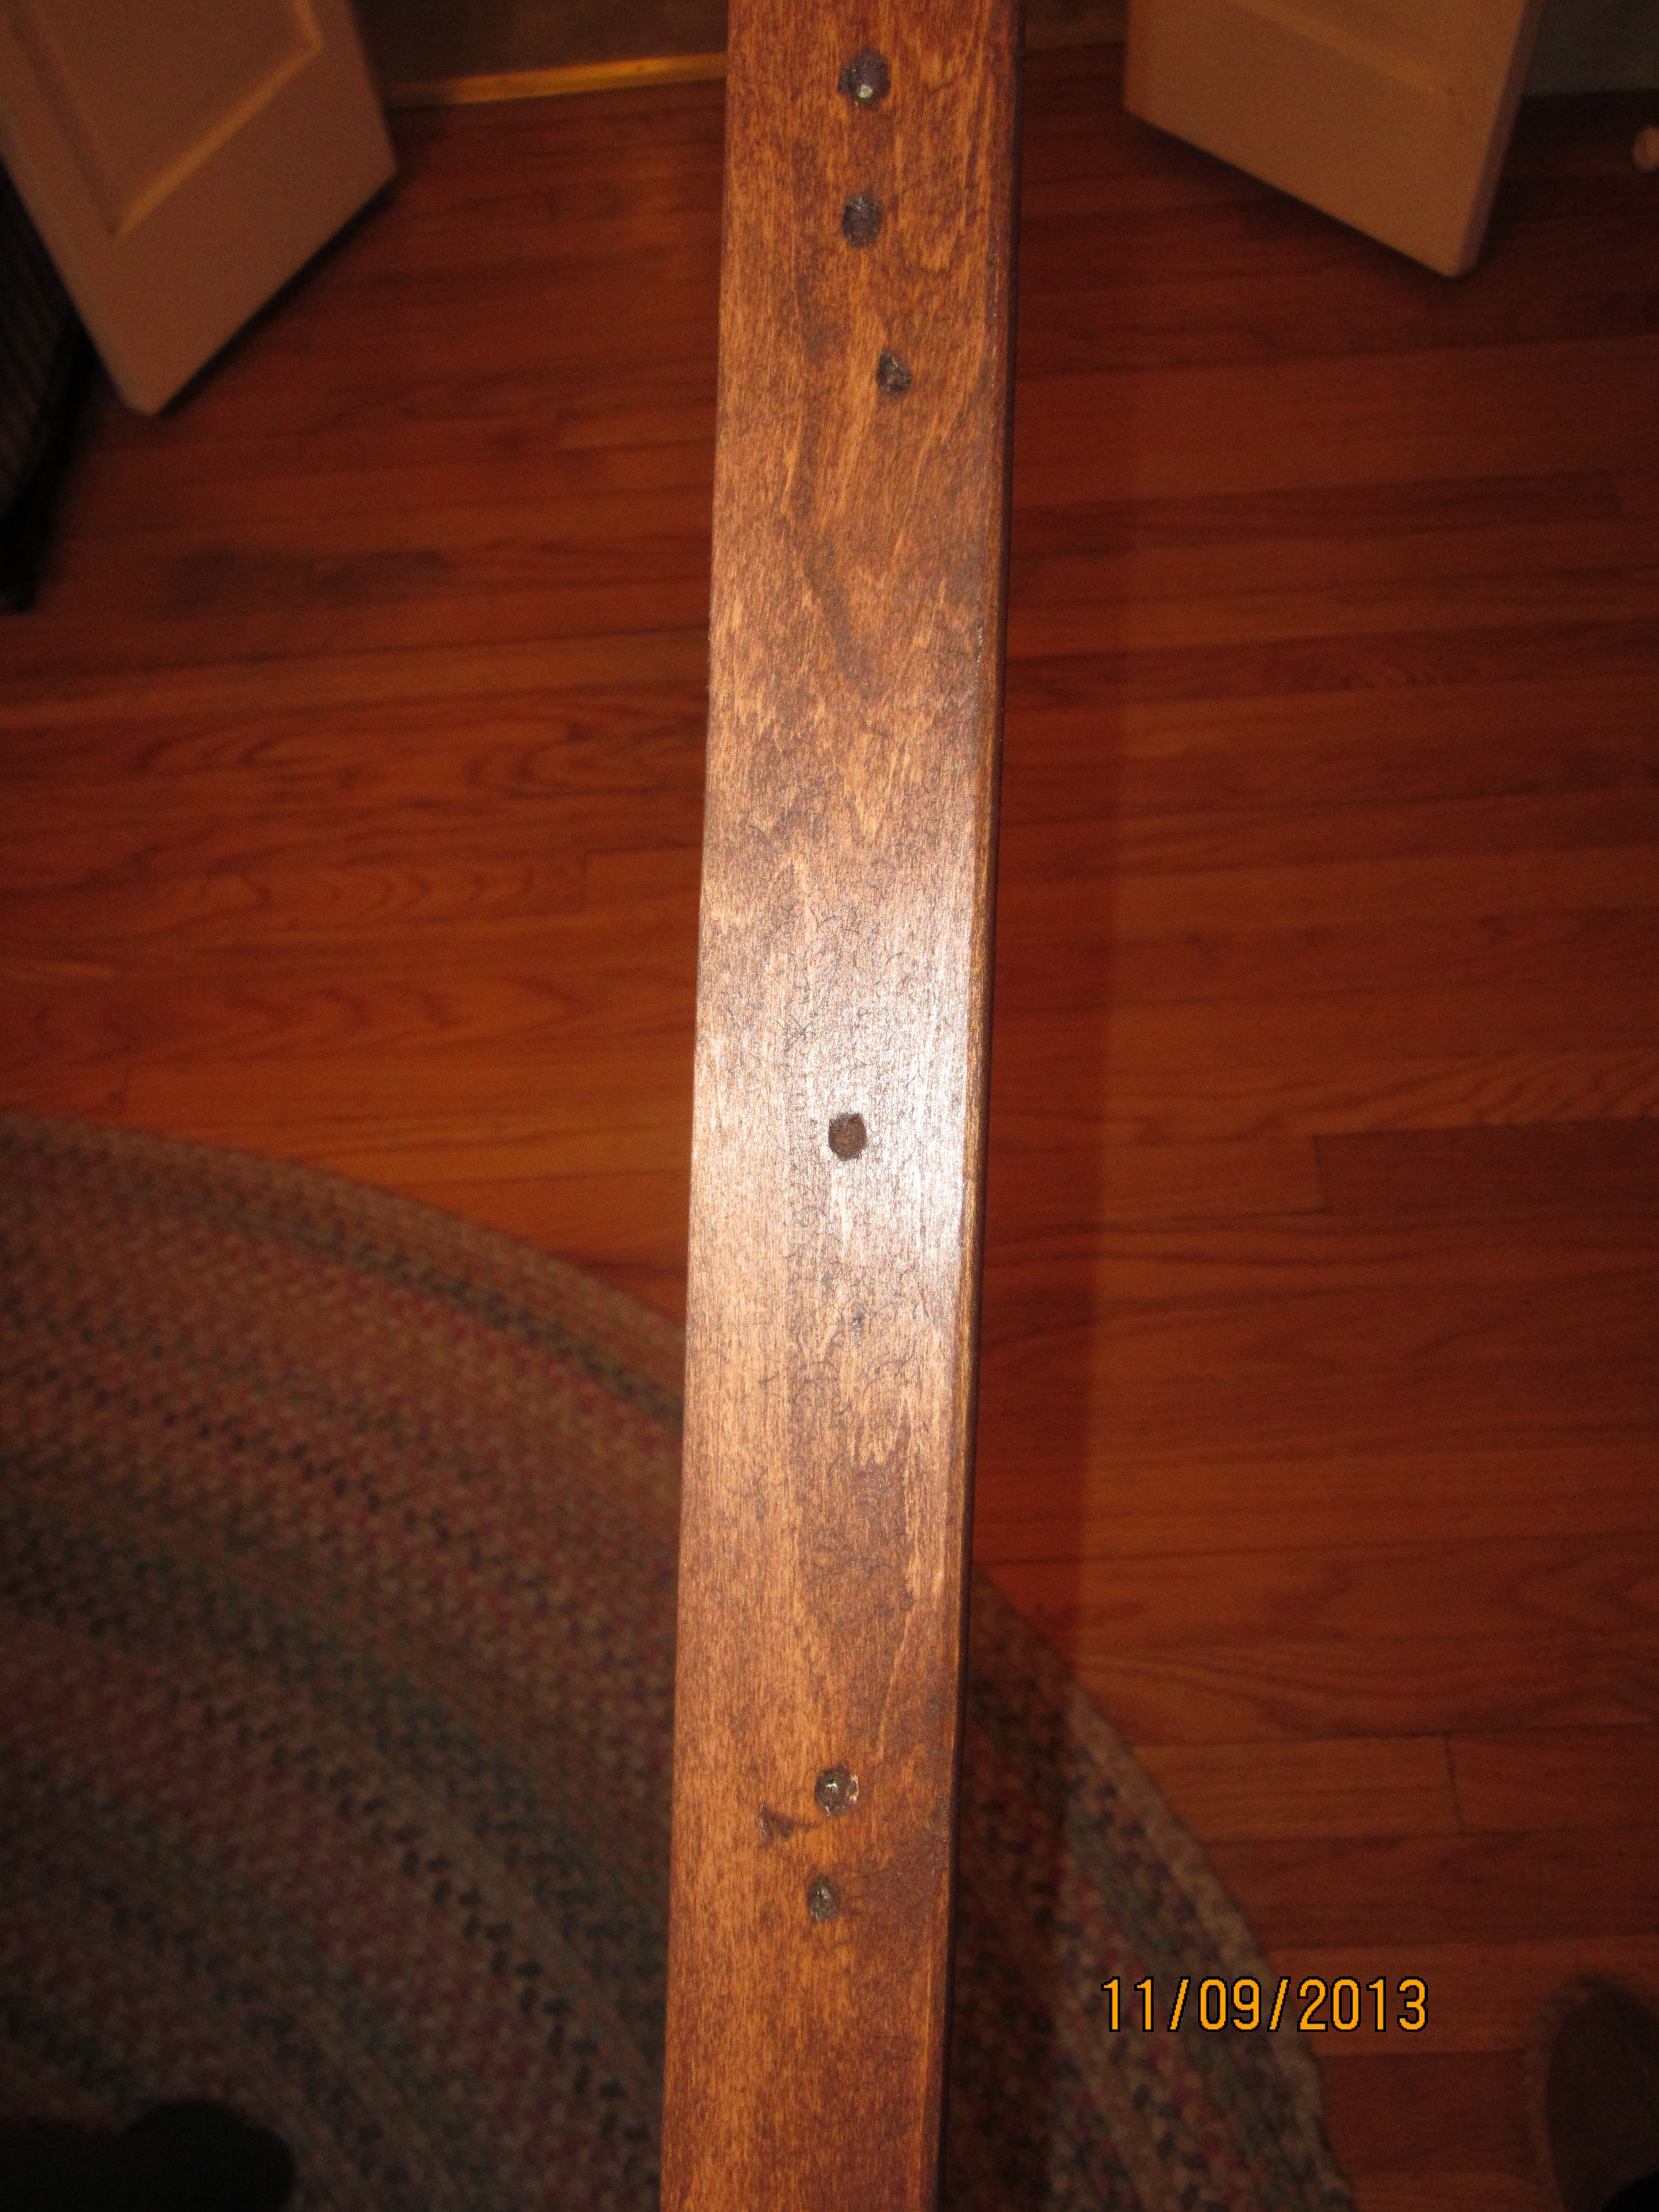
This door stop was full of nail holes. Count the six in the 9 inches shown in this picture.

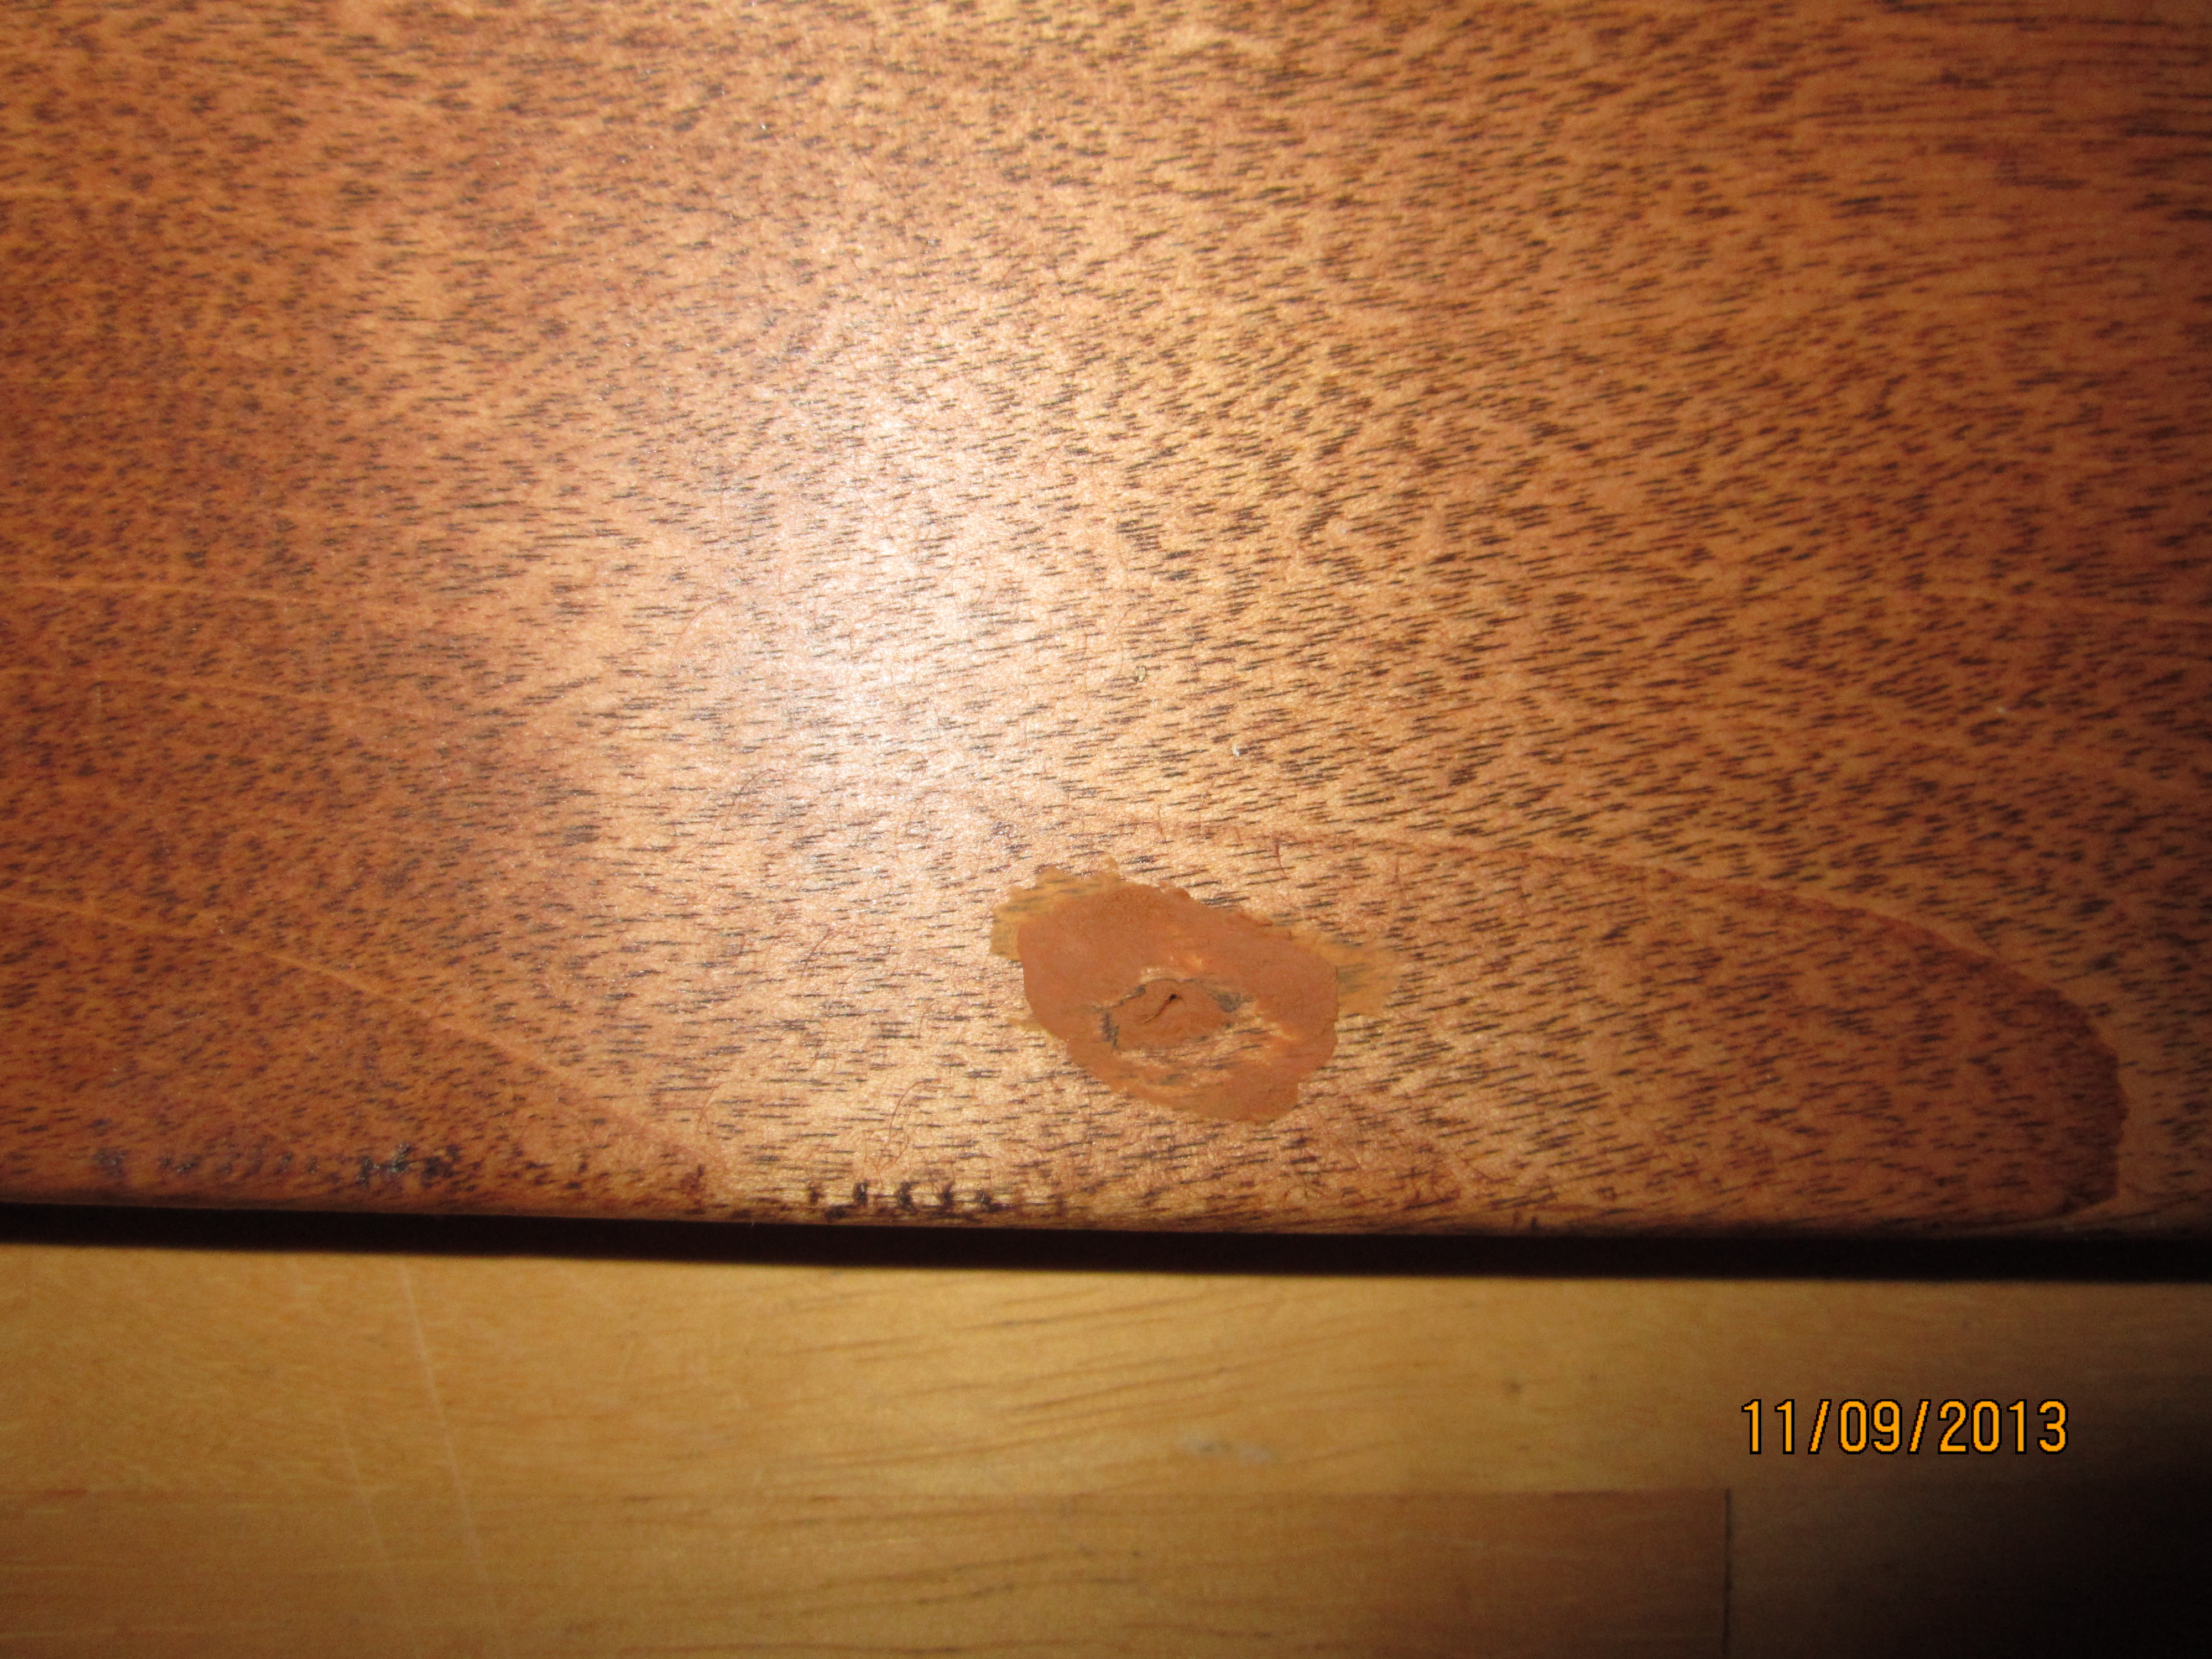
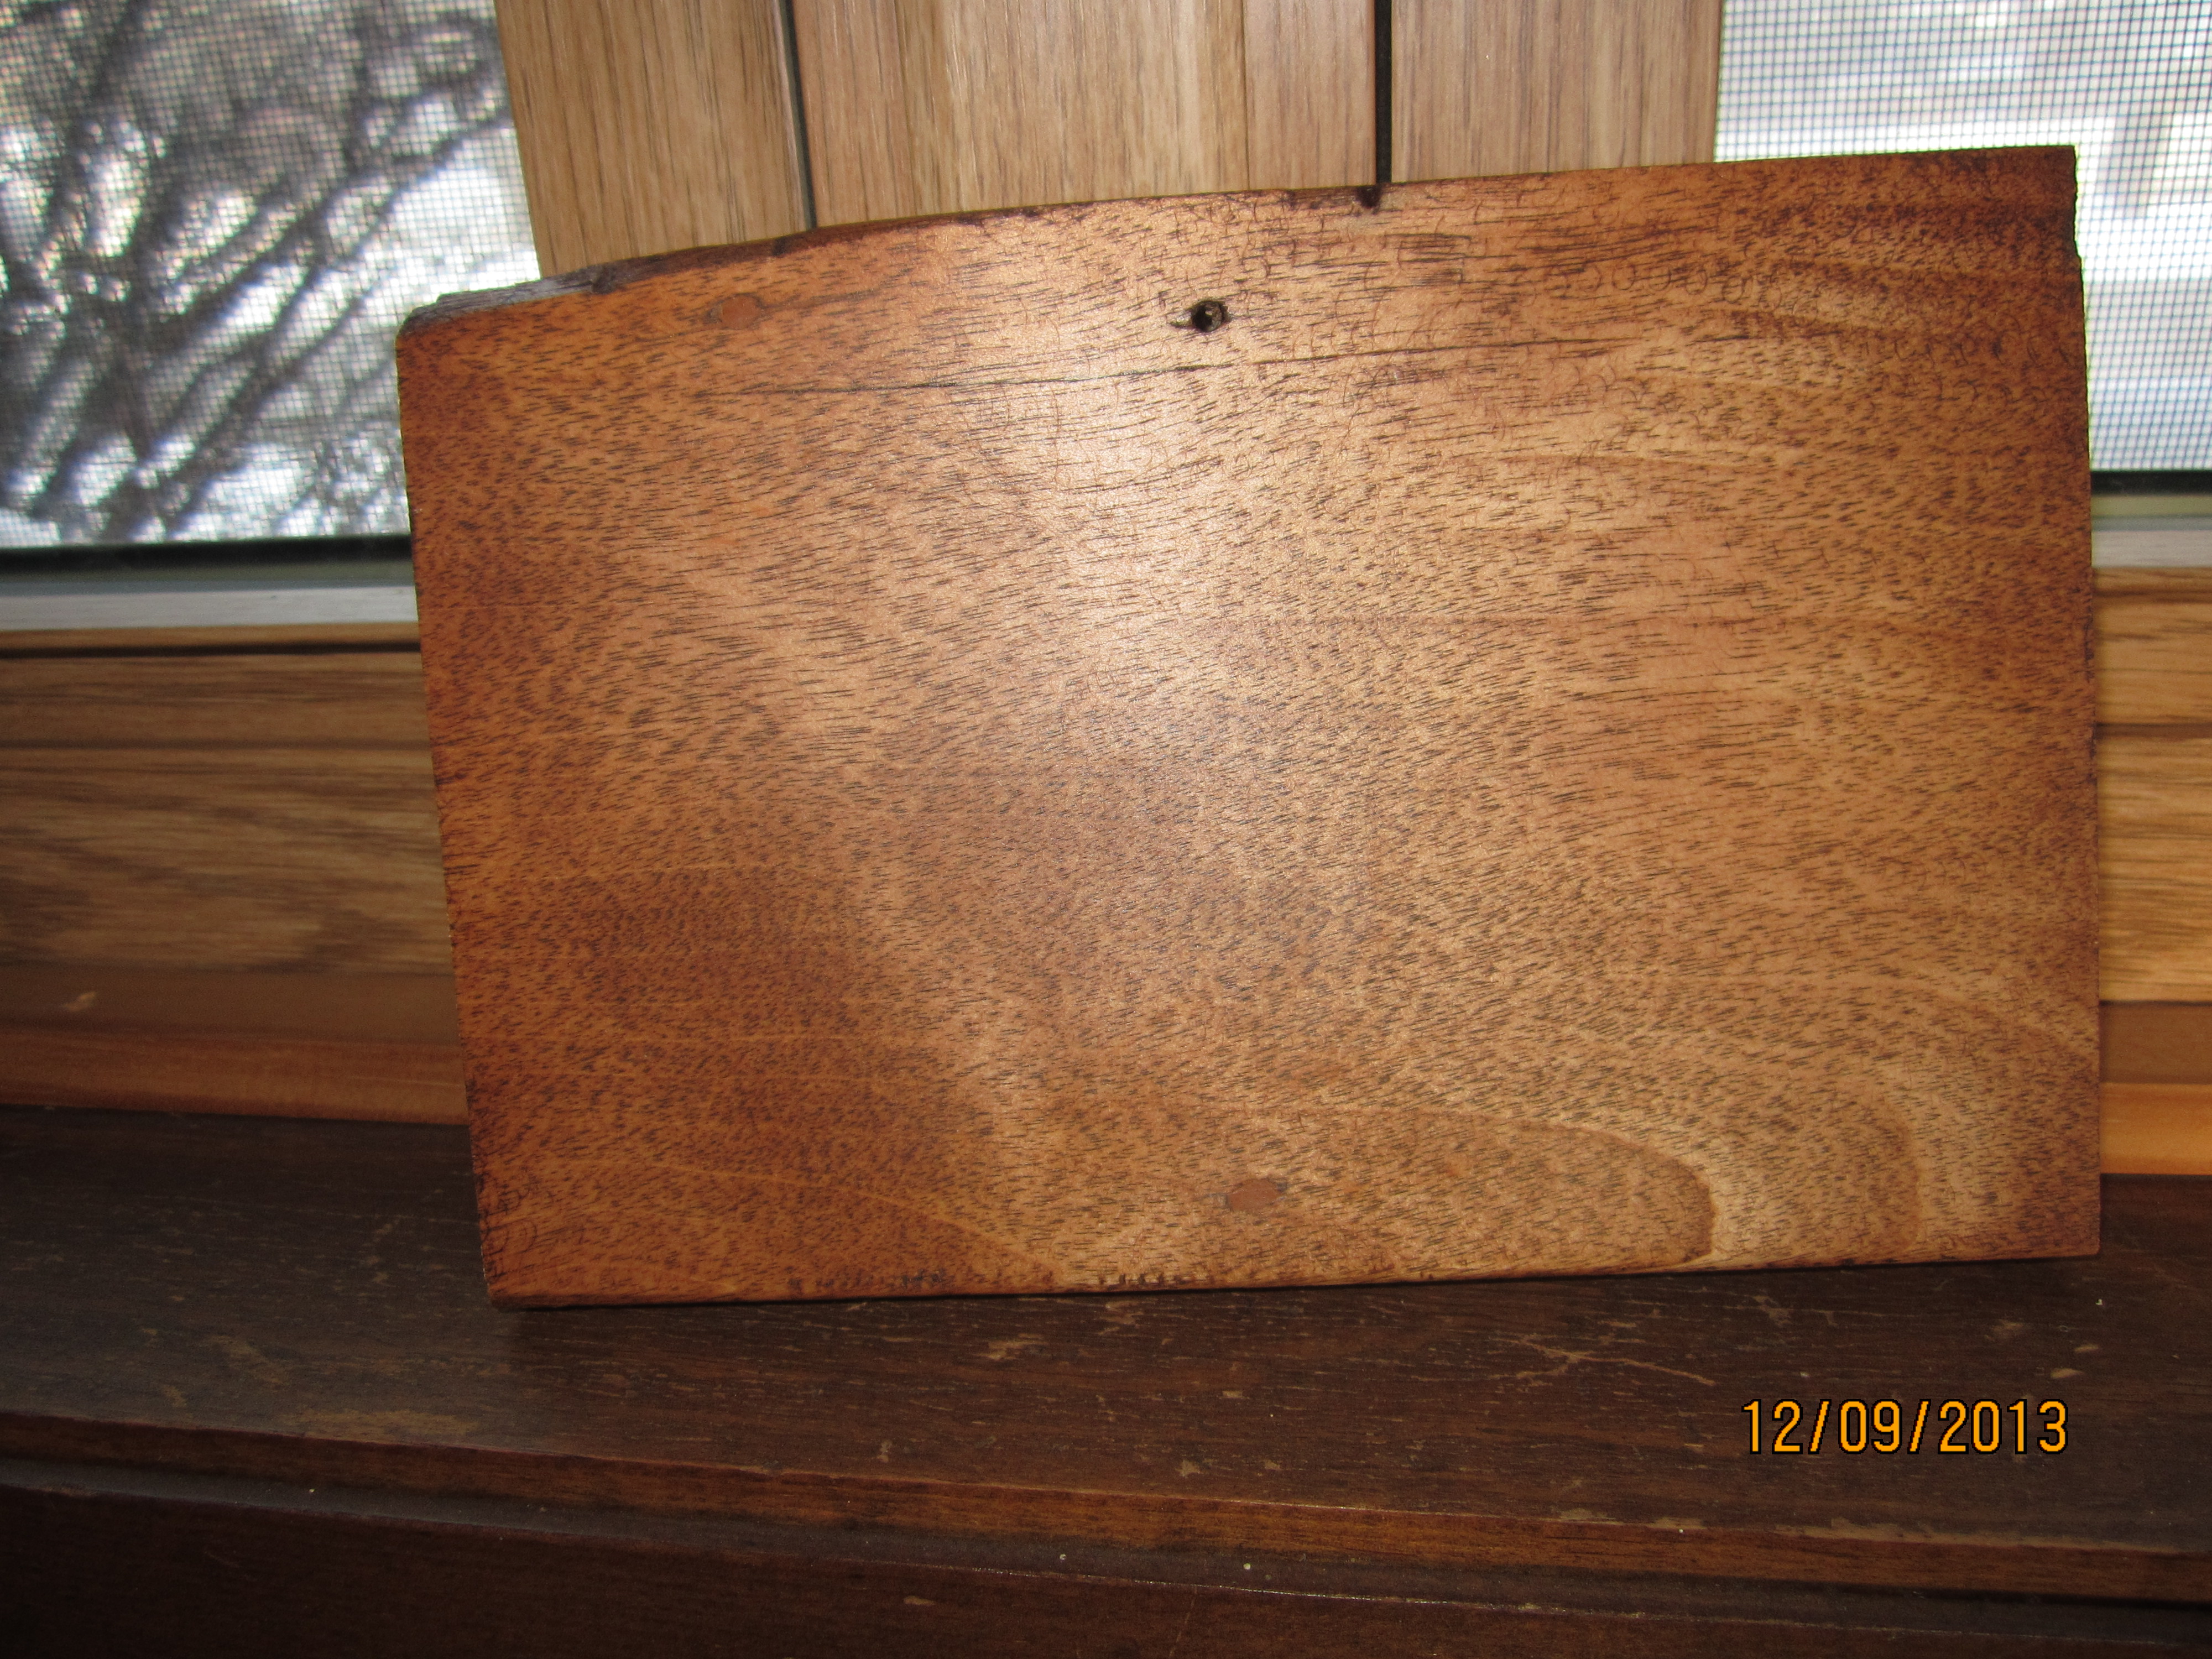
The same door stop, now repaired and reinstalled. It’s the piece next to the white painted section.
Time to move on to the trim pieces. Not such a bad job, I got to sit down.

Tools for filling nail holes, blending sticks, soft rubber spatula for pressing and leveling, soft cloth for buffing.

Press in the blending wax…

gently scrape with the spatula to level…
ready to buff…
and we’re done. Compare the hole at the top of the picture and the repaired hole at the bottom.
My husband has taken on the plaster repair and done a very fine job of it I must say.

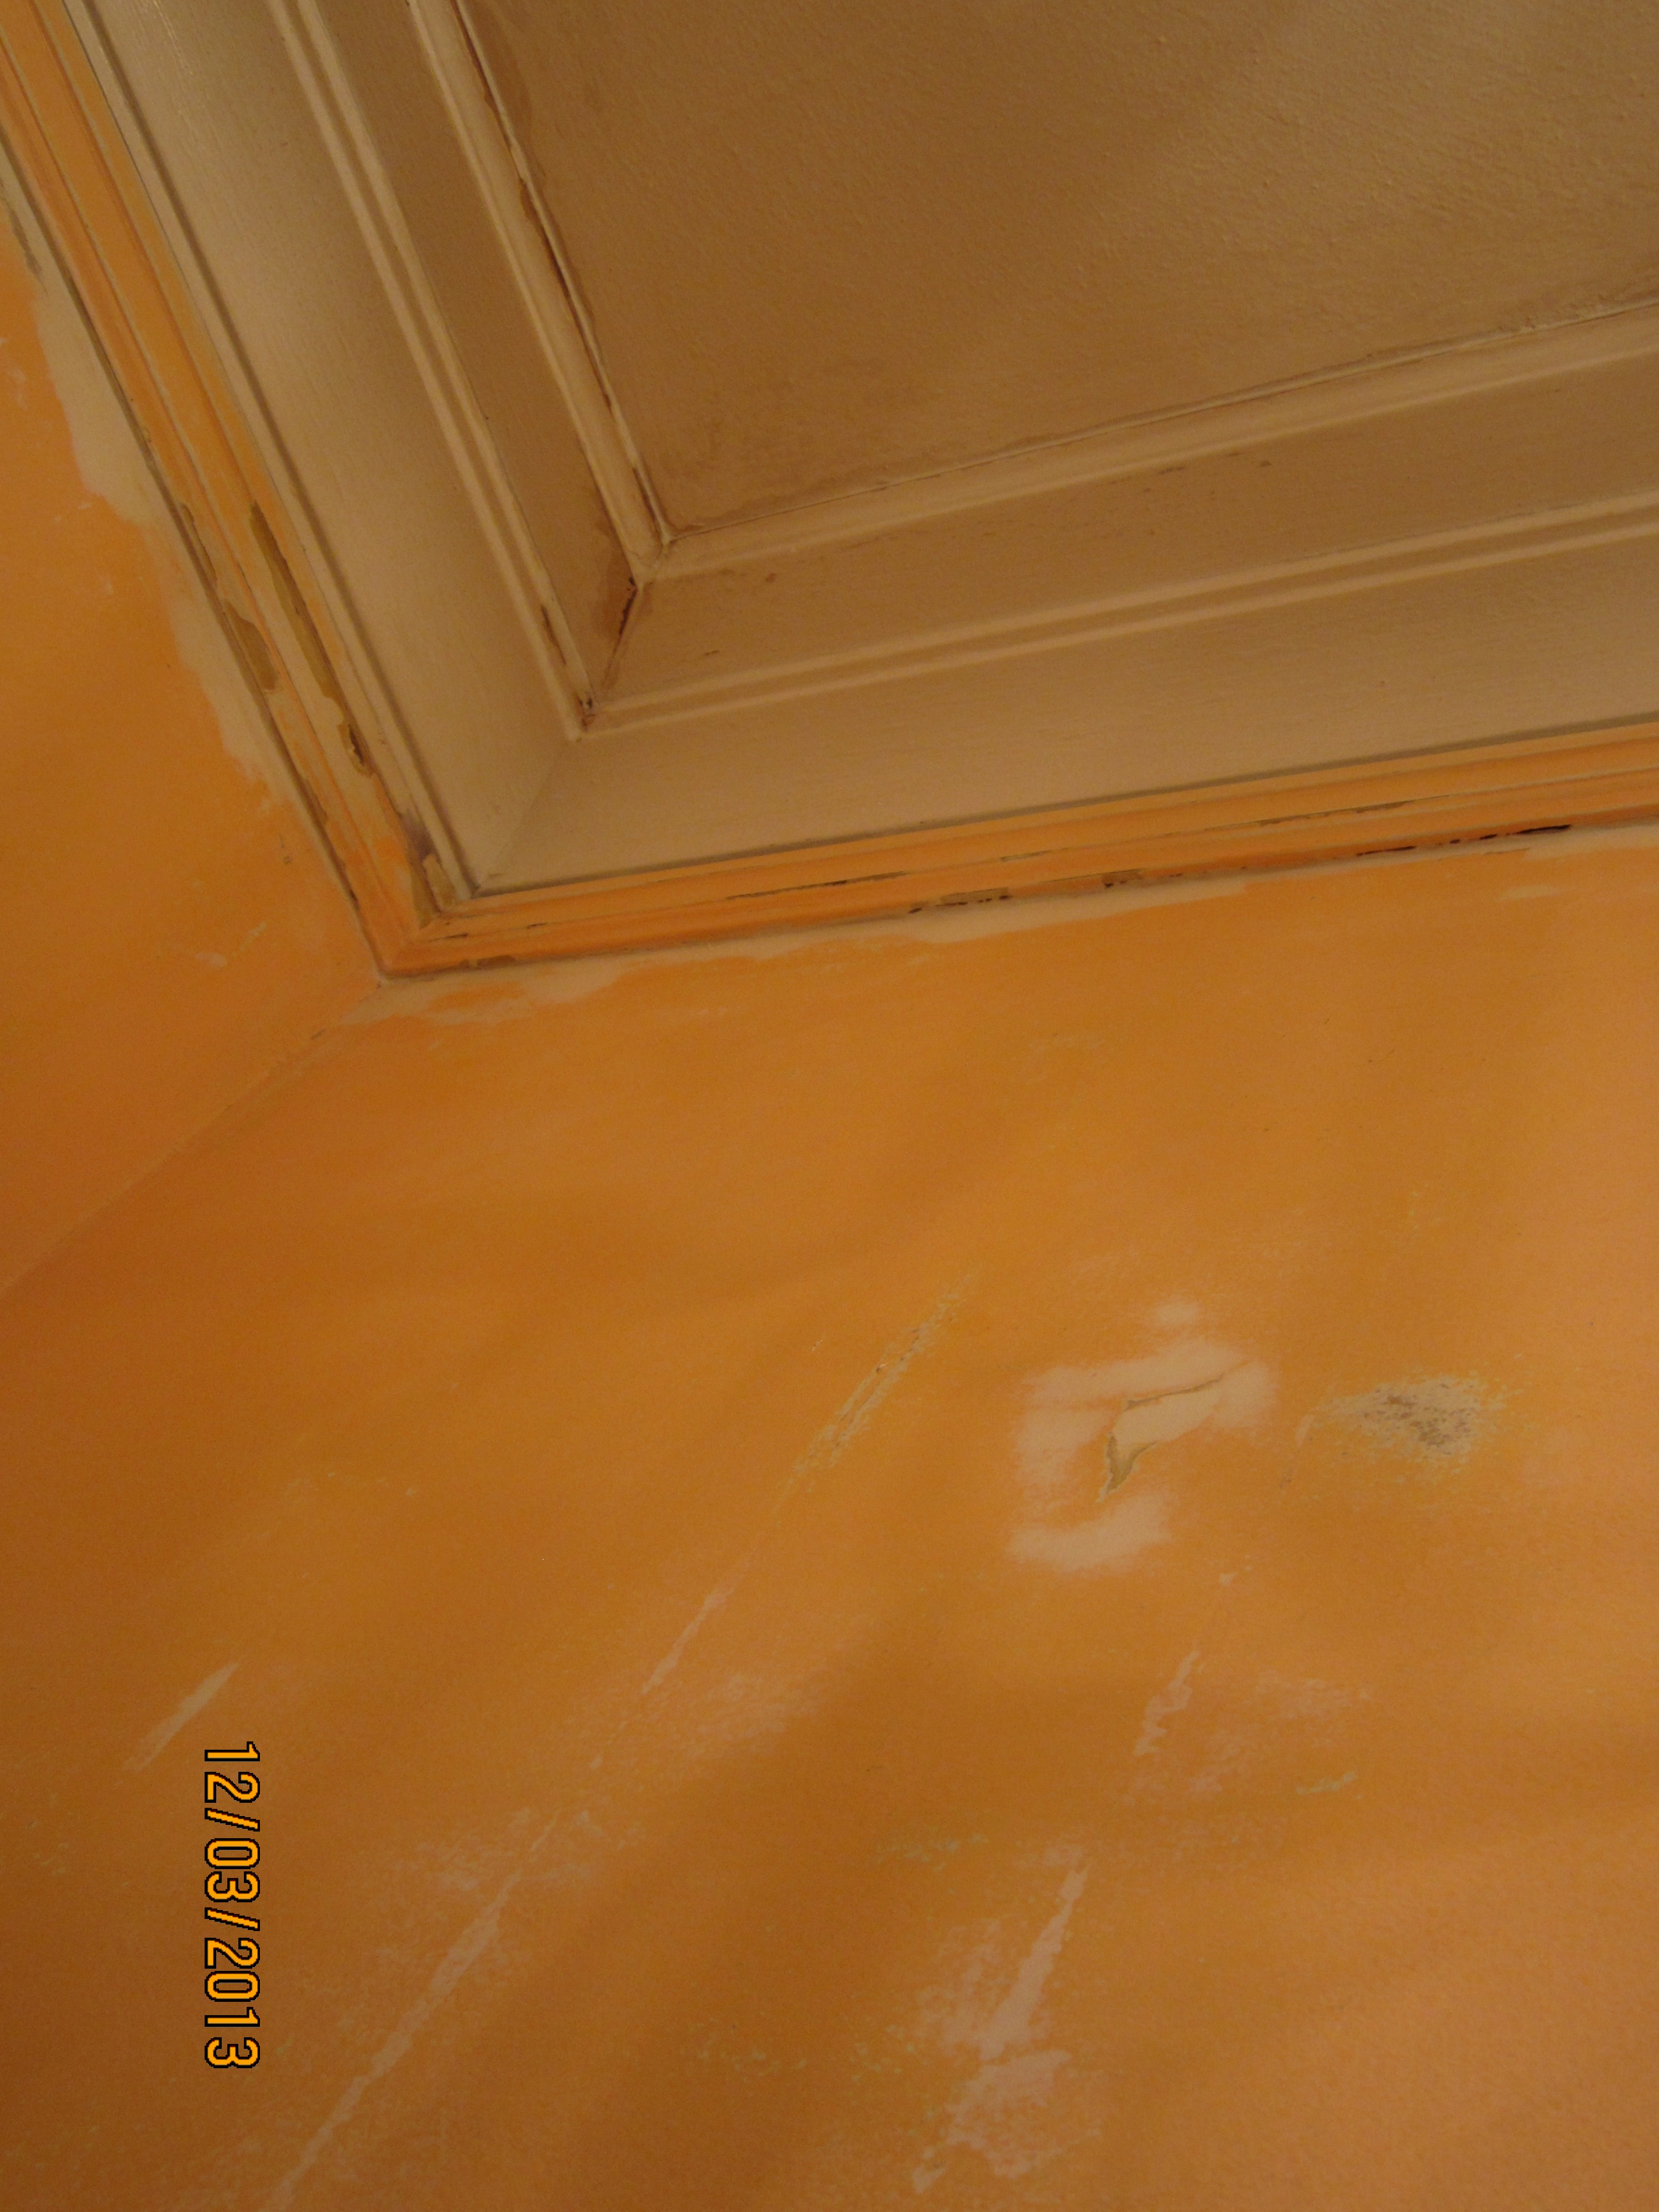
Plaster repair above the closet door.

Wall repair by the front door.
He also scraped away built-up paint layers around the picture frame railing and the crown moulding.
Wall repaired, uneven paint scraped away, sanded, ready for primer.
The walls and two archways were repaired as needed then sanded smooth.

Repair completed on the arch, ready for primer.
The ceiling and walls were then primed with Kilz Pro-X 130. If you have not yet discovered that primer is a painter’s best friend, give it a try. I guarantee you won’t paint without it ever again. Primer fills in those imperfections you can’t see and lays a foundation to which the paint adheres. Your work will look flawless. Plus this bonus, you’ll end up actually using less paint.
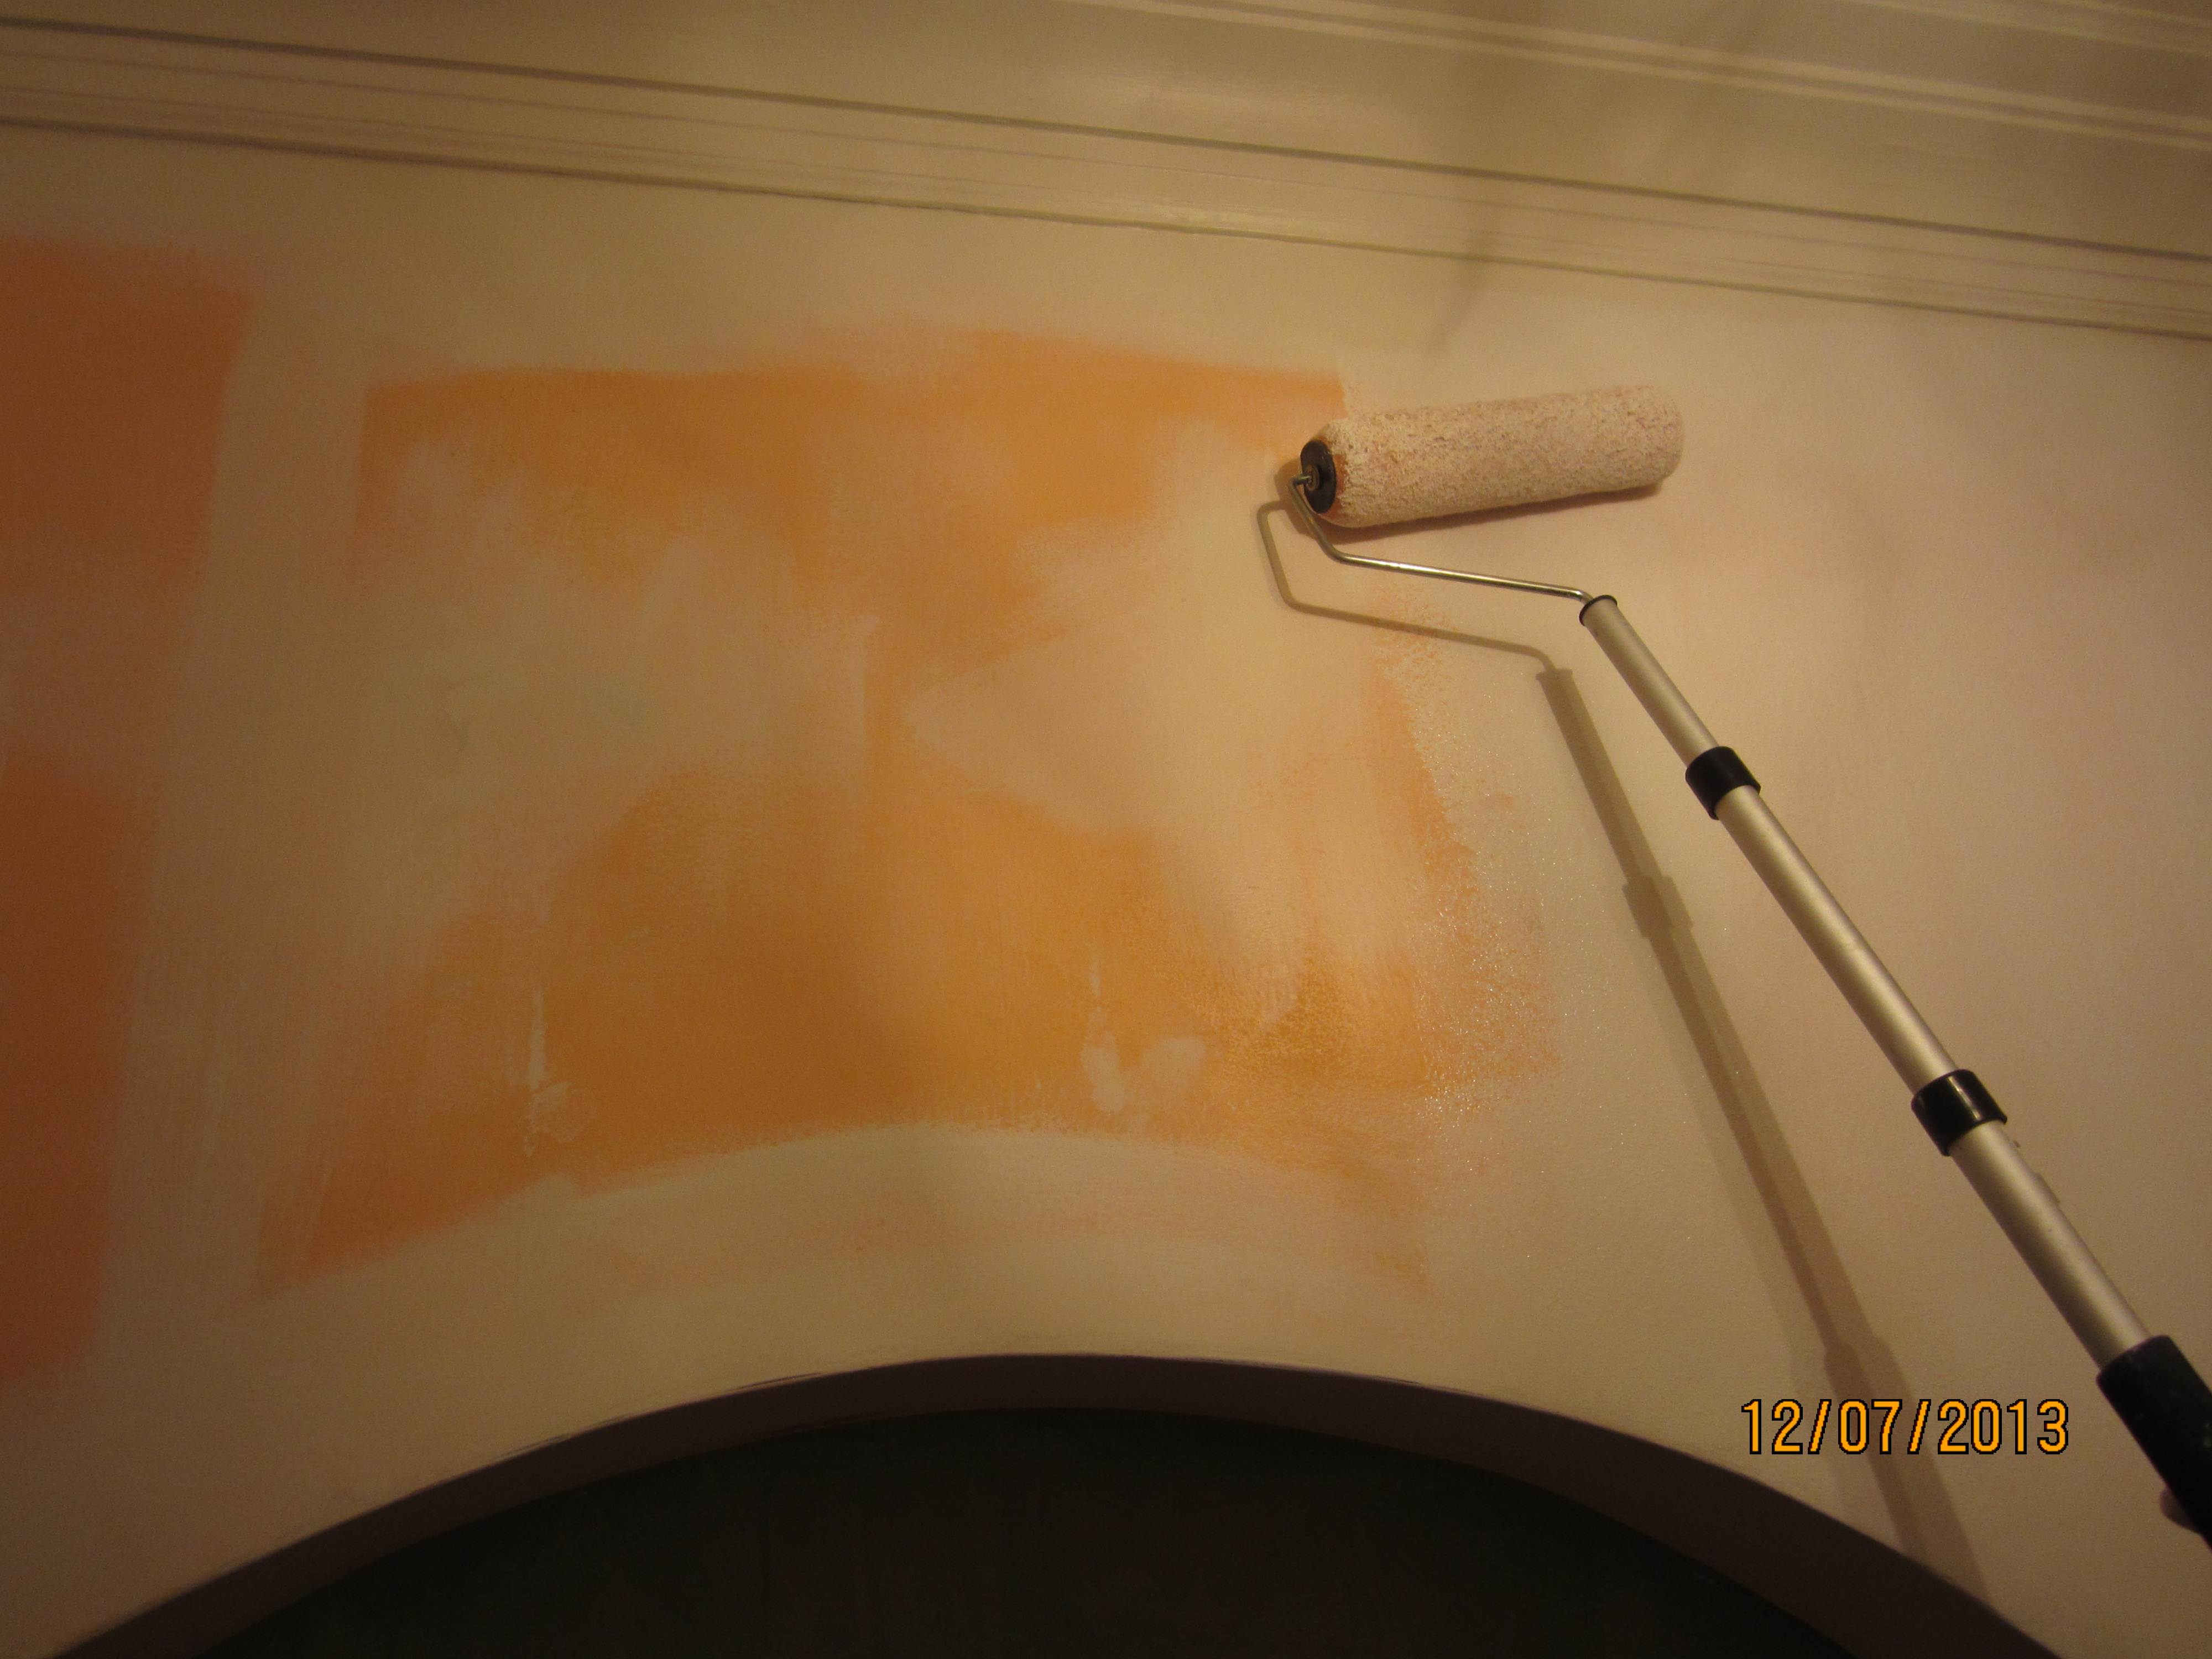
Primer on! So long apricot wall color.
The ceiling was painted a soft satin “Dover White”, the crown moulding was painted in semi-gloss of the same white. We use Sherwin-Williams paints. The coverage is especially good, it wears very well, cleans up easily and the color choices are just about infinite.

Sherwin-Williams Duration in “Sundew” satin and Super Paint in “Dover White”, satin and semi-gloss. Kilz Pro-X primer. Don’t paint without it.

Semi-gloss on the crown moulding.
The picture frame railing and walls were painted in a satin finish. Doesn’t that archway look amazing?

Honey toned walls, “Sundew”, (although bleached out in this photo) and a perfect arch.
We are so close to finishing the foyer. When did we start this job? I think I started on the door mid-July and it’s now early December. What can we say but life happens while you’re remodeling. We have three items left to finish and then the foyer restoration will be fully and truly completed.
- Replace the light switches and switch plate.
- Replace the floor.
- Replace the light fixture.
These projects may be drawn out , but that’s just our method of madness. We’re enjoying the process.
